1.3 Some Worksheets Require Copying and/or Duplication
Because each TeamWorks deployment is unique, the instructions in this guide tell you to copy rows and worksheet sections to match your planning needs.
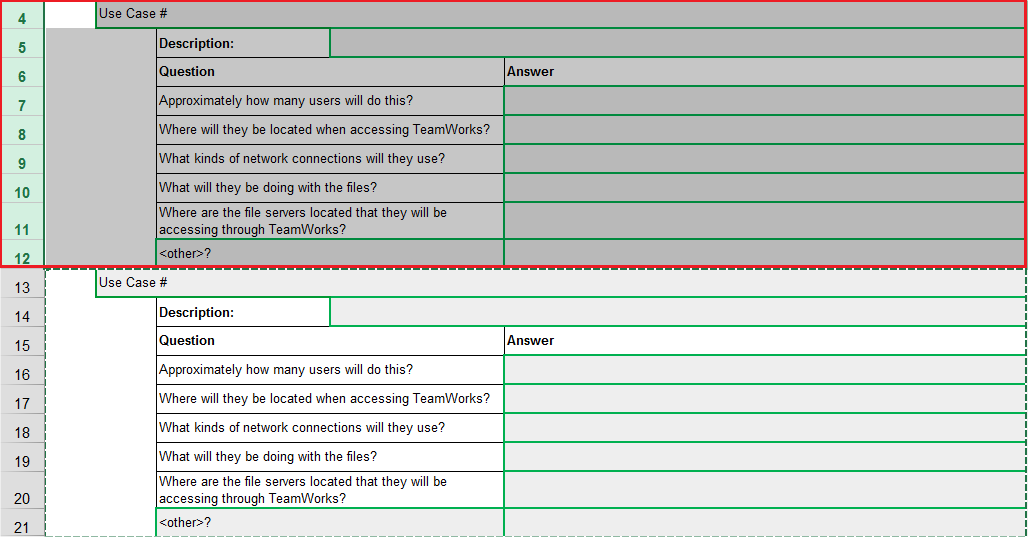
For example, within the Use Case Scenarios
sheet the Use Case
section is for one TeamWorks use case. You should copy the entire section as many times as needed to describe all of the use cases within your organization.
1.3.1 Adding Rows in Worksheet Sections
To add additional rows, do the following:
-
Open the TeamWorks Planning Worksheets spreadsheet and click to the applicable tab at the bottom.
-
Make sure that > is selected.
-
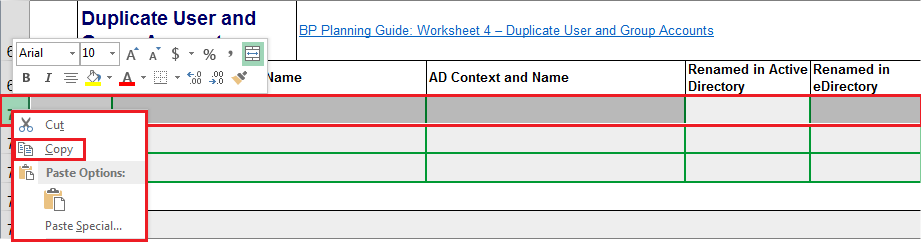
Right-click the row number indicator of the row or rows you want to copy and select .
-
Right-click the selection and select Insert Copied Cells.
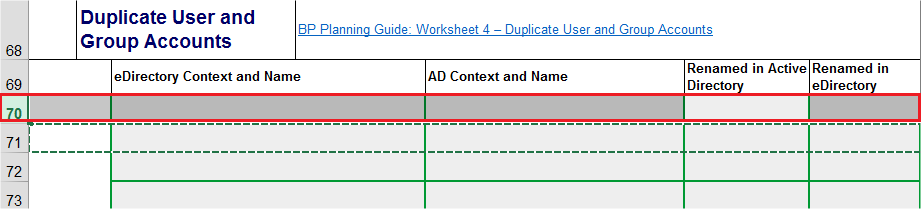
A new row is inserted above the row you selected.
-
Repeat the process until you have as many rows as needed.
-
Save your worksheet.
1.3.2 Making a Copy of a Worksheet Section
IMPORTANT:Although it is possible to copy sections using various methods, this is the simplest way that we’ve found.
Make sure you always do the following:
-
Right-click the row-number indicators in the following procedure, not individual cells.
-
Copy all of the rows in a section. Otherwise, formulas used for estimating disk space and so on might become invalid.
-
Open the TeamWorks Planning Worksheets spreadsheet and click the applicable tab at the bottom.
-
Make sure that > is selected.
-
Do the following:
-
Click the row-number indicator for the first row of the section.
-
Press and hold the Shift key.
-
Click the row-number indicator of the blank row following the last row.
-
Right-click any row-number indicator within the selection.
-
Select .

-
-
Right-click any row-number indicator and select .
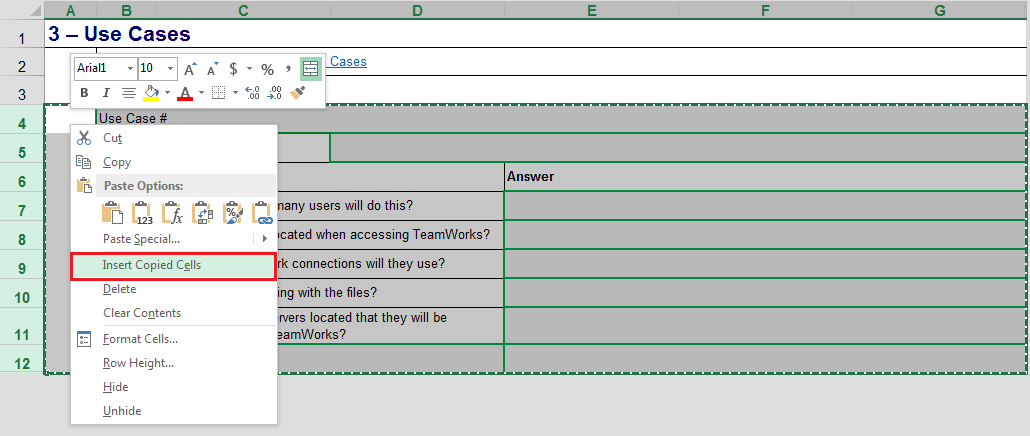
The appropriate number of rows is inserted above what you had previously selected.
-
Save your worksheet.