5.6 Walkthrough: Create a User Account
Although ZENworks Orchestrator has some pre-assembled jobs, such as the cpuInfo discovery job that you learned about earlier, most jobs must be developed by a job developer and run and be managed by a user (also called a job manager). Without an authorized individual who can log in to the ZENworks Orchestrator system to manage the use of a job, the product does not realize its potential.
This section of the walkthrough introduces the basics of creating a user account:
5.6.1 Open the Users Monitor
Now that the Orchestrator Server has run discovery jobs and you have deployed a sample job, you can begin to create user accounts. To do so, open the console and click to open the Users Monitor in the Workspace panel of the console.
Figure 5-4 Users Monitor of the ZENworks Orchestrator Console
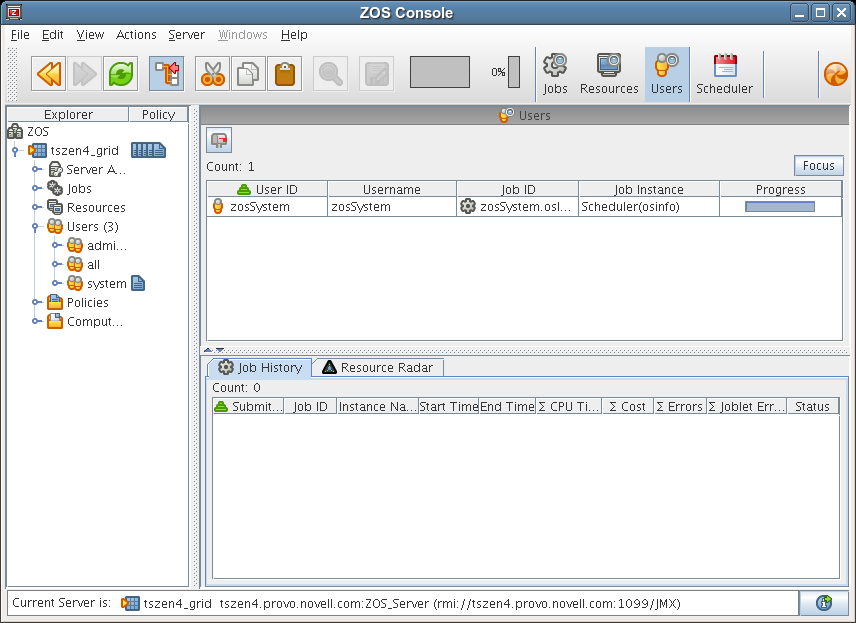
In this monitor, you can see the users that are connected to the server and what they are doing in the grid.
If a user logs in but has not been registered (that is, no account is created for that user), the authentication to the server is retried every 90 seconds. If this is the case, the User Registration icon has a “flag up” ![]() status, meaning that a user is waiting to register. If the icon has a “flag down”
status, meaning that a user is waiting to register. If the icon has a “flag down” ![]() status, either no user accounts have been created or all active users are logged in, so none are waiting to register.
status, either no user accounts have been created or all active users are logged in, so none are waiting to register.
You can use the console to register a user automatically (see Section 5.6.2, Automatically Register a User) or to register a user manually (see Section 5.6.3, Manually Register a User). If you choose to, you can also select which users can log in to create accounts (see Section 5.3.4, Select a Resource for Manual Registration).
The Users Monitor has many features to help you manage users when they are registered, including the jobs and joblets assigned to individual users. For more detailed information about the Users Monitor, see “Using the ZENworks Orchestrator Console” in the Novell ZENworks Orchestrator 1.2 Administration Guide.
5.6.2 Automatically Register a User
If your network environment does not require a high level of security (such as in a development and testing environment) and you want a quick way to create a user account, you can do so at the console.
-
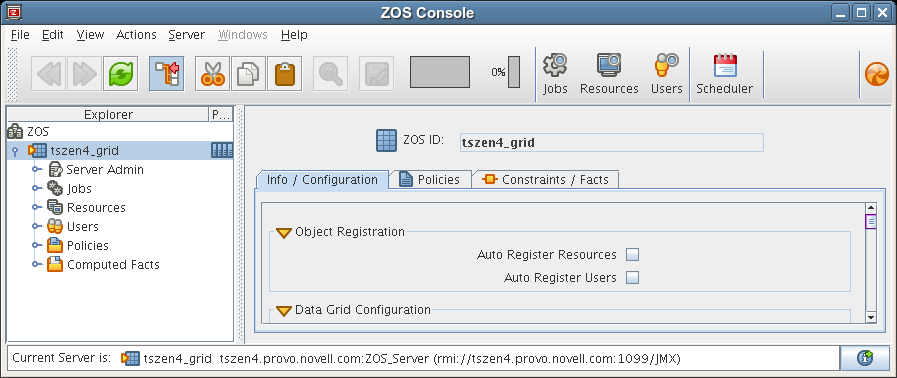
In the Explorer panel of the ZENworks Orchestrator Console, select the grid object representing the Orchestrator Server to open the page of the grid object.
-
In the section of the page, select the check box.
-
Use the zos command line interface to log in to the server.
-
From a system terminal, enter the following command:
zos login user=userIf you are attempting to log in to a machine other than the local host, you can alter the command to the following:
zos login user=user Orchestrator_server_name -
Enter the password for the user credentials. For this walkthrough, you can simply press to enter an empty password.
-
When prompted for a decision regarding whether you want to accept the server certificate, enter yes.
-
When a user with credentials attempts to log in the to Orchestrator Server, a user account is created for that user, but the user is not currently running jobs, as indicated by its object icon ![]() in the Explorer panel or in the Information view of each User group to which it belongs. The icon is not dimmed when that user has jobs running or a when a custom application (built with the Orchestrator SDK) is logged in.
in the Explorer panel or in the Information view of each User group to which it belongs. The icon is not dimmed when that user has jobs running or a when a custom application (built with the Orchestrator SDK) is logged in.
5.6.3 Manually Register a User
If you want a higher level of security for authorized users, you can manually create a user account in the console before the user logs in. When a user is created in the ZENworks Orchestrator Console, that user is ready to run jobs.
-
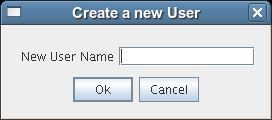
(Optional) Create a new user from the Explorer panel in the console.
-
In the Explorer panel in the console, right-click > click to display the Create a new User dialog box.
-
Specify the name of the new user you want to create in the field, then click .
The user account is created, but is not currently running jobs, as indicated by its object icon
 in the Explorer panel or in the Information view of each User group to which it belongs.
-
-
(Optional) Create a new user from the Main Menu in the console.
-
In the console, click > to display an expanded version of the Create a new Resource dialog box.
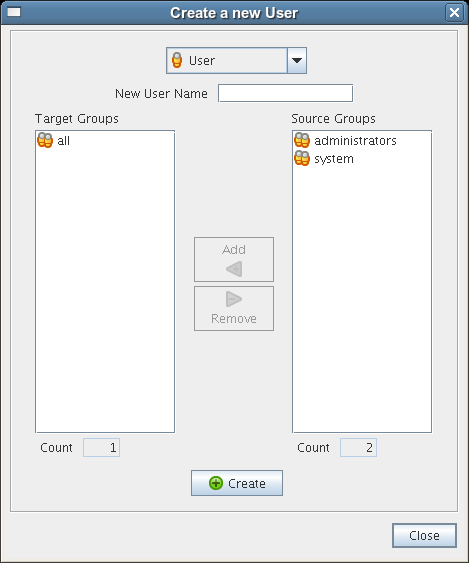
This dialog box includes a method for designating the user as a member of the user group. In this walkthrough, we will create the user as a member of the group, which does not place the user in the administrators group.
-
Specify the new username in the field, click , then click .
The user account is created, but is not currently running jobs, as indicated by its object icon
in the Explorer panel, or in the Information view of each User group to which it belongs.
-
5.6.4 Log In a User for Manual Registration
If you do not select the check box on the grid object’s page, you have the option of explicitly accepting or denying the login attempts of a user, thus preventing that user from creating an account.
-
Make sure that the check box on the grid object’s page is not selected (see Step 2).
-
Use the zos command line interface to log in to the server.
-
From a system terminal, enter the following command:
zos login user=userIf you are attempting to log in to a machine other than the local host, you can alter the command to the following:
zos login user=user Orchestrator_server_name -
Enter the password for the user credentials. For this walkthrough, you can simply press to enter an empty password.
-
When prompted for a decision regarding whether you want to accept the server certificate, enter yes.
-
-
In the Users Monitor, click the User Registration icon
 to open the User Registration Monitor dialog box.
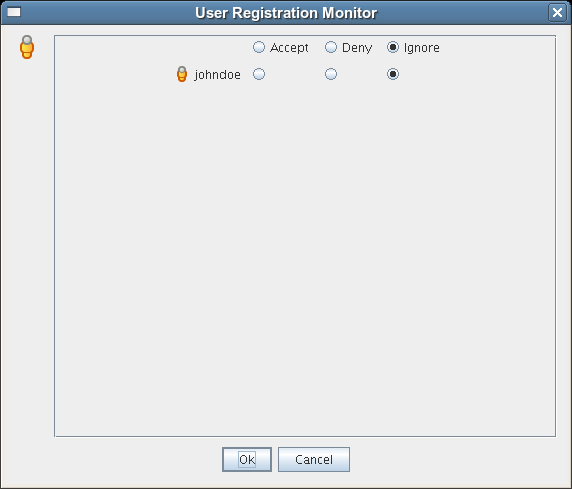
This dialog box lets you preview the users who are trying to log in to the server. The top row of radio buttons is a mass selector for all listed users, allowing you the choice to accept, deny, or ignore automatic registration for all listed agents.
If you want to choose the users that can be allowed to auto register, you can identify the user by name and select how you want to handle that agent’s request for registration the next time it tries to log in.
-
For this example, select the radio button adjacent to the user you want to register, then click .
The user account is created, but is not currently running jobs, as indicated by its object icon
in the Explorer panel, or in the Information view of each User group to which it belongs.