8.1 Enabling Push Notifications for Android Devices
Firebase Cloud Messaging (FCM) is the new version of Google Cloud Messaging (GCM) that enables a ZENworks MDM Server to send data to an Android device. The data might be a send-to-sync message that informs the device that there is new ZENworks data to be retrieved from the ZENworks MDM Server, or it might be a message with payload that pushes data directly to the device. The ZENworks MDM Server communicates with the FCM service, which then pushes the notification to the device. After receiving the push notification, the device contacts the ZENworks MDM Server directly to provide the requested information or to receive the changes.
To connect to the FCM service, you need to create a Firebase project in the Firebase console and obtain a .JSON file (that contains the Project Number) and a Server Key. The .JSON file and the Server Key are then used to configure ZENworks’ access to the FCM service.
If you want to create a new FCM project, then refer to Create a Firebase Project.
IMPORTANT:As of April 10, 2018, Google has deprecated GCM. Therefore, it is mandatory to migrate to the FCM service.
8.1.2 Create a Firebase Project
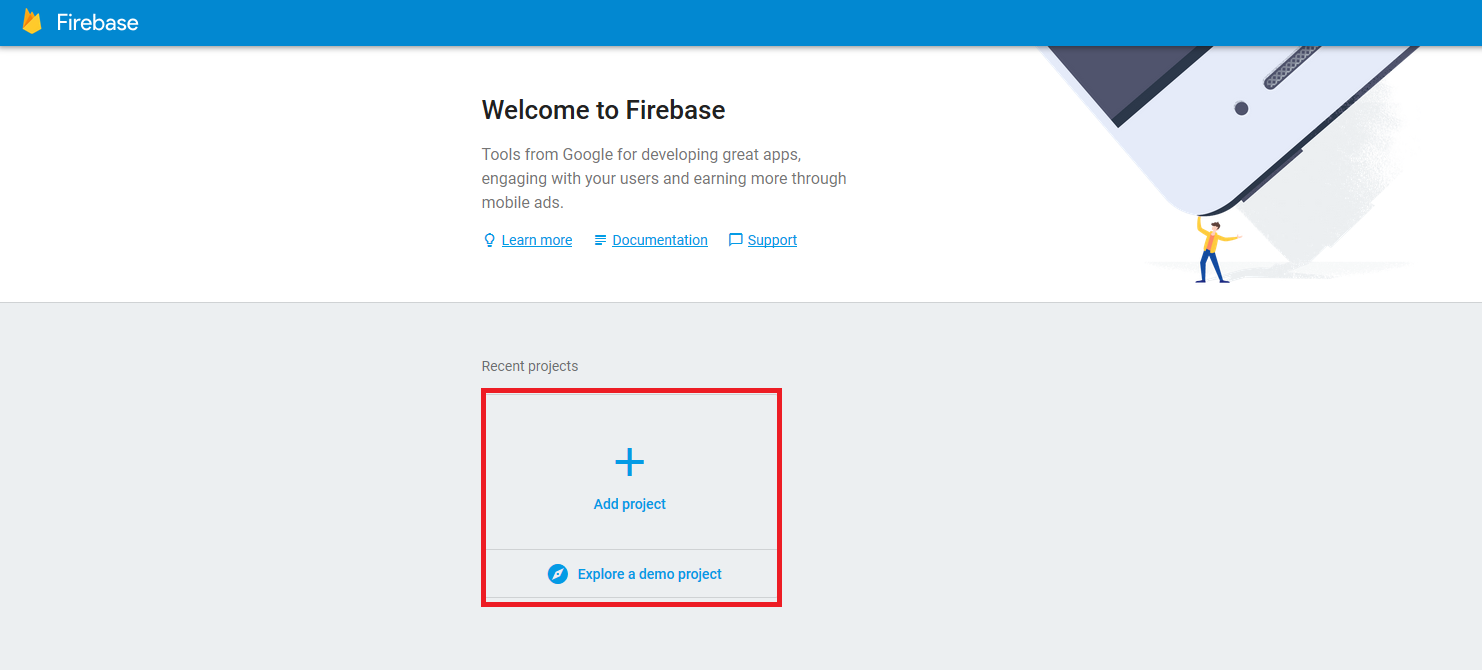
Follow these steps, if you want to create a Firebase project.
-
On the Getting Started with Mobile Management page, navigate to the section, click to display the Firebase Cloud Messaging page. Alternatively, from the left hand side navigation pane of ZCC, navigate to > > .
-
Click , which will direct you to the Firebase console at https://console.firebase.google.com.
-
Sign in using your Google account credentials.
As a best practice, we recommend that this should be a Google account created specifically for managing your corporate Google services and not a personal Google account.
-
Click .
-
Specify a and click .

-
Select in the page.
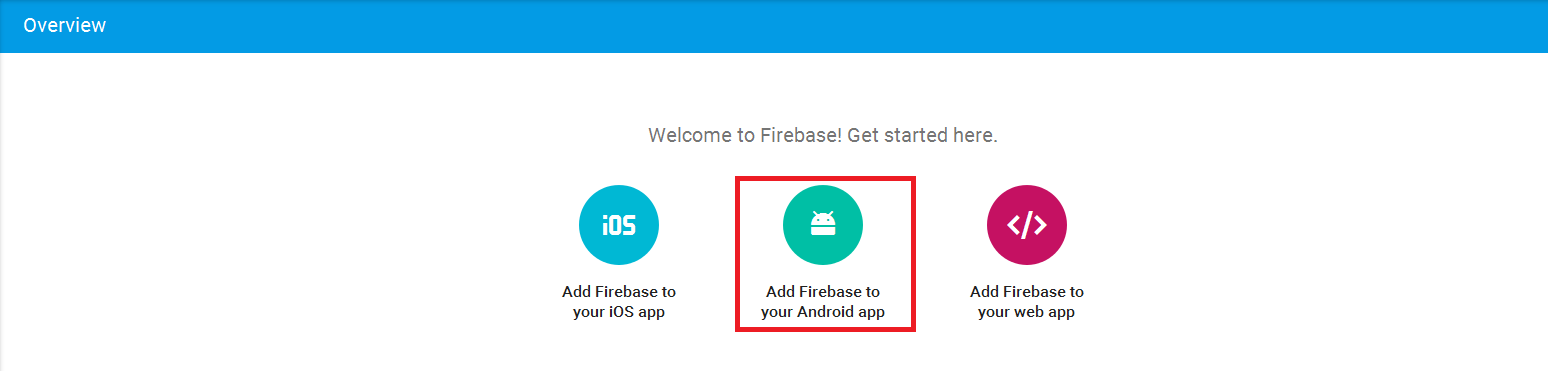
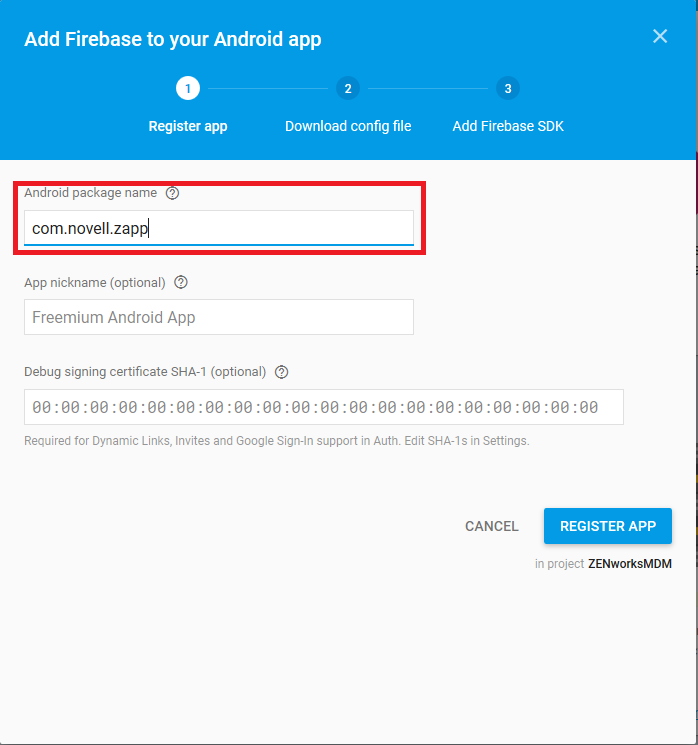
-
Specify the for the ZENworks Agent App, that is, com.novell.zapp. Click .
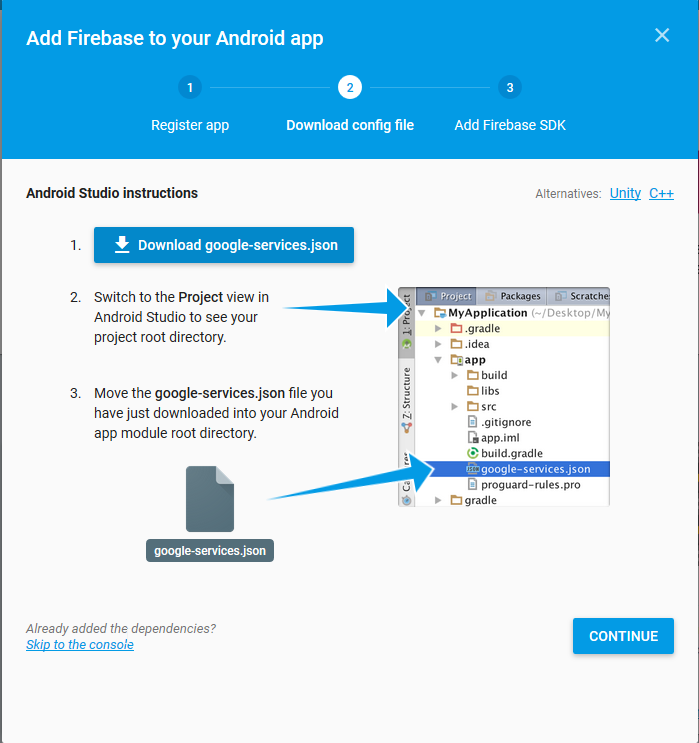
-
Click to download the .JSON file in your preferred location. Click and then click .
-
Click
 appearing next to and select .
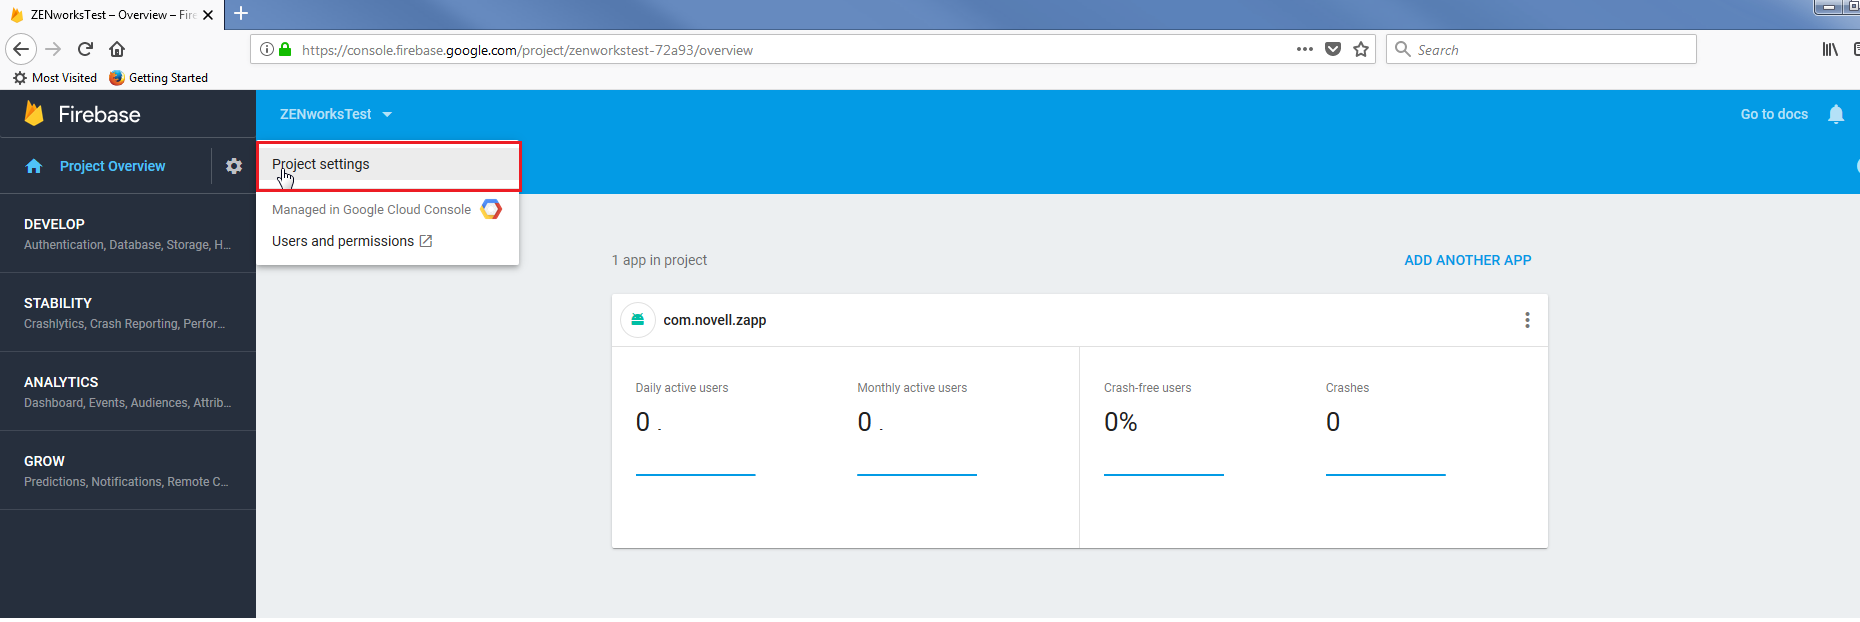
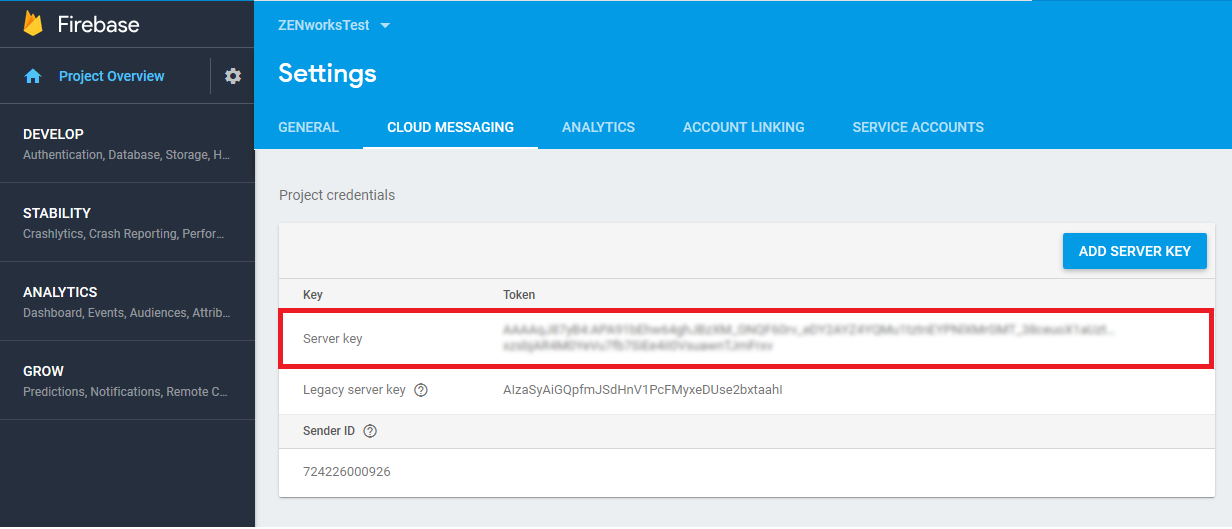
-
Select the tab. You can now view the . Note down this .
-
Exit the Firebase Console, then continue with Step 12.
-
In ZCC, on the Firebase Cloud Messaging page configure ZENworks with the .JSON file and Server Key:
Before importing the .JSON file, ensure that the file contains the firebase URL parameter. To add the parameter, edit the file and specify the following: firebase_url: https://(project_id).firebaseio.com
For example: In the following file, the firebase_url parameter is missing:
"project_info": {
    "project_number": "973364669284",
    "project_id": "fir-project-75920",
    "storage_bucket": "fir-project-75920.appspot.com"
If the project ID is fir-project-75920, then you need to add the firebase_url parameter in the following manner:
"project_info": { "project_number": "973364669284", "firebase_url": "https://fir-project-75920.firebaseio.com", "project_id": "fir-project-75920", "storage_bucket": "fir-project-75920.appspot.com"NOTE:project_id in the .JSON file is unique to the Firebase project.
-
Click the check box to turn on the option.
-
Specify the following fields with the information you generated in the Firebase Developers Console:
-
Project JSON file: Upload the .JSON file that you have downloaded from the Firebase Console
-
Server Key: Specify the Server Key for your Firebase project.
-
Key activation date: Specify the key’s activation date.
-
Google User ID: Specify the Google account ID used to log in to the Firebase Developers Console and create or import the Firebase project.
-
-
Click to validate that the information is entered correctly and the key is active. This option will test the connection to the FCM service from each of the MDM Servers configured in the zone. If the connectivity fails from one or more MDM Servers, then the failed servers are listed.
-
Click to save your Firebase Cloud Messaging configuration.
-