2.10 ZENworks Import
Within the ZENworks CMDB import screen, multiple asset management datasources can be synchronized with the service management system.
2.10.1 Importing Items from ZENworks
To import Items from ZENworks, do the following:
-
Select
-
Click .
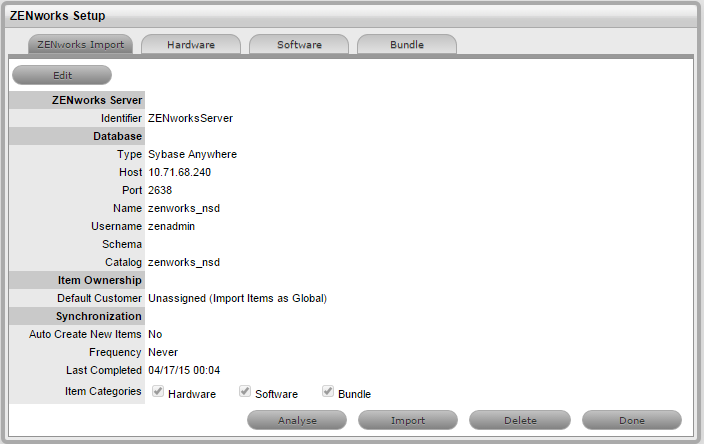
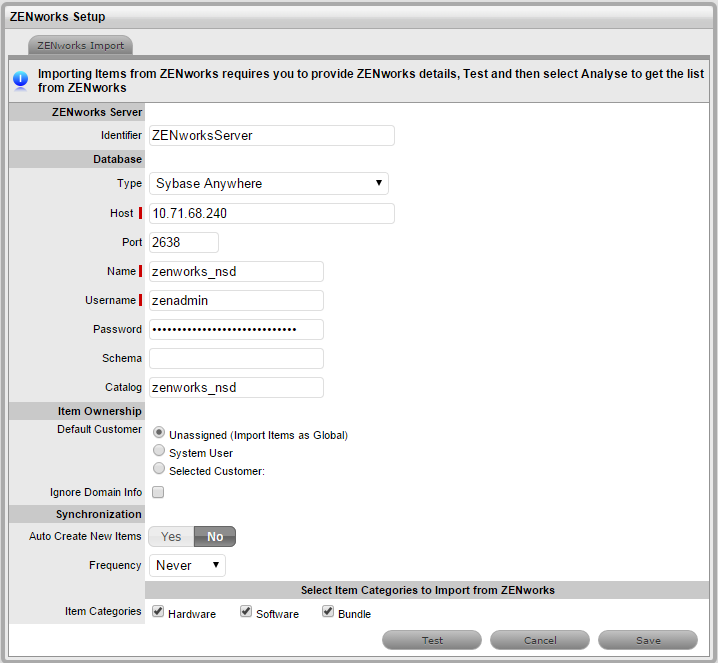
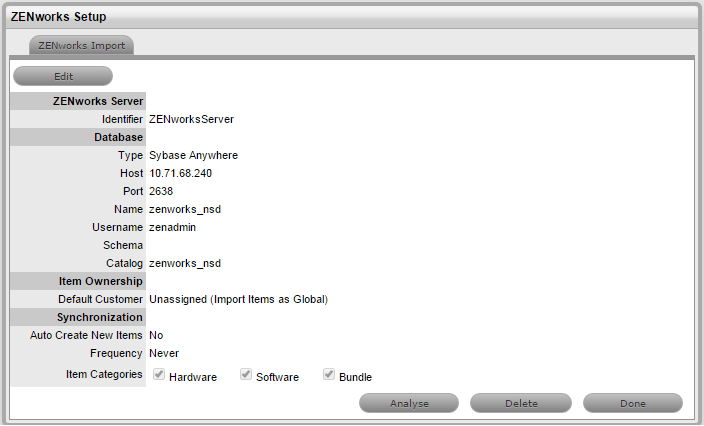
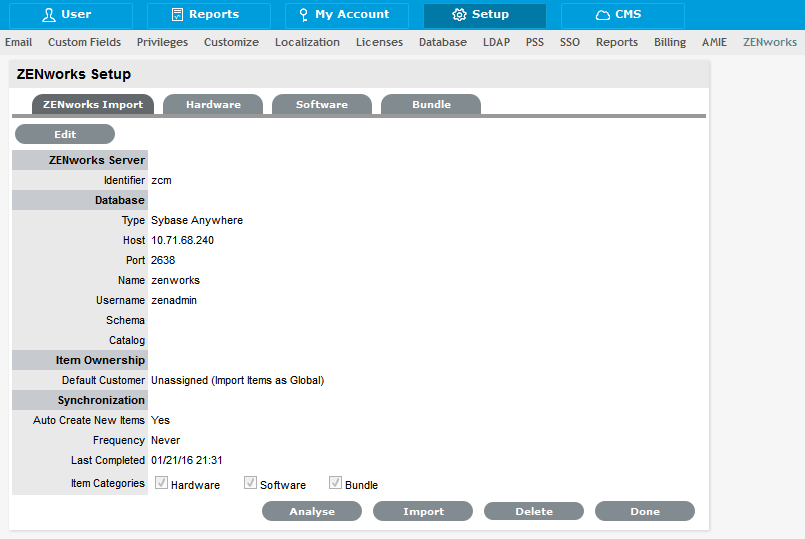
The Server, Database, Ownership, Synchronization, and Item categories fields appear.
Configuration
Identifier
An identifying label that is used in List Views to inform Users regarding the Source of an Item.
Server and Database
Type
Select the ZENworks database Type.
Host
Enter the ZENworks Host name or IP Address.
Port
Enter the Port Number for the database server.
Name
Enter the Database name.
Username
Complete User name details.
Password
Complete Password details.
Schema
Enter the Schema type.
Catalog
Enter the Catalog name. Typically this would be the name of the Database.
Notification (Only If 'Control CMS via RFC' is enabled)
Email RFC's to Tech?
Select this option if technicians are to be notified of generated change requests.
Ownership
Unassigned (Import Items as Global)
Select this option if Items are to be globally owned.
System User
Select this option to assign imported Items to the System User.
Selected Customer
Select this option to assign imported Items to a specific Customer.
Ignore Domain Info
Tick this field if the system is to disregard domain details attached to the User Name inside the AMIE source when assigning an owner.
Synchronization
Auto Create New Items
This option is only visible when a single AMIE source is defined within AMIE. When enabled, Items are automatically created upon synchronization, relative to the Control CMS via RFC setting within the Setup>Privileges>Requests tab .
If disabled, a snapshot of imported asset information is listed within the Super>Configuration>AMIE Snapshots tab.
Frequency
Choose a synchronization interval. This can be left as Never if the database will be synchronized manually.
NOTE:Synchronization times will vary depending on the connection speed with the external service and the database size.
Item Type
Hardware
Select this option if you want to import the hardware details of ZENworks devices.
Software
Select this option if you want to import the software details of ZENworks devices.
Bundle
Select this option if you want to import the ZENworks bundle details.
-
Click , to initiate a connection and test the setup.

If a connection is not made, a system message will advise which part of the configuration was not successful.
-
Click .
-
Click .
The System starts analyzing information from ZENworks datasource. This might take several minutes depending on size of datasource and network connection.

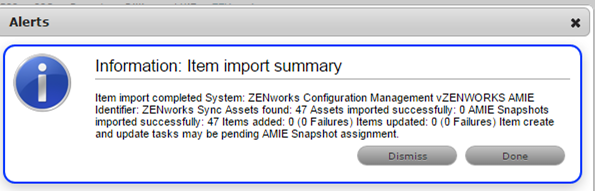
After the analysis is complete, the system shall generate an alert with the analysis result.
On successful analysis, you will see tabs for selected Item Categories from Hardware, Software and Bundles.
-
In each of the item category tabs (Hardware, Software, Bundles), expand the parent tree.
Figure 2-1 Hardware Tab
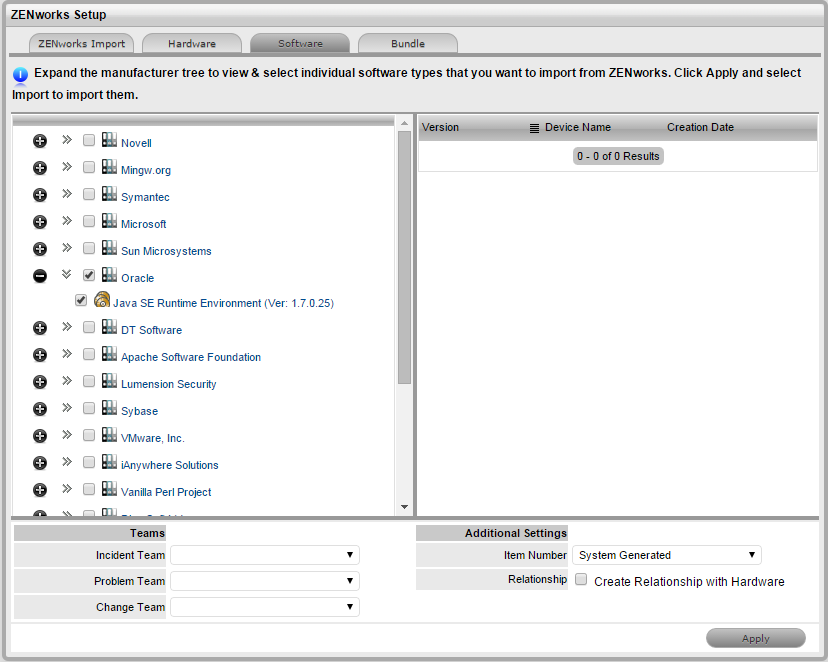
Figure 2-2 Software Tab
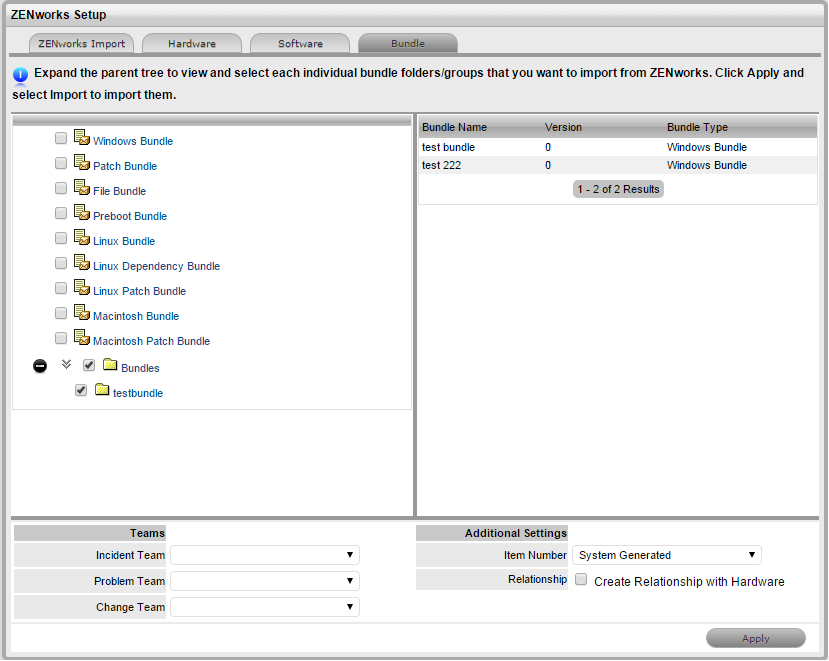
Figure 2-3 Bundle Tab
-
Click each item.The details are displayed on the right -hand pane.
-
Review the information, and select each individual device folders, groups, software type, and Bundles that you want to import from ZENworks.
NOTE:Selecting the parent folder doesn’t select individual items in the folder or subfolders
-
Specify the Teams for the selected items
Specify if you want the item number to be generated by the system or manually. This option becomes available only if the Edit Item number is set to Yes in >>
For software and bundles, select the check box to create relationships after import.
-
Click Apply in each of the Item category tab to save you selections.
-
Navigate to ZENworks Import tab and click to start importing the selected items from ZENworks into the CMDB.
The system shows import progress message. The import might take several minutes depending on the number of items selected for import and network connection.
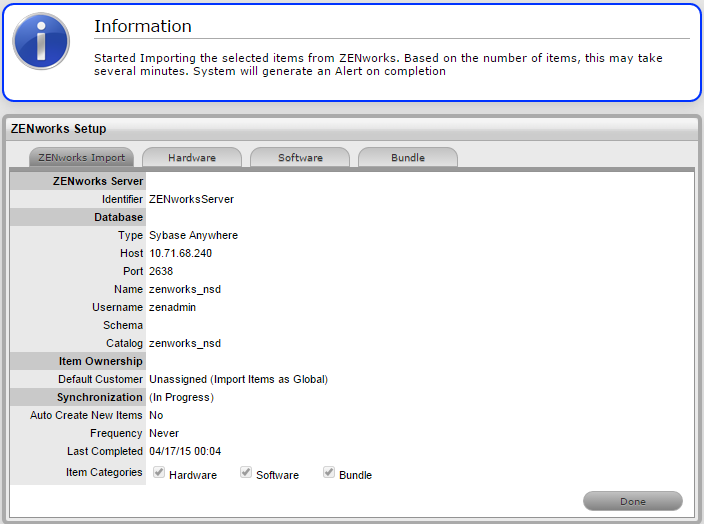
After the Import is complete, an alert appears providing import results.
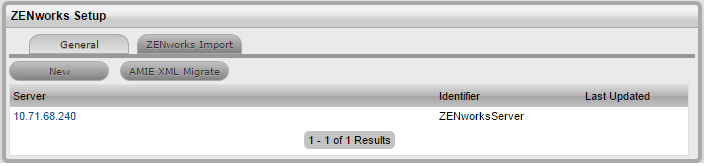
2.10.3 AMIE XML Migrate
The AMIE XML Migrate option that is available within the ZENworks Import tab enables you to migrate the existing or older, System provided AMIE XML format to the ZENworks UI format.
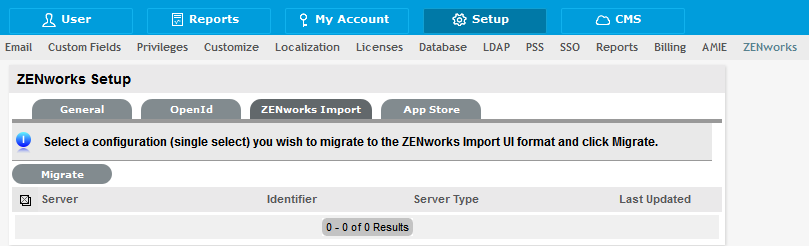
Migrating the configuration from XML
To migrate the system provided AMIE XML files to ZENworks UI format:
-
Select an XML AMIE configuration you wish to migrate from the displayed list.
-
Click Migrate

NOTE: You can only migrate the System provided AMIE configurations (XML files). You cannot migrate the customized configurations to the ZENworks UI format. It is recommended that you continue to import items from your customized configurations.
You cannot start a migrate if the selected configuration is importing items because it might cause a conflict with the data that is being imported. You can start migrating the configuration only after the Item import is complete.