30.1 Sharing the content-repo Directory on the Primary Server
On the ZENworks Primary Server, you need to configure the content repository as a file system share that can be accessed as an anonymous read-only share. You must configure the content repository as read-only for preventing anonymous users from manipulating the data and causing security issues.
30.1.1 Sharing the Content Repository on a SUSE Linux
-
Install Samba.
For more information on how to install Samba, see the Samba Administration Guide.
-
Launch YaST Control Center.
-
In the field, type Samba Server.
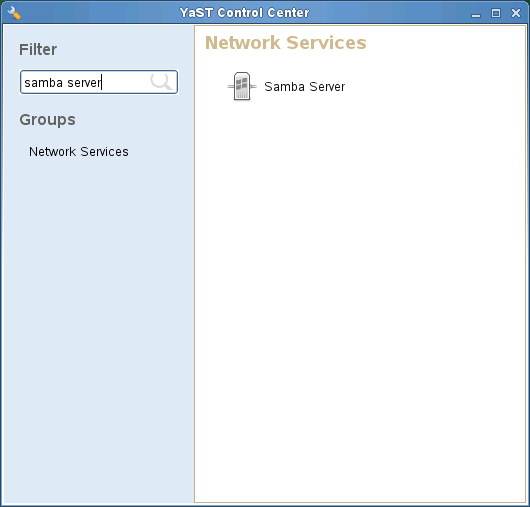
The Samba Server configuration process is initialized.
-
Click .
The Samba Installation window is displayed.
-
In the field, specify the workgroup or domain name, then click .
-
In the option, select one of the following:
-
Primary Domain Controller (PDC)
-
Backup Domain Controller (BDC)
-
Not a Domain Controller
-
-
Click .
The Samba Configuration window is displayed.
-
In the tab, select how you want the Samba Server to start:
-
During Boot
-
Manually
-
-
Click .
The Password dialog box is displayed.
-
Specify the Samba root password, verify the password, then click .
-
Select the settings for the new share.
-
Click > > .
The New Share window is displayed.
-
Specify the share name, then provide a short description of the share.
-
Select the option to share the folder.
-
Click to display the Browse for Folder dialog box. Browse to and select the path that you want to share.
-
Select the check box to only read the files that are shared.
-
Select the check box to make new files inherit the default ACLs from the containing folder.
-
Click .
-
-
In the Share content-repo window, click .
-
In the drop-down list, select , then click .
-
Click .
30.1.2 Sharing the Content Repository on Windows
You can perform the following tasks in the order listed:
-
Enable simple file system sharing.
Windows 2003
-
Click > > > .
-
Expand , then locate the shared folder or drive to that you want to share.
-
Right-click the folder or drive, then click .
The Properties dialog box is displayed.
-
Click the tab.
-
Select the option.
-
Specify the share name and a brief description about the folder.
-
Click > .
Windows 7
-
Open Windows Explorer, then locate the shared folder or drive to that you want to share.
-
Right-click the folder or drive, then click .
The Properties dialog box is displayed.
-
Click > .
-
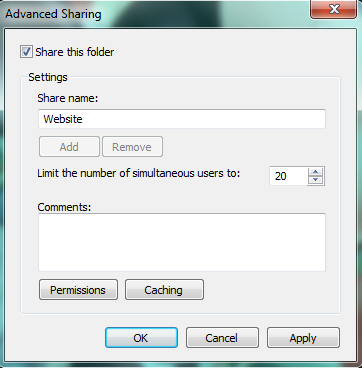
In the Advanced Sharing panel, click .
The Advanced Sharing dialog box is displayed.
-
Select the check box.
The Settings panel is enabled.
-
Specify the share name.
-
Click > .
-
-
Use the gpedit.msc method to configure the group policy settings:
-
From the desktop Start menu, click .
-
In the Open option, type gpedit.msc, then click .
The Local Group Policy Editor window is displayed.
-
Double-click > > > > .
-
Select the option.
-
In the tab, select .
-
Click > .
-
Select the option.
-
In the Local Security Setting tab, add the content-repo setting to the list of shares.
-
Click > .
-
Restart the Server service from the Service Manager.
-