6.1 Navigating the Management Console UI
To begin a security policy:
-
In the Management Console, click > .
-
Specify the name for the new policy, then click to display the Management Console with the Policy toolbar and the tab displayed.
The following sections describe the Management Console’s user interface as it relates to creating and distributing security policies using ZENworks Endpoint Security Management:
6.1.1 Using the Policy Tabs and Tree
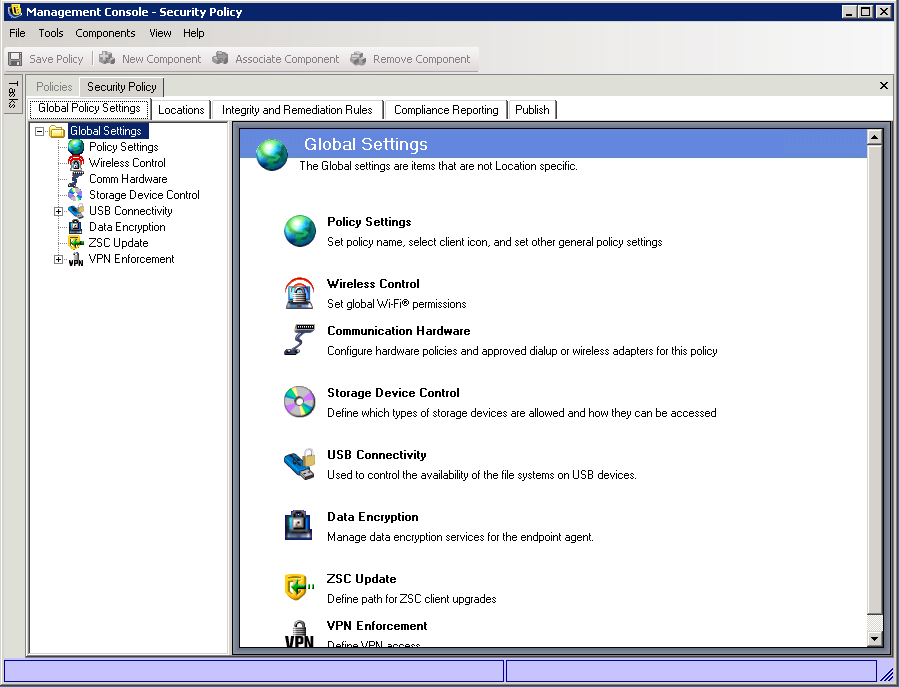
A security policy is configured by navigating through the available tabs at the top of the Management Console and by using the options in the tree in the left pane.
Figure 6-1 Management Console
The available tabs include the following:
-
Global Policy Settings: The Global Policy Settings are applied as defaults throughout the policy and are not location specific.
The Global Policy Settings let you configure the following settings:
-
Policy Settings
-
Wireless Control
-
Communication Hardware
-
Storage Device Control
-
USB Connectivity
-
Data Encryption
-
Endpoint Security Client
-
VPN Enforcement
-
-
Locations: These policy rules are applied within a specific location type, whether specified as a single network or a type of network, such as a coffee shop or airport.
-
Integrity and Remediation Rules: These rules ensure that essential software (such as antivirus and spyware) is running and up-to-date on the device.
-
Compliance Reporting: Instructs the policy whether reporting data (including the type of data) is gathered for this particular policy.
-
Publish: Publishes the completed policy to individual users, directory service user groups, and individual machines.
The Policy Tree displays the available subset components for the tabbed categories. For example, include subsets of , , and . Only the items contained on the primary subset page are required to define a category, the remaining subsets are optional components.
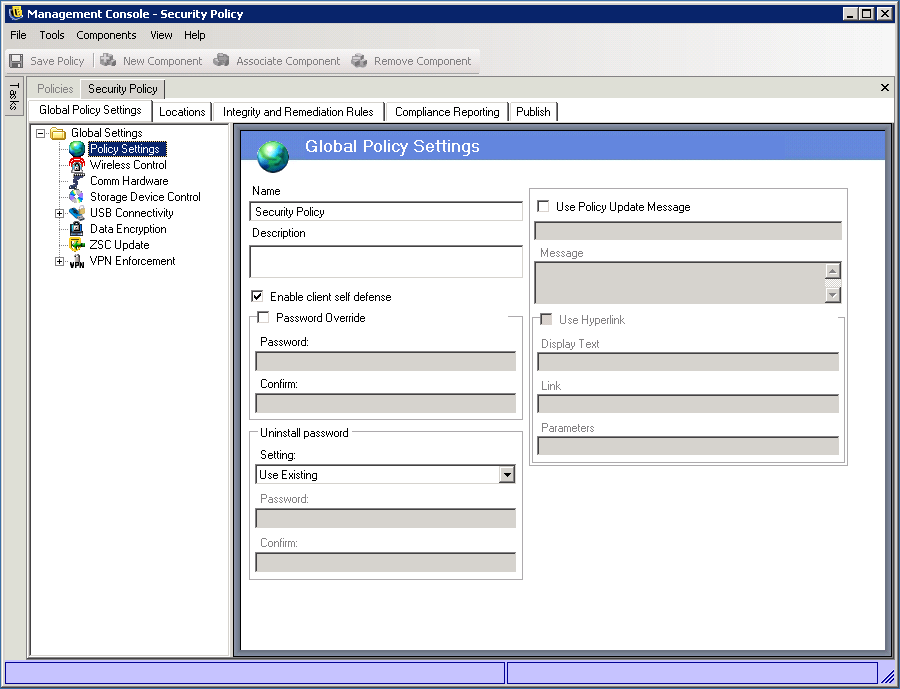
6.1.2 Using the Policy Toolbar
The policy toolbar provides four controls. The control is available throughout policy creation; the component controls are only available under the and tabs.
Figure 6-2 Policy Toolbar

Explanations of the tools are provided below:
-
Save Polic: Saves the policy in its current state. As you complete each component subset, it is highly recommended that you click the icon on the toolbar. If incomplete or incorrect data is entered into a component, the error notification screen displays (see Section 6.3.2, Error Notification for more details).
-
New Component: Creates a new component in a Location or Integrity subset. After the policy is saved, a new component is available to associate in other policies.
-
Associate Component: Opens the Select Component screen for the current subset. The available components include any pre-defined components included at installation and all components created in other policies.
Figure 6-3 Select Component Window
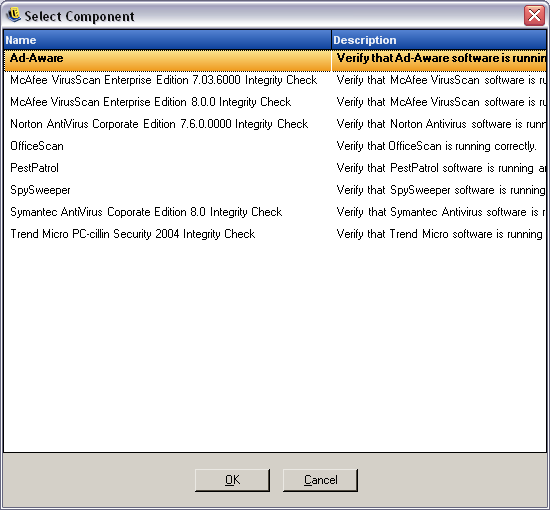
Changes made to associated components affect all other instances of that component. For example, you can create a single Location component named Work that defines the corporate network environment and security settings to be applied whenever an endpoint enters that environment. This component can now be applied to all security policies. Updates to the environment or security settings can be changed in the component in one policy and will update the same component in all other policies that its associated to.
Use the command to view all other policies associated with this component.
-
Remove Component: Removes a component from the policy. The component is still available for association in this and other policies.