5.1 Installation Steps
Click from the Installation interface menu. The Policy Distribution Service installation begins.
At launch, the installer verifies that all required software is present on the server. If any software is absent, it is installed automatically before the installation continues to the Welcome Screen (license agreements for the additional software might need to be accepted). If Microsoft Data Access Components (MDAC) 2.8 need to be installed, the server must reboot following that installation before ZENworks Endpoint Security Management installation can continue. If you are using Windows 2003 Server, ASP.NET 2.0 is configured to run by the installer.
After Policy Distribution Service installation begins, perform the following steps:
NOTE:The following steps outline what you, the administrator, need to do to complete the installation process. Internal processes displays throughout the installation, and are not documented here unless there is a specific action or information that you will need for installation to be successful.
-
Click on the Welcome screen to continue.
-
Accept the Licensing Agreement, then click .
-
Select either a or installation.
Figure 5-1 Select Typical or Custom Installation
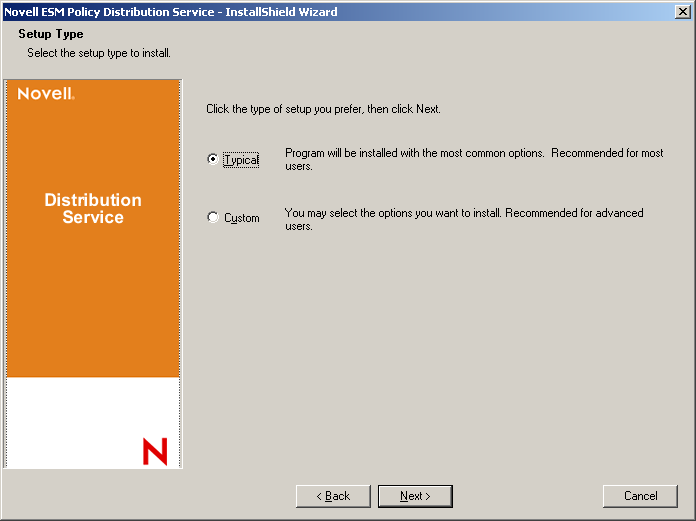
Both installation paths are presented below:
5.1.1 Typical Installation
A typical installation places the Policy Distribution Service software files in the default directory: \Program Files\Novell\ESM Policy Distribution Service. The SQL database name is assigned as STDSDB. The three SQL database files (data, index, and log) are placed in: \Program Files\Microsoft SQL Server\mssql\Data.
-
Novell SSL Certificates are created for the installation. If you want to use your own SSL certificates, use Custom Installation. These certificates must be distributed to all users.
-
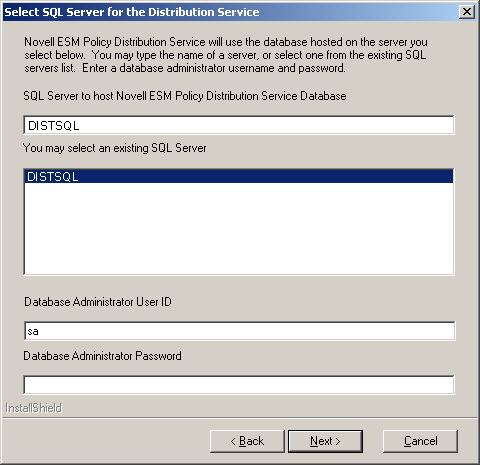
The installer detects the available SQL databases on the machine and network. Select a secured SQL database for the Policy Distribution Service and enter the database administrator's name and password (if the password is zero characters, the installer warns of the potential security issue). The username and password cannot be a domain user; it must be a SQL user with SysAdmin rights.
Figure 5-2 Select SQL Server
-
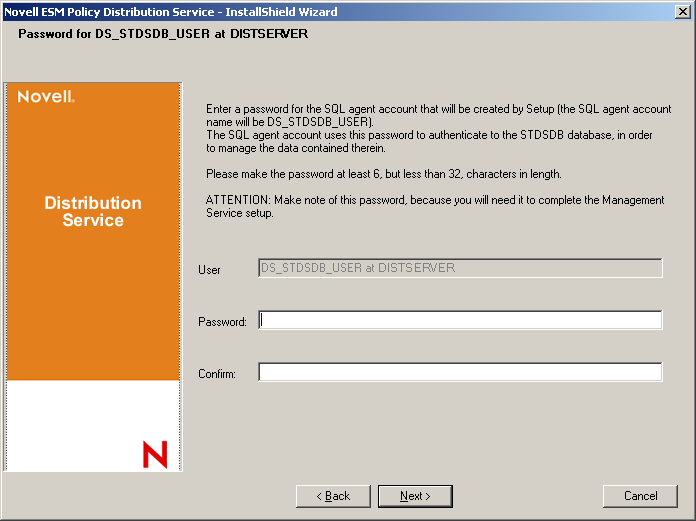
Specify the password for the Policy Distribution Service agent. This is the username and password the service uses to log in to its SQL database.
Figure 5-3 Distribution Service SQL Password
-
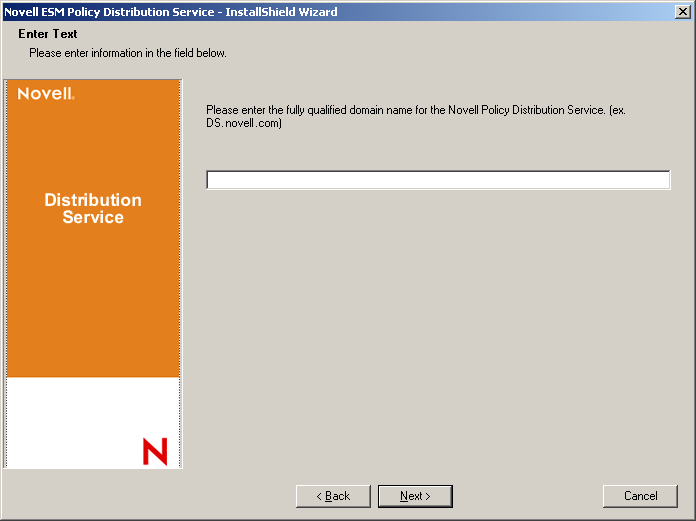
Specify the Policy Distribution Service domain name. This must be the fully qualified domain name if the server resides outside the corporate firewall. Otherwise, only the NETBIOS name for the server is required.
Figure 5-4 Enter Policy Distribution Service Domain Name
-
At the Copy Files screen, click to begin the installation.
-
An ESM Setup Files folder is generated in the installation directory. This contains a Setup ID file and the ESM-DS.cer file (Novell self-signing SSL certificate) required by the Management Service. Copy this file directly onto the machine designated as the host for the Management Service, either via a netshare or by saving the file to a disk or thumb drive and hand-loading it onto the server installation directory.
-
The Policy Distribution Service is now installed, click to close the installation program to launch the performance monitor.
5.1.2 Custom Installation
A custom installation displays the defaults used in the typical installation and permits the administrator to specify, or browse to, a different directory to place the software files.
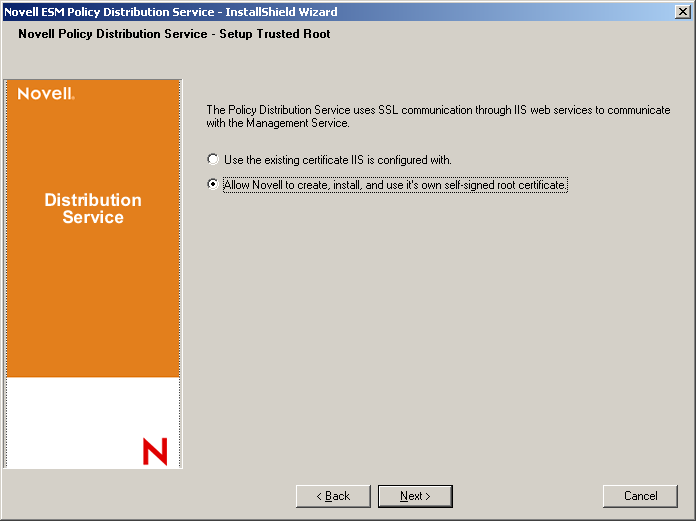
The administrator can select either to install a Novell self-signed SSL certificate or use one of their own.
-
An SSL Certificate is required for secure communication between the Policy Distribution Service and the Management Service, and between the DS and all Novell Security Clients. If you already have a certificate authority, click . If you need a certificate, click . The installer creates the certificates and the signing authority. Regardless of the certificate type, these certificates must be distributed to all users.
Figure 5-5 Setup Trusted Root
-
The installer detects the available SQL databases on the machine and network. Select the secured SQL database for the Policy Distribution Service and enter the database administrator's name and password (if the password is zero characters, the installer warns of the potential security issue). The username and password cannot be a domain user; it must be a SQL user with SysAdmin rights.
Figure 5-6 Select SQL Server
-
Set the database name (default is entered as STDSDB).
-
Specify the password for the Policy Distribution Service agent. This is the username and password the service uses to log in to its SQL database.
Figure 5-7 Distribution Service SQL Password
-
Specify the Policy Distribution Service domain name. This must be the fully qualified domain name if the server resides outside the corporate firewall. Otherwise, only the NETBIOS name for the server is required.
Figure 5-8 Enter Policy Distribution Service Domain Name
-
At the Copy Files screen, click to begin the installation.
-
Specify the file paths for the data, index, and log files.
-
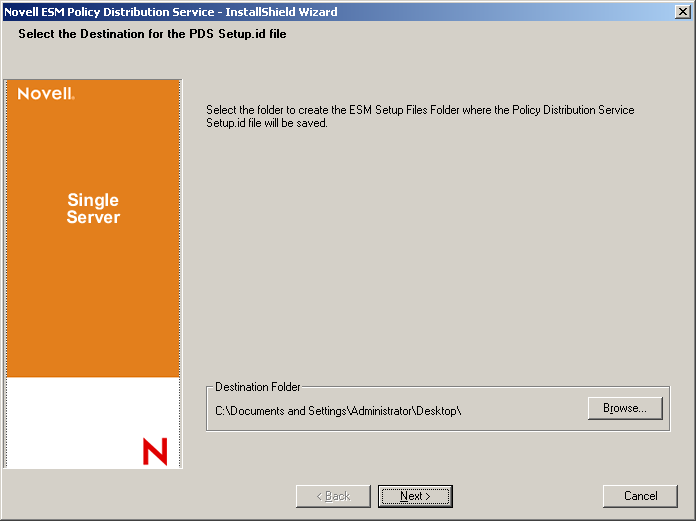
An ESM Setup Files folder is generated in the installation directory. This contains a Setup ID file and the ESM-DS.cer file (Novell self-signing SSL certificate, if selected) required by the Management Service. Use Browse to designate where this file should be saved on the server (default = installation directory).
Figure 5-9 Save Setup Files
-
If you chose to use an enterprise SSL certificate, place a copy of this file into the ESM Setup Files folder.
-
Copy the entire ESM Setup Files directly onto the machine designated as the host for the Management Service, either via a netshare or by saving the file to a disk or thumb drive and hand-loading it into the server installation directory.
-
The Policy Distribution Service is now installed, click to close the installation program to launch the performance monitor.