7.1 Installation Steps
Click from the installation interface menu.
At launch, the installer verifies that both the required .NET Framework 3.5 and WSE 2.0 SP2 are present on the machine. If one or both are absent, they will be installed automatically before the installation continues to the Welcome Screen (the license agreement for .NET 3.5 will need to be accepted).
To install the Management Consoles:
-
Click to continue.
-
Accept the Licensing Agreement, then click .
-
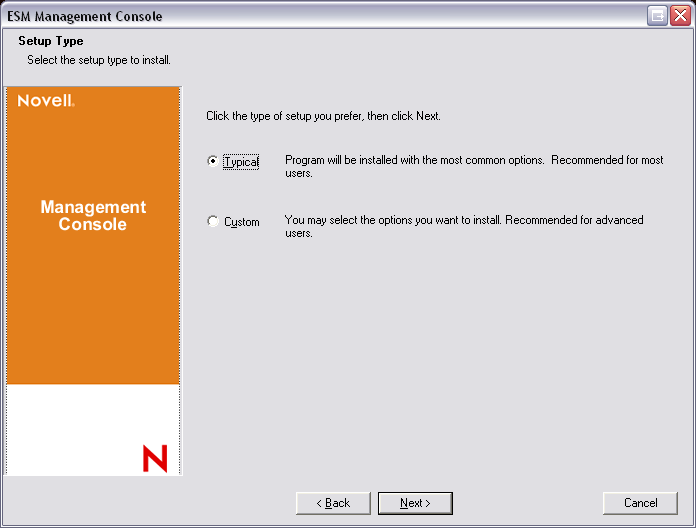
Select either a or installation.
Figure 7-1 Select Typical or Custom
Both installation paths are presented below:
7.1.1 Typical Installation
A typical installation uses all the default server and SSL information contained in the STInstParam.id file and uses the default directory: \Program Files\Novell\ESM Management Console. No additional selections need to be made for Management Console installation, providing the ESM Setup Files directory is on the machine.
7.1.2 Custom Installation
A custom installation displays the STInstParam.id defaults used in the typical installation and permits the administrator to change that information.
-
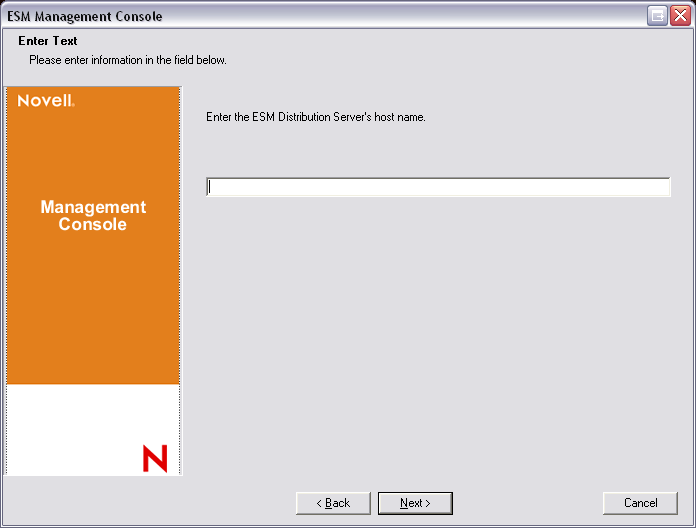
Specify the Policy Distribution Service's hostname (this must be the fully-qualified domain name if the Distribution server is deployed outside the enterprise firewall).
Figure 7-2 Enter Distribution Service Host Name
-
Specify the Management Service hostname.
-
Specify the Management Service SQL database hostname.
-
Specify the Management Service SQL database name.
Figure 7-3 Enter MS SQL database name

-
Specify the SQL SA username and password identified during Management Service installation.
-
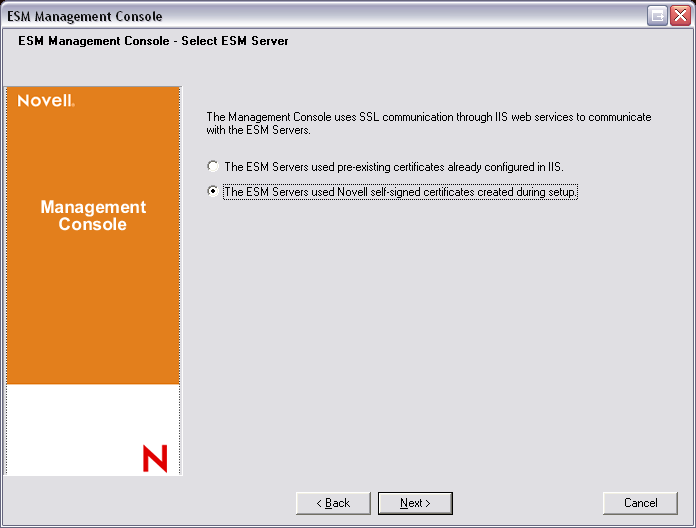
Select the type of SSL Certificate installed on the Policy Distribution Service and the Management Service.
Figure 7-4 Select Server Certificates
-
Select the directory where the Management Console is installed. The default location is \Program Files\Novell\ESM Management Console.
After you install ZENworks Endpoint Security Management, you must create and configure a directory service before you can start managing devices in your system.
The New Directory Service Configuration Wizard lets you create a directory service configuration that defines the scope of your Endpoint Security Client installations. The new configuration uses your existing directory service to define the logical boundary for your user-based and computer-based client installations.
The wizard guides you through the process of selecting the directory service and the contexts where current and future client accounts reside.
The wizard also lets you synchronize the directory entries included in the new configuration. This synchronization is performed in the background so you can immediately begin using your new configuration.
After installing ZENworks Endpoint Security Management, the New Directory Service Configuration Wizard automatically displays. For more information about creating and configuring the directory service, see Configuring the Directory Service
in the ZENworks Endpoint Security Management Administration Guide.