1.1 Creating a Directory Service Configuration
When you create a directory service configuration for a directory, you define the connection information for the Management Service to access the directory and identify the users or computers to whom policies can be published.
If necessary, you can create multiple directory service configurations to support publishing of policies to users or computers in different directories.
The following sections provide instructions for creating configurations for the two directory services:
1.1.1 Defining eDirectory as the Directory Service
-
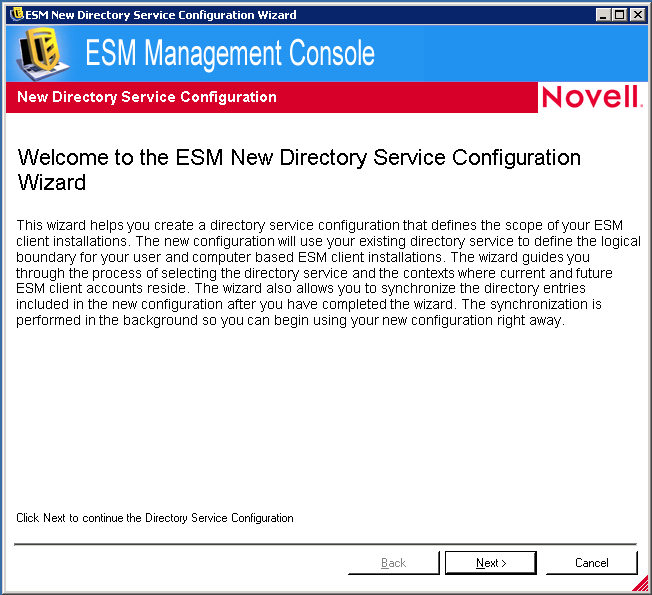
In the Management Console, make sure the New Directory Service Configuration Wizard is displayed.
If the wizard is not displayed, launch the Management Console by double-clicking the ESM Management Console icon on the desktop or by selecting the menu > > > > .
-
Complete the wizard. The following table provides information for each of the pages.
-
If you have not already done so, click to complete the directory service configuration.
The directory is added to the list.
If you selected containers to synchronize, the Management Console begins the synchronization. You can double-click
 in the Windows* notification area to display the Directory Services Synchronization dialog box.
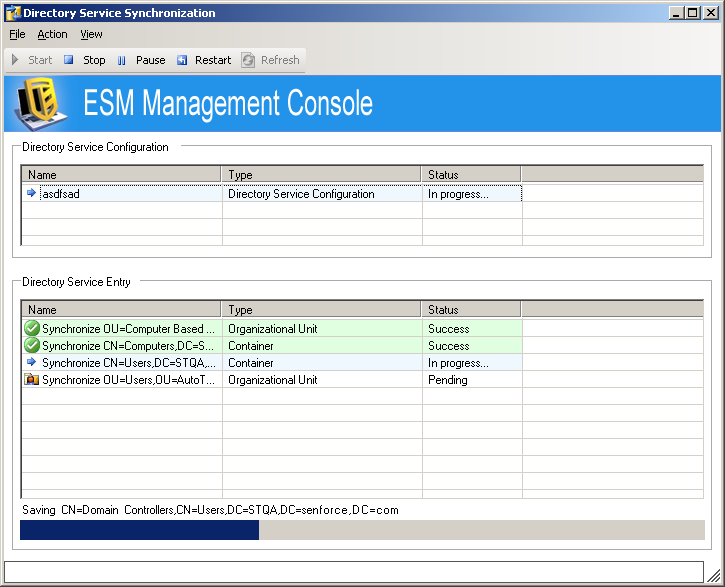
The synchronization occurs in the background. If you exit the Management Console, the synchronization stops. When you open the Management Console again, the synchronization resumes where it left off.
1.1.2 Defining Active Directory as the Directory Service
-
In the Management Console, make sure the New Directory Service Configuration Wizard is displayed.
If the wizard is not displayed, launch the Management Console by double-clicking the ESM Management Console icon on the desktop or by selecting the menu > > > > .
-
Complete the wizard. The following table provides information for each of the pages.
-
If you have not already done so, click to complete the directory service configuration.
The directory is added to the list.
If you selected containers to synchronize, the Management Console begins the synchronization. You can double-click
in the Windows notification area to display the Directory Services Synchronization dialog box.
The synchronization occurs in the background. If you exit the Management Console, the synchronization stops. When you open the Management Console again, the synchronization resumes where it left off.