4.0 Installing the Services to a Single Server
In a single-server installation, you install the Management Service and the Policy Distribution Service to a single server inside your firewall (see Section 2.1.1, Consolidated Configuration (Single Server)). Users receive policy updates only when they are inside the firewall or connected via VPN.
After you complete the following instructions to install the two ZENworks® services, continue with Section 6.0, Installing the Management Console and Section 7.0, Installing the Security Client.
To perform a single-server installation:
-
Make sure the server meets the system requirements (see Section 2.2.1, Server Requirements).
-
Make sure that you have completed all installation preparation tasks (see Section 3.0, Preparing for Installation).
-
At the server, insert the ZENworks Endpoint Security Management disk to run the Master Installer.
The Master Installer is a set of browser-based screens that helps you launch the setup programs for the various ZENworks Endpoint Security Management components.
If the Master Installer does not auto-run, double-click default.htm at the root of the disk.
-
Click the language you want to use for the text displayed on the Master Installer pages.
-
Click .
-
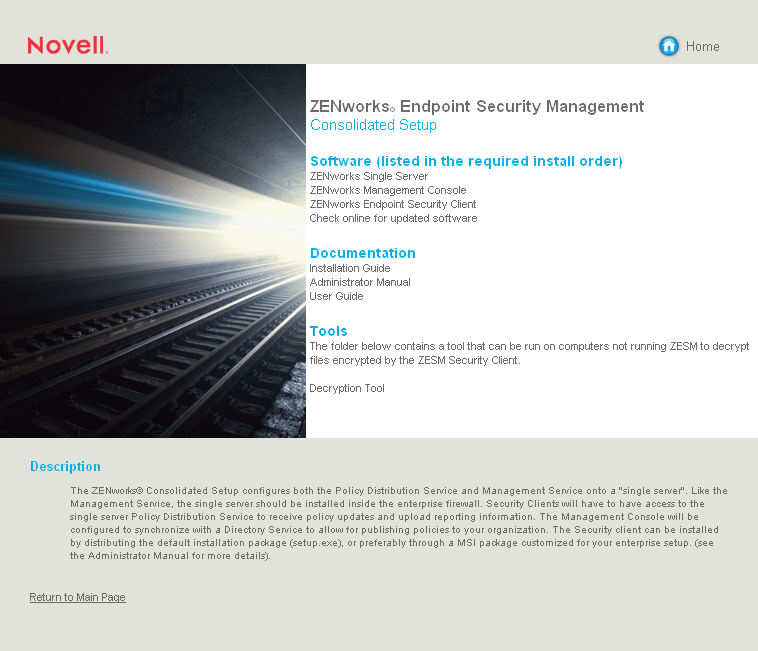
Click to launch the Single Server installation program.
-
Select the language you want to use for the installation program, then click .
With MS SQL Server 2005 or 2008, you must perform a Custom installation. Typical installation is not supported.
-
The installation program attempts to detect a local SQL Server. If the installation program does not detect a local SQL Server, the following dialog box is displayed:

Take one of the following actions:
-
If MS SQL Server 2000 is installed locally on the server, make sure that the SQL Server is running, then click .
-
If you are using remote MS SQL Server 2000, click .
-
If you are using MS SQL Server 2005 or 2008, either locally or remotely, click .
-
-
Complete the installation, using information from the following table. Each row of the table corresponds to one of the installation program screens that requires input.
Installation Prompt
Explanation
Setup type
Select only for the following installation scenario: 1) MS SQL Server 2000 is installed locally on the server, and 2) you intend to use Novell® self-signed certificates (no Microsoft or third-party CA certificates).
For all other installation scenarios, select .
SSL certificate
This option is available only with a Custom installation. A Typical installation automatically uses Novell self-signed certificates.
An SSL certificate is required for secure communication between the Management Service and the Management Console and between the Management Service and the Security Client.
If you already have a certificate authority, select .
If you need a certificate, click . The installing program creates the certificate and the signing authority.
SQL Server hosting the Policy Distribution Service database
The installation program attempts to detect and list any physical servers on the network that have SQL Servers installed. Only the physical server name is listed. However, you need to provide both the physical server name and the SQL Server name (default instance or named instance). For example, if the physical server name is SERVER1 and the named instance of the SQL Server is SQL2008, you would enter:
SERVER1\SQL2008
If the SQL Server is using the default instance, you would enter:
SERVER1\MSSQLSERVER
In addition, you need to provide the username and password for a database account that has SysAdmin rights. The default is the sa account.
After you enter the information and click OK, you might receive a message stating that the administrator password cannot be verified because OSQL is not installed. Click to dismiss the message. The password is verified later after the installation program installs OSQL.
Policy Distribution Service database name
If you do not want to use the default name (STDSDB) assigned to the Policy Distribution database, specify a new name that contains only letters and numbers and conforms to your SQL Server database naming conventions.
Policy Distribution Service account username and password
The installation program creates an SQL user account (DS_STDSDB_USER) that the Policy Distribution Service uses to access the database. You cannot change the account name.
Specify a password for the account. Make sure that the password meets the password requirements for your SQL Server (for example, if you require strong passwords, make sure to specify a strong password).
We recommend that you do not use special characters in the password. However, if you do, the special characters are changed in the configuration files. For example, an @ is changed to an A. The communication between the service and the database works as expected. However, when you troubleshoot with OSQL, you must use the configuration file password, not the one you specified with special characters.
SQL Server hosting the Management Service database
This information should be identical to the information you entered for the SQL Server hosting the Policy Distribution Service database.
Management Service database name
If you do not want to use the default name (STMSDB) assigned to the Management database, specify a new name that contains only letters and numbers and conforms to your SQL Server database naming conventions.
Server name
Specify either the local name or fully qualified domain name of the physical server. The name you enter must match the name used in the server’s SSL certificate.
SQL Server hosting the Management Service database
This information should be identical to the information you entered for the SQL Server hosting the Policy Distribution Service database.
Reporting Service database name
If you do not want to use the default name (STRSDB) assigned to the Reporting database, specify a new name that contains only letters and numbers and conforms to your SQL Server database naming conventions.
License installation
If you have purchased a ZENworks Endpoint Security Management license, select , then click to display a Browse dialog box. Otherwise, select .
If you select the 60-day evaluation, you can license the product after installation. For instructions, see
Applying a License Key
in ZENworks Endpoint Security Management 4.1 Administration Guide.Data File Group Folder
Each database (Policy Distribution, Management, and Reporting) has a set of data files associated with it. By default, the data files are installed to the SQL Server’s DATA directory. If you have another location where you keep your data files, select that location instead.
Index File Group Folder
Each database (Policy Distribution, Management, and Reporting) has a set of index files associated with it. By default, the index files are installed to the SQL Server’s DATA directory. If you have another location where you keep your index files, select that location instead.
Log File Group Folder
Each database (Policy Distribution, Management, and Reporting) has a set of log files associated with it. By default, the log files are installed to the SQL Server’s DATA directory. If you have another location where you keep your log files, select that location instead.
ESM Setup Files Folder
The installation program creates an ESM Setup Files folder that contains files (Setup.id, ESM-MS.cer, ESM-DS.cer, STInstParam.id, and so forth) that are required by the Management Console and Security Client. By default, the folder is created on the server desktop. We recommend that you keep the default location.
When the installation is complete, the installation program runs a set of tests to verify that the system is configured properly.
-
If a test fails, mouse over the configuration test to display the possible causes. You must resolve any failures before continuing.
If no configuration issues are encountered, the Policy Distribution Service and Management Service launch immediately following installation. You do not need to reboot the server.