11.3 Creating a Cloud Account
Dynamic File Services must submit cloud access credentials to your cloud provider when it accesses files in the cloud on your behalf. It stores these credentials locally and securely on the Dynamic File services server as attributes of a cloud account.
-
Ensure that your cloud storage account is set up, and that you know the required cloud access credentials as described in Section 11.2, Setting Up Cloud Access Credentials and Folders for Your Cloud Storage Provider.
-
In the Management Console, launch the Cloud Wizard by right-clicking , then selecting .

You can also select , then select > .
-
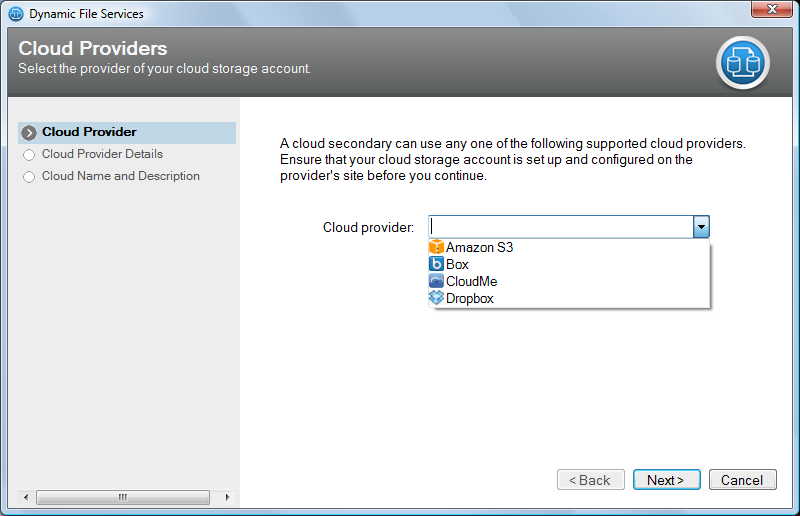
On the Cloud Providers page, select one of the following providers from the drop-down list, then click .
-
Amazon S3
-
CloudMe
-
Dropbox
-
-
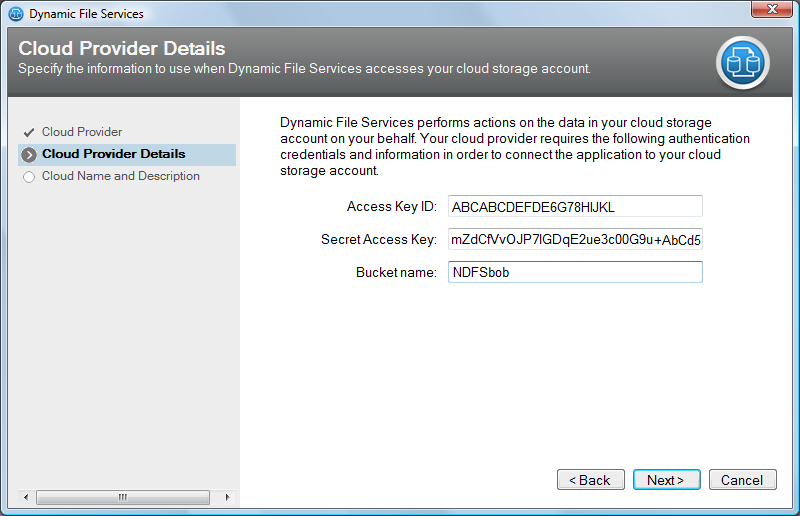
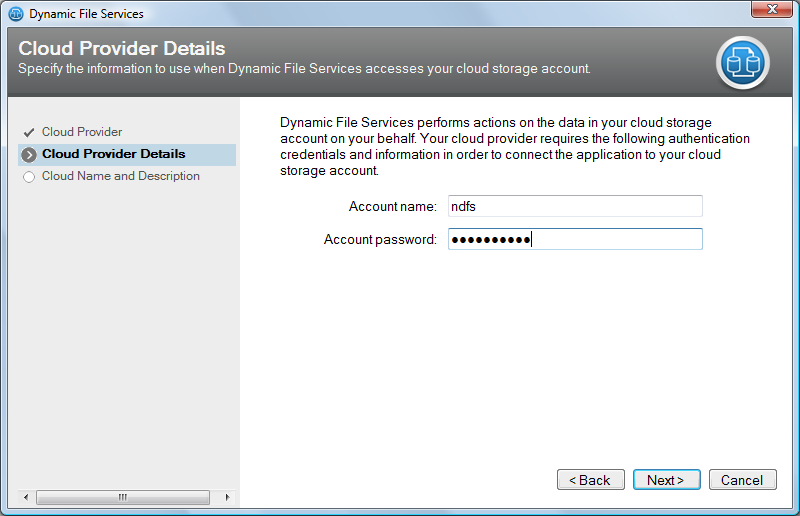
On the Cloud Provider Details page, specify the cloud access credentials that are required by the cloud provider that you selected in Step 3.
Your account on the cloud provider’s site must already exist, and the specified credentials must be valid. For information, see Section 11.2, Setting Up Cloud Access Credentials and Folders for Your Cloud Storage Provider.
Cloud Provider
Cloud Provider Details
Amazon S3:
- Cloud access key ID
- Cloud secret access key
- Bucket name
- Region name
CloudMe:
- Cloud account name
- Cloud account password
Dropbox:
- Cloud application key
- Cloud application secret
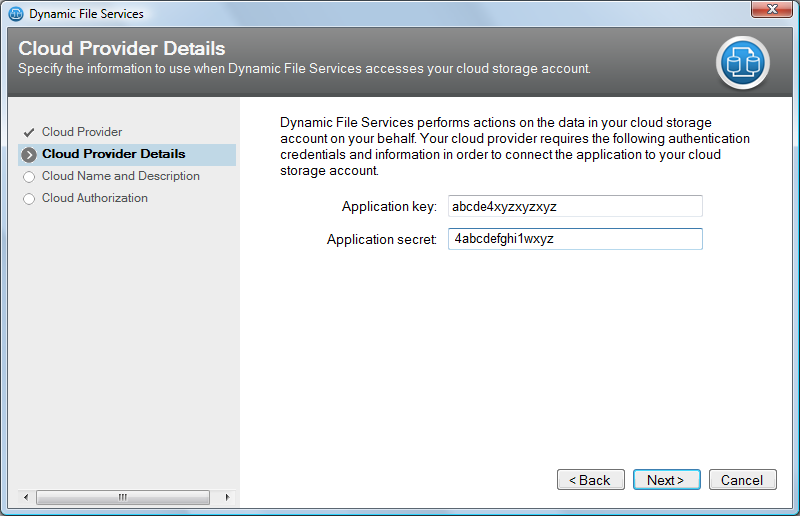
This is the first phase of the two-phase OAuth authentication process. After you name the cloud account, you are prompted to complete the second phase in Step 6.
-
On the Cloud Name and Description page, specify a name and description (optional) for the cloud account.
The name must be unique on the Dynamic File Services server.

-
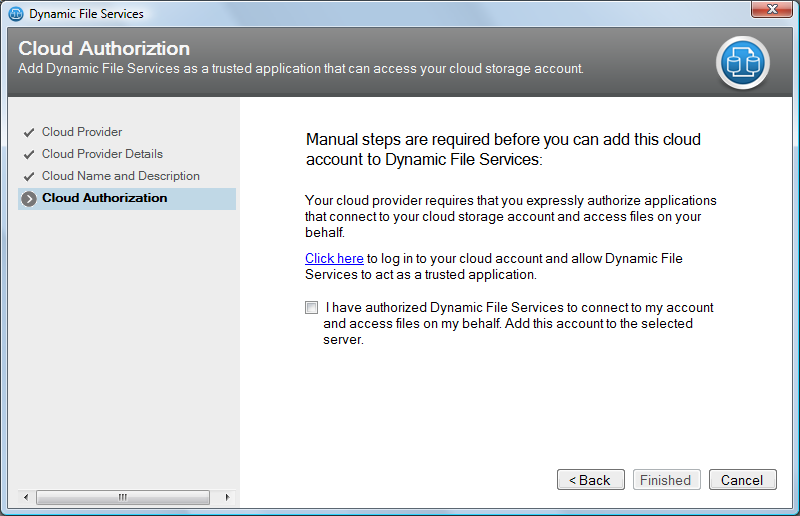
If Dropbox is the specified cloud provider, perform the following manual steps to authorize Dynamic File Services to access your account:
-
On the Cloud Authorization page, click the link to open a Web browser and go to your cloud account.
The URL includes a secret token that Dynamic File Services has retrieved from Dropbox as part of the two-phase OAuth authentication process.
-
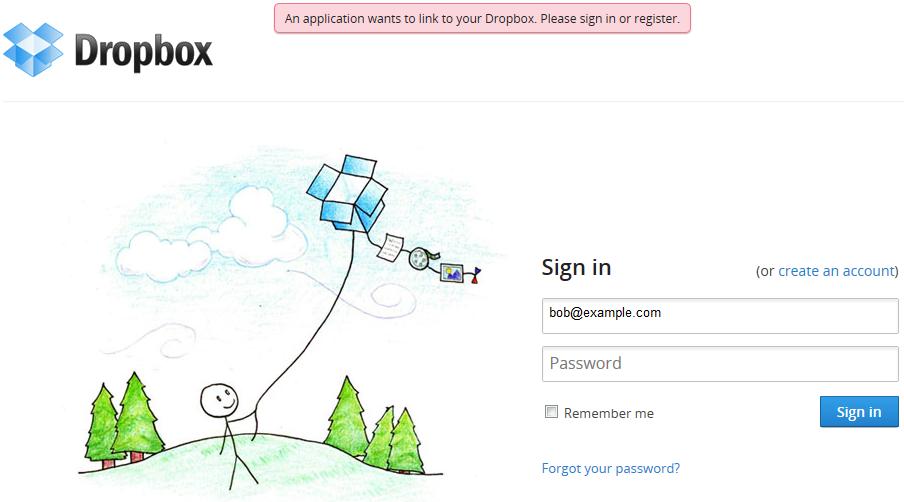
On the Dropbox login page, type the email address that is associated with your Dropbox account, type your password for the Dropbox account, then click .
-
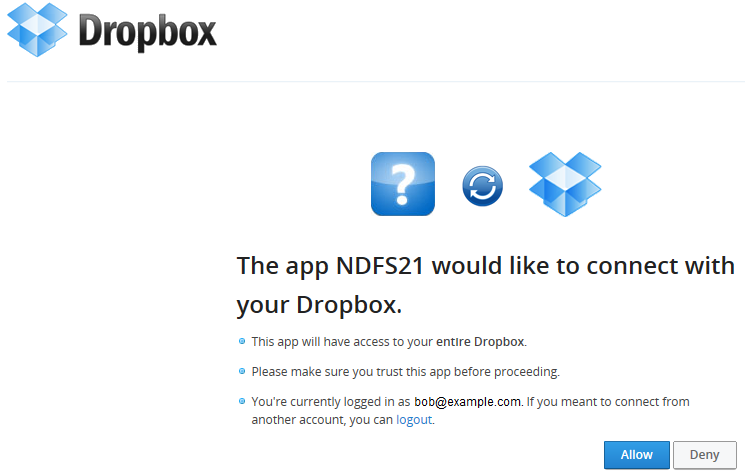
On the Dropbox Application Authorization page, click to authorize Dynamic File Services to connect to your account.
-
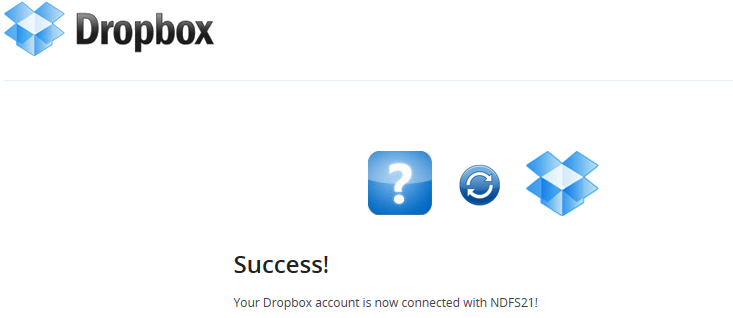
On the confirmation page, verify that the connection succeeded.
The authorization might fail if the application key and secret have expired. You must create a new application instance in your Dropbox account in order to generate a new key and secret. For information, see Section 11.2.3, Setting Up Cloud Storage for Dropbox.
In the Cloud Account Wizard, go back to the Cloud Provider Details page to specify the new key and secret, then repeat Step 6.a to Step 6.d.
-
After you have successfully authorized access for Dynamic File Services in your Dropbox account, go to the Cloud Account Wizard’s Cloud Authorization page in Step 6.a, click the check box to confirm that you have completed the manual authorization steps.
-
-
Click to create the cloud account.
The cloud account is listed on the Cloud accounts page in the Management Console.