Developing exteNd Director Applications
CHAPTER 27
This chapter explains how to use the Data Migration Utility. It includes these sections:
Run the batch file eXtendDirector\migration\bin\DataMigration.bat:
Disregard any error messages that appear in the command prompt window.
The Data Migration Utility retrieves realm name constants. The resulting error messages include Unable to establish database connection and Need to specify class name in environment or system property. These messages do not pertain to the data migration process.
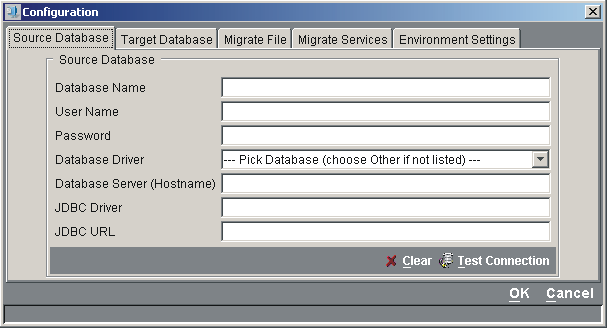
Specify the connection information for both the Source and Target databases:
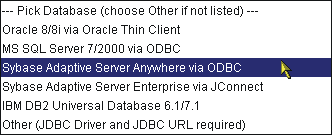
Choosing the database driver automatically fills in the JDBC Driver and JDBC URL fields (unless you choose Other as your driver).
|
Tool |
Description |
|---|---|
|
DataCopy5.0-5.0.xml |
Choose this option to copy your data from one exteNd Director 5.x database to another. The target database should have a completely empty set of exteNd Director 5.x tables. You can create these tables via the Create Database Tables Utility (available via the DAC). This is most useful in these circumstances: IMPORTANT: To copy your data to an existing exteNd Director 5.x database (not one that is completely empty), see DataMigrate5.0-5.0.xml below. |
|
DataMigrate4.0-5.0.xml |
Choose this option to migrate your existing exteNd Director 4.x data to an exteNd Director 5.x database. The exteNd Director 5.x database should consist of the initial system data loaded when you deploy an exteNd Director project and its schema is created. |
|
DataMigrate5.0-5.0.xml |
Choose this option to copy your data from one exteNd Director 5.x database to another. The target database should already include the exteNd Director system data (that is, you've already deployed an exteNd Director application). |
Click to highlight your choice, then click Select.
You can choose a customized configuration file by adding it to the list and selecting it instead of a predefined file. For information about customized configuration files, contact Novell Technical Support.
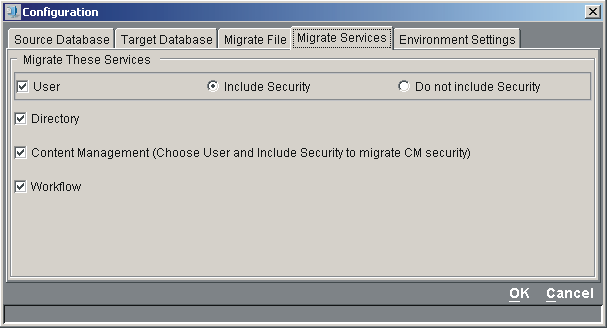
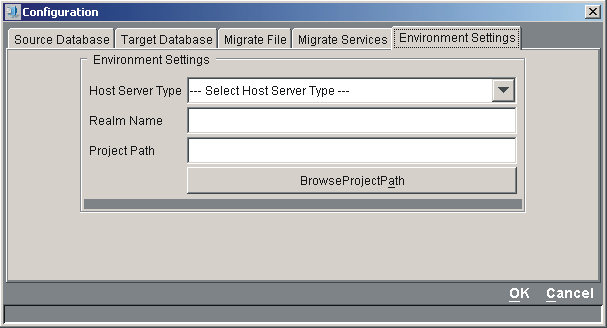
Select the Host Server Type. This sets the type of Directory service realm in your application.
If you select Other, you can specify the name of the realm. Otherwise, the name of the realm is the same as the Host Server Type.
Browse to the Project Path (the root of the exteNd Director project).
(Optional) Select the menu options Settings>Verbose, Line Wrap, and Halt on Error.
The Halt on Error option terminates the migration process if an error is encountered.
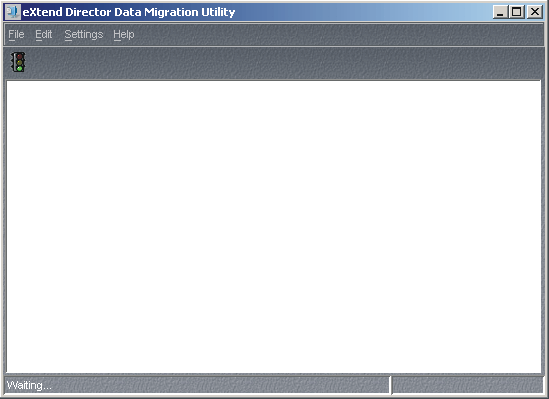
Click the Start Data Migration (traffic light) icon:
The main window displays the status of the data migration. When complete, the window reports the number of rows copied as well as the number of errors detected.
Review the utility console (command prompt window) log file to verify that no errors have been missed. In general, the utility console provides more detail for errors, such as stack traces.
Console output is written to a file named datamigrate.log in the same directory as the DataMigration.bat file. The log file is created every time the Data Migration Utility is run. If there are old log files in the same directory, they are backed up and renamed before the new log file is created.
Edit the migration properties file datamigration.properties, which is created in the same directory as the DataMigration.bat file the first time you run the Data Migration Utility.
Examine the log.lines setting. The default setting (0) prevents the Data Migration Utility from writing logging information to disk until the process is complete.
If you change the setting to something greater than zero (such as 100, for example), the application writes to the log file every time 100 lines (approximately) are written to the application window and clears the application window.
This setting may be necessary when migrating large databases that create many messages in the window. Clearing the window frees some of the application's memory resources.
Shut down the Data Migration Utility and restart it to get the new buffer length.
Copyright © 2003 Novell, Inc. All rights reserved. Copyright © 1997, 1998, 1999, 2000, 2001, 2002, 2003 SilverStream Software, LLC. All rights reserved. more ...