11.4 Building Work Log Reports
With the CouchDB database installed and the Work Log database settings established in the Admin Client, you are ready to build Work Log reports.
Work Log reports are built in the Admin Client using a pivot grid interface. There are four preset options for viewing data, along with a playground option that lets you choose the parameters and presentation of the report.
The remainder of this chapter briefly introduces you to the features and capabilities of Work Log reports through some basic procedures.
11.4.1 Loading Work Log Entries
-
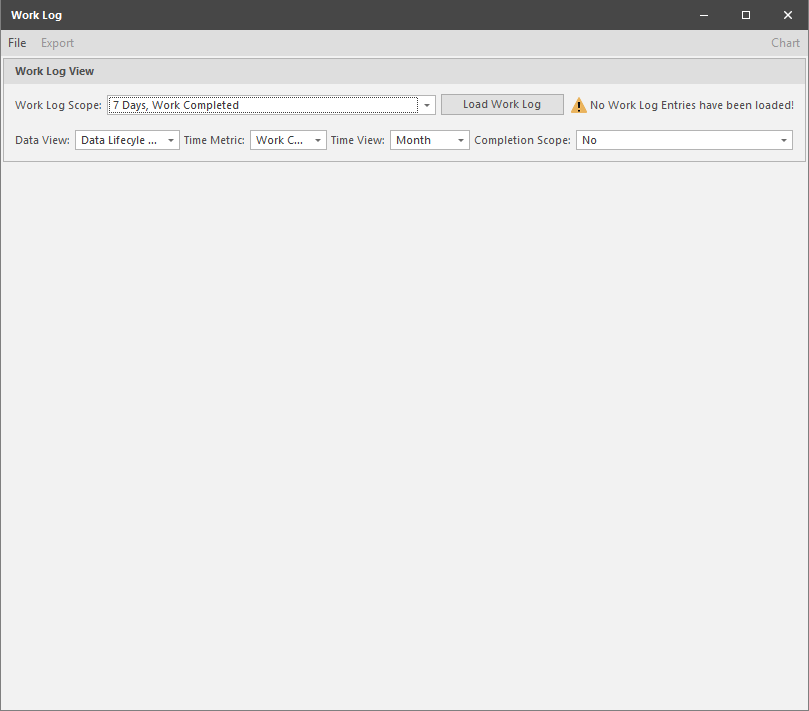
In the Admin Client, click the tab.
-
Click .
-
Click.
All Work Log entries in the CouchDB database are loaded and displayed with default parameters that you can modify.
11.4.2 Setting the Work Log Scope
-
Click the down arrow that pertains to the field.
-
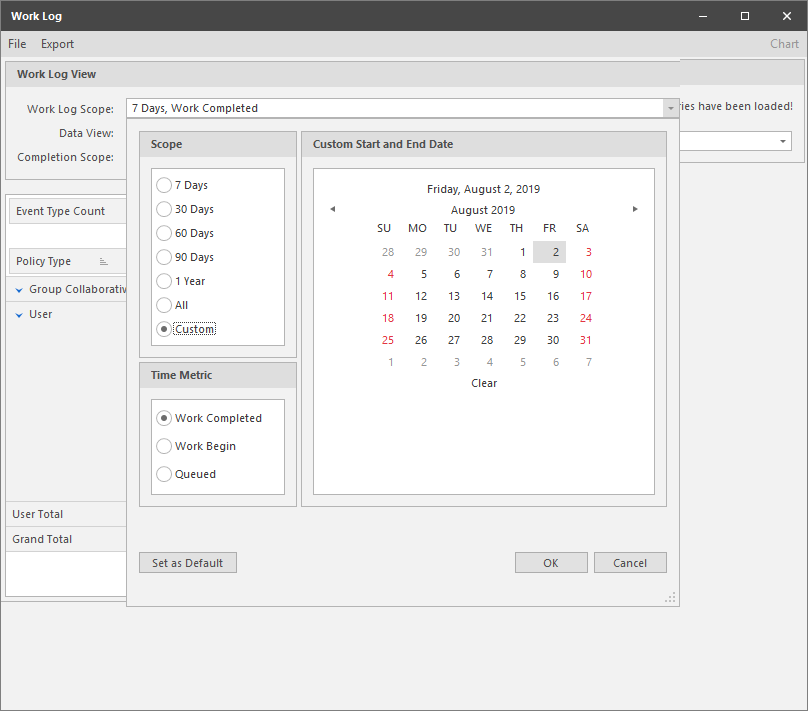
In the dialog box, specify the parameters you want by selecting applicable options.
Scope: Lets you specify the timespan for the report. All of the options will include events, according to the selected option from today’s date. The option will include all events, according to the selected option. The option lets you select a start and stop date from the calendar using the Shift key.
Time Metric: Lets you specify what types of events to include in the Work Log report.
Custom Start and End Date: This calendar is activated when you select the option from the region. Select a start and end date using the Shift key.
Set as Default: Lets you establish your selected options and specifications as the default setting for all Work Log reports.
-
Click .
The new parameters are specified in the field.
11.4.3 Data View Options
The drop-down menu has five options:
-
Playground: This Work Log report option enables you to specify what fields to include in the report. All of the reporting parameters are available for selection in the top portion of the pivot grid. You build the Work Log report by dragging the desired fields where you want them placed in the report. These fields can be displayed as either rows or columns.
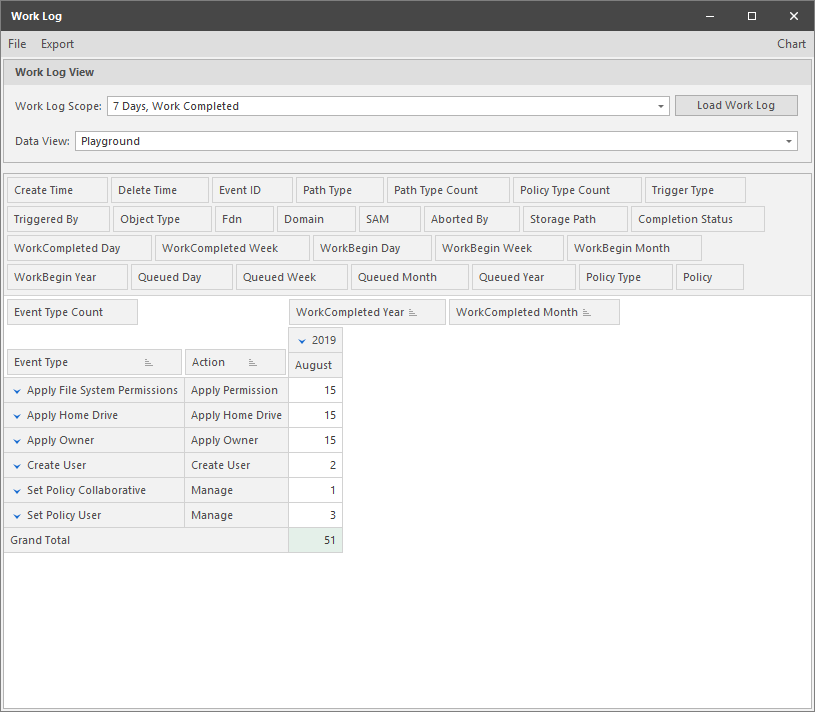
In any cell with a numeral, you can double-click to access an expanded, detailed report of events.
You can also click to view the data in a graphical format of your choosing.
-
Policy Activity: This Work Log report option specifies events for all policies regardless of how they were triggered. according to the selected , , and options.
In the example below, the Work Log report lists completed File Dynamics events for the Month of May 2018.
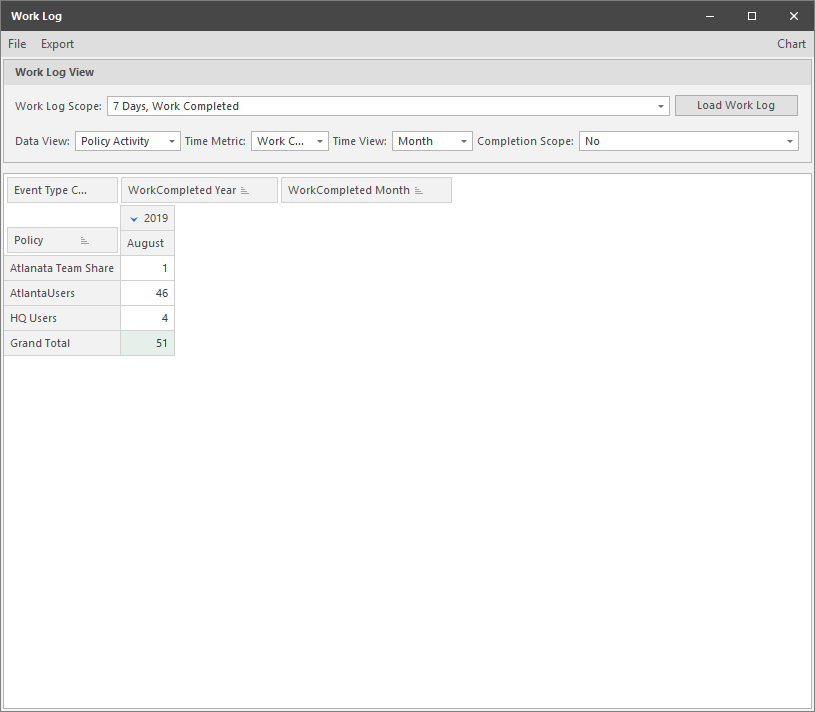
In any cell with a numeral, you can double-click to access an expanded, detailed report of events.
You can also click to view the data in a graphical format of your choosing.
-
Event Trigger: This Work Log report option specifies events generated by an Event Monitor or a File Dynamics administrator performing Management Actions, according to the selected , , and options.
In the example below, the Work Log report lists completed Active Directory enacted events for the Month of May 2018.
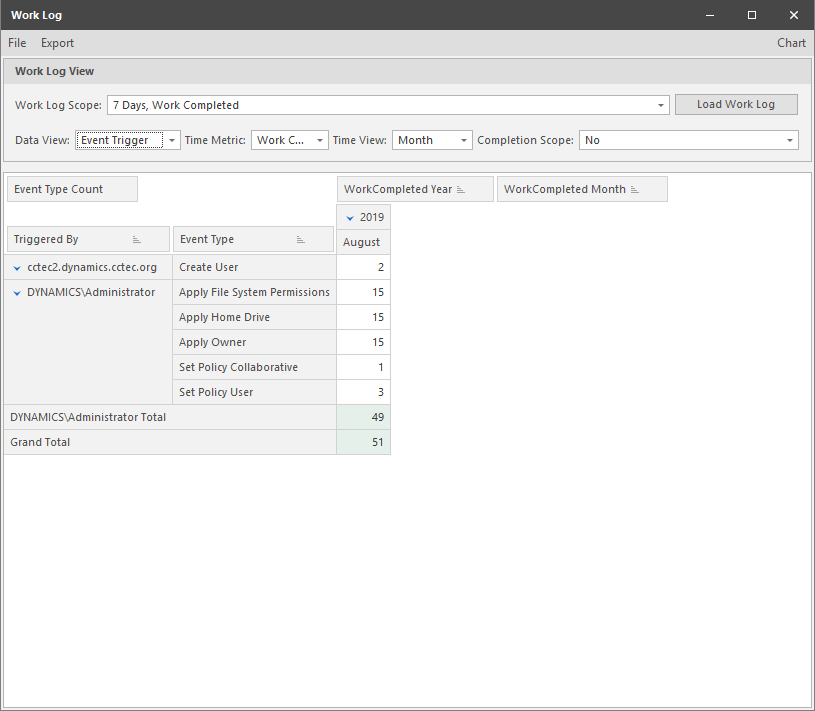
In any cell with a numeral, you can double-click to access an expanded, detailed report of events.
You can also click to view the data in a graphical format of your choosing.
-
Policy Type Event Distribution: This Work Log report option distinguishes events by File Dynamics policy types according to the selected , , and options.
In the example below, the Work Log report lists completed events for the Month of May 2018.
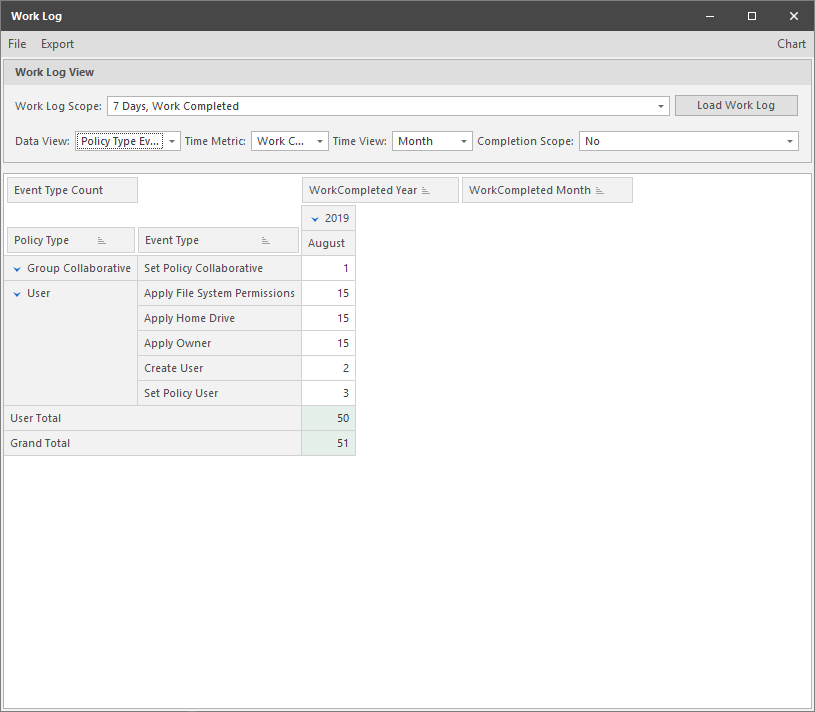
In any cell with a numeral, you can double-click to access an expanded, detailed report of events.
You can also click to view the data in a graphical format of your choosing.
-
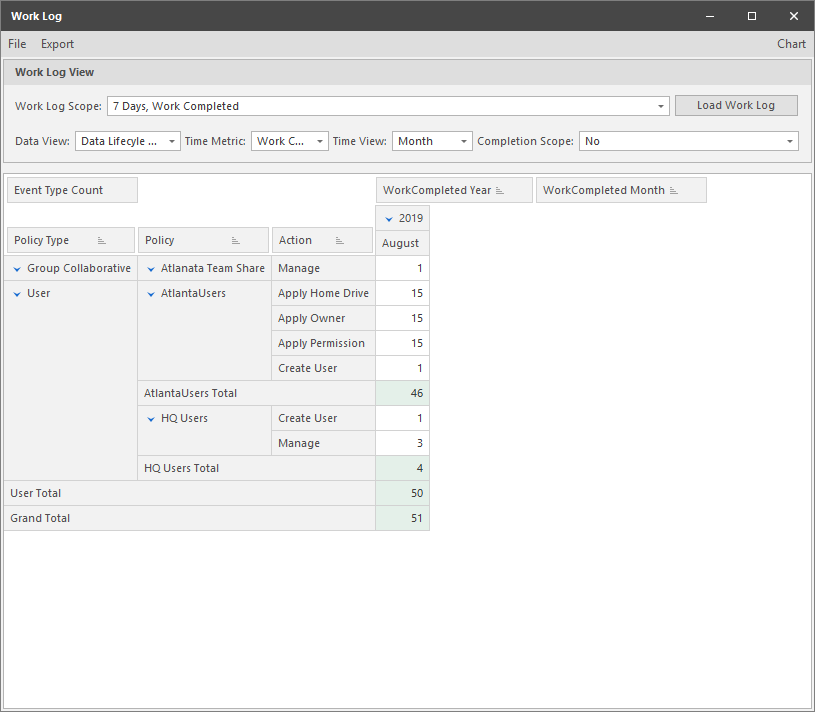
Data Lifecycle Monthly: This Work Log report option specifies events by policy type, policy name, action, and month according to the selected , and options.
In the example below, the Work Log report lists completed events for the Month of May 2018.
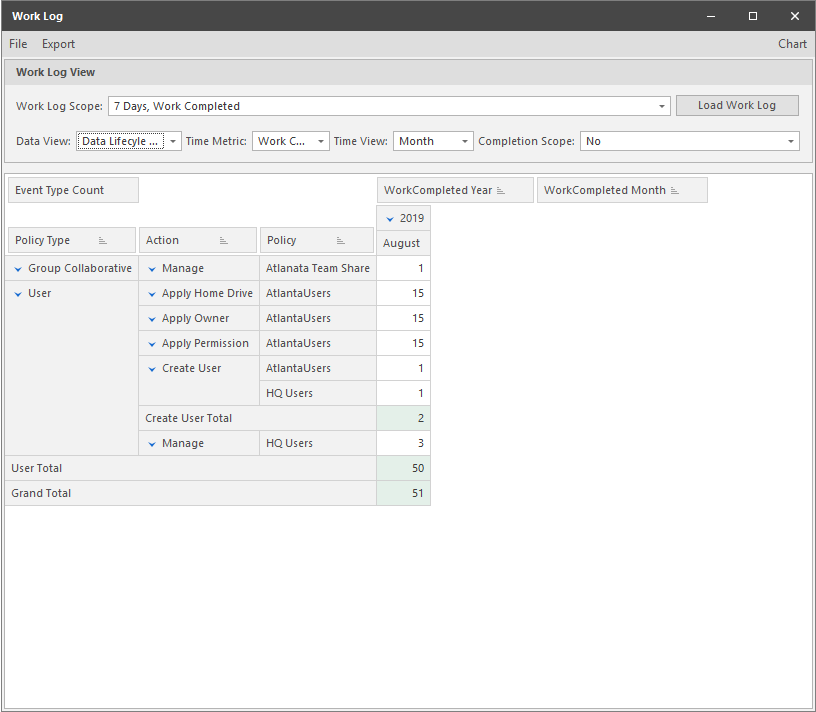
In any cell with a numeral, you can double-click to access an expanded, detailed report of events.
You can also click to view the data in a graphical format of your choosing.