10.2 Create a Groom Policy
Groom policies remove files from any arbitrary path to a vault location. The files that are removed and the frequency that the removals are performed are in accordance to the specifications that you establish.
10.2.1 Creating an Action Block for the Groom Policy
A Groom policy utilizes groom specifications that have been established and saved in an Action Block.
-
In the Admin Client, click the tab.
-
Click .
-
In the menu, select > .
-
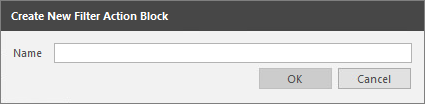
In the Create New Filter Action Block dialog box, give the new Action block a descriptive name.
For example, Main Groom Rules.
-
Click .
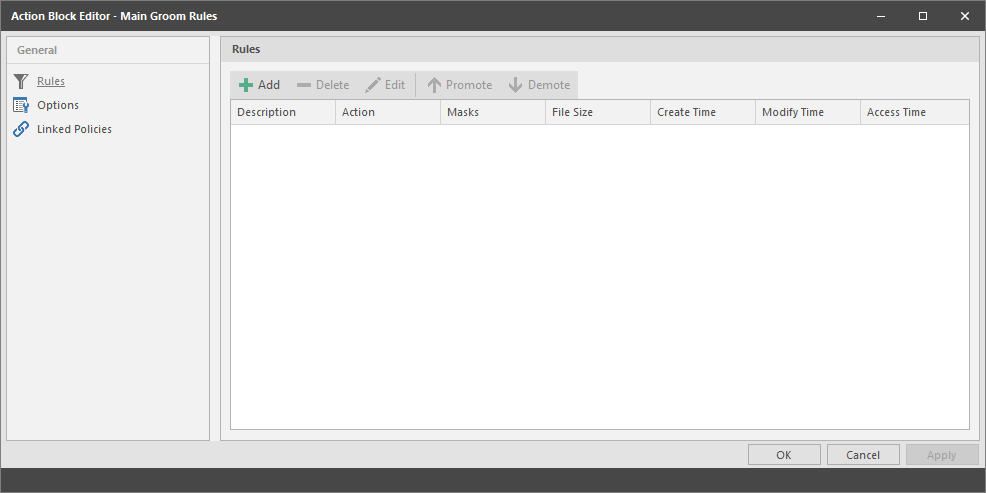
The Rule Editor dialog box appears.
-
Establish your groom rules by specifying in separate rules, the file or folder types to be vaulted or deleted, and under which conditions they are to be ignored.
NOTE:For detailed procedures on how to set up groom rules, see Section 6.5.9, Setting Groom Rules.
-
When you have finished creating your groom rules, close the Action Block Editor.
10.2.2 Creating a Groom Policy
With the groom rules now saved to an Action Block, you can now create the Groom policy.
-
In the Admin Client, click the tab.
-
Click .
-
Select > .
-
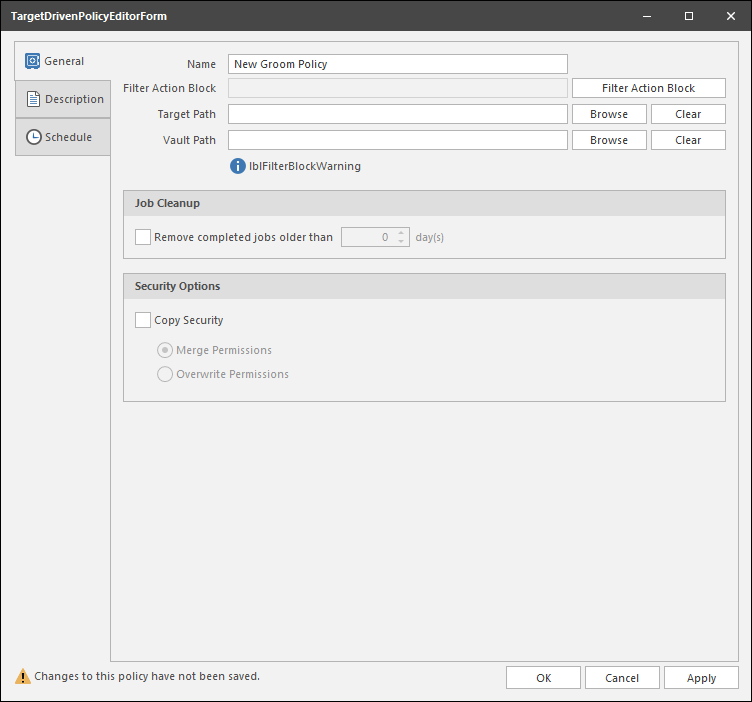
In the field, give the Groom policy a descriptive name.
For example, Main Groom for General Atlanta Storage.
-
Click .
-
In the Action Block Selector dialog box, locate and select the Action Block you created in Section 10.2.1, Creating an Action Block for the Groom Policy.
-
Click the button that pertains to the field.
-
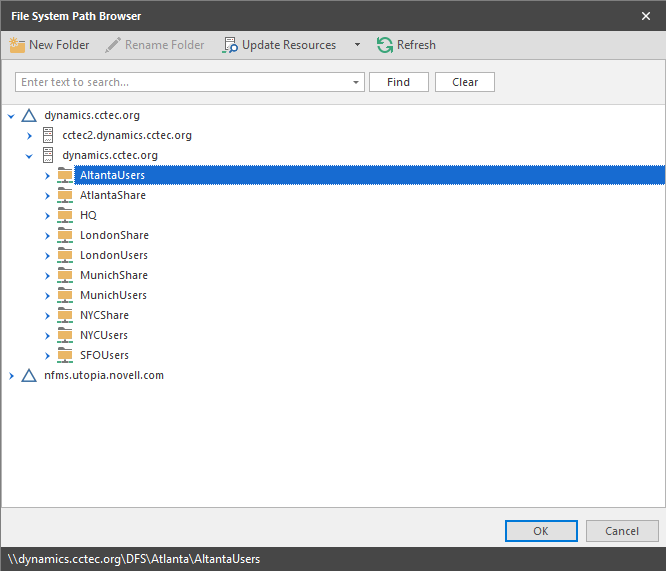
In the File System Path Browser, specify the location in the file system from where you will be grooming files for this policy.
-
Click the button that pertains to the field.
A vault path is not required if the filter block does not contain a vault action. If the filter is later updated to add a vault action, then a vault path is required.
-
In the File System Path Browser, specify the location in the file system where you want groomed files stored for this policy.
-
Select the check box and specify the number of days that a Groom task from this policy is listed on the Jobs list before it is purged.
-
(Conditional) If you want your users to be able to continue to access groomed files from the new vault location, select the check box and choose one of the following options:
-
Merge Permissions: Merges permissions from the source to the target if the target contains permissions that are not present in the source. This applies to all folders and files in the source folder structure.
Overwrite Permissions: Overwrites permissions in the target with those found in the source. This applies to all folders and files in the target folder structure.
-
-
Click to save your settings.
-
Click the tab and enter any information you want about the policy.
-
Click .
-
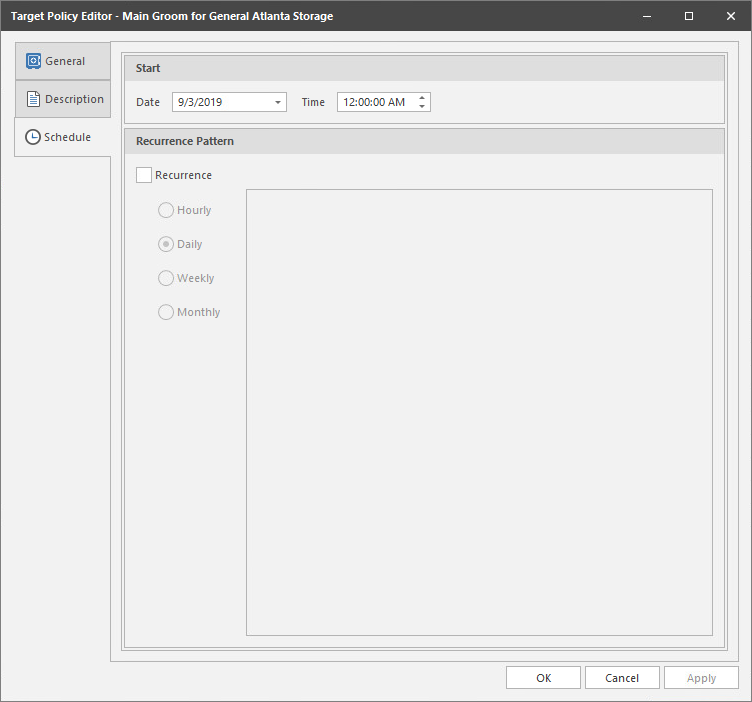
Click the tab.
-
In the field, specify the date you want the policy to be initially invoked.
-
In the field, specify the time you want the policy to be initially invoked.
-
(Conditional) If you want the Groom policy to run on a recurrent basis, select the check box and then select one of the options.
-
Click to save the schedule.
-
Click .