3.3 Using the Administrative Interface
All tasks are conducted by selecting an option from one of the menus at the top of the page.
The menu provides access to notifications and system information. The menu is the means to setting up and viewing the progress of file system scans. The menu provides options for setting up and conducting file content scans. The menu is the means of generating and accessing reports. The menu is the means of establishing and modifying configuration settings within File Reporter.
3.3.1 Viewing Notifications
File Reporter displays notifications for successfully completed scans, failed scans, completed reports, failed reports, errors, warnings, and other information. You can use the filtering options to list only the notification types you want.
-
From the menu, select .
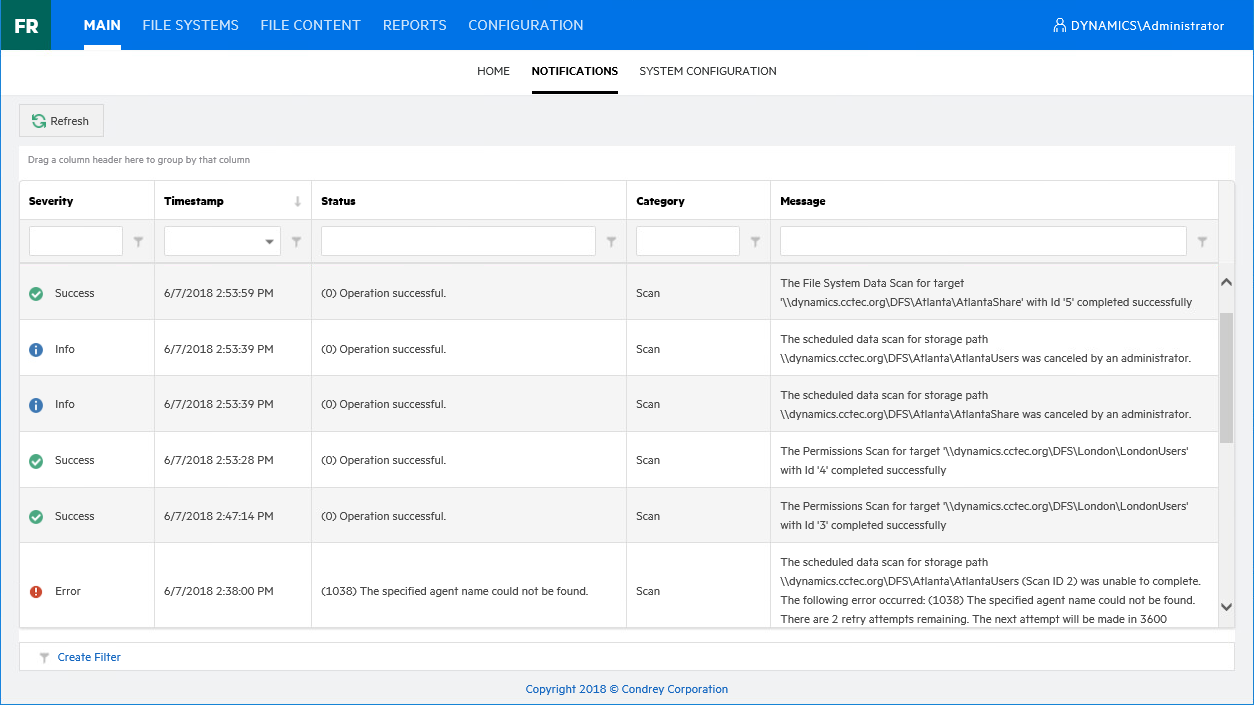
Like many pages in the administrative interface, you can modify the current display.
-
(Optional) Display columns in the order you want by dragging them to the desired location.
-
(Optional) List the most recent notification by clicking twice the column heading.
-
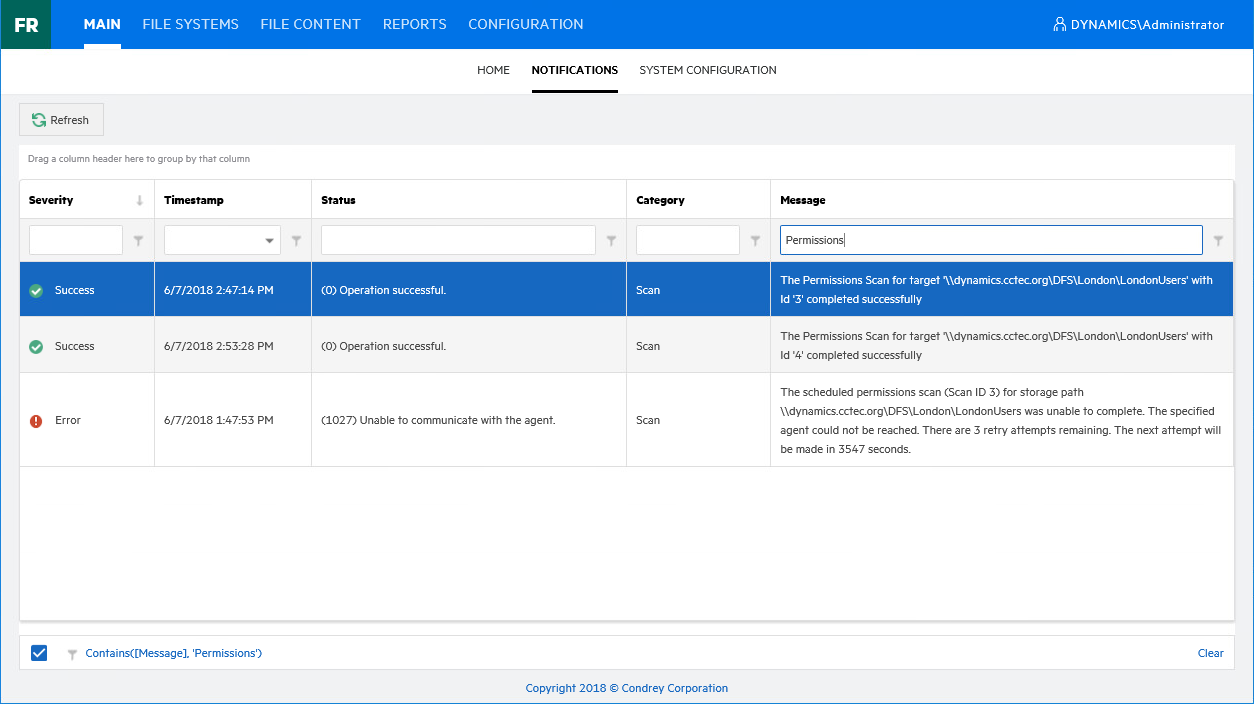
(Optional) Filter the notifications to display only the information you want:
-
At the desired column heading, click the “pin” icon.
For example, the column.
-
Select the desired filter option.
For example, .
-
In the field to the left of the “pin” icon, enter the distinguishing word or letter for the filter.
For example, Permissions.
The page is updated according to the filtering parameters.
-
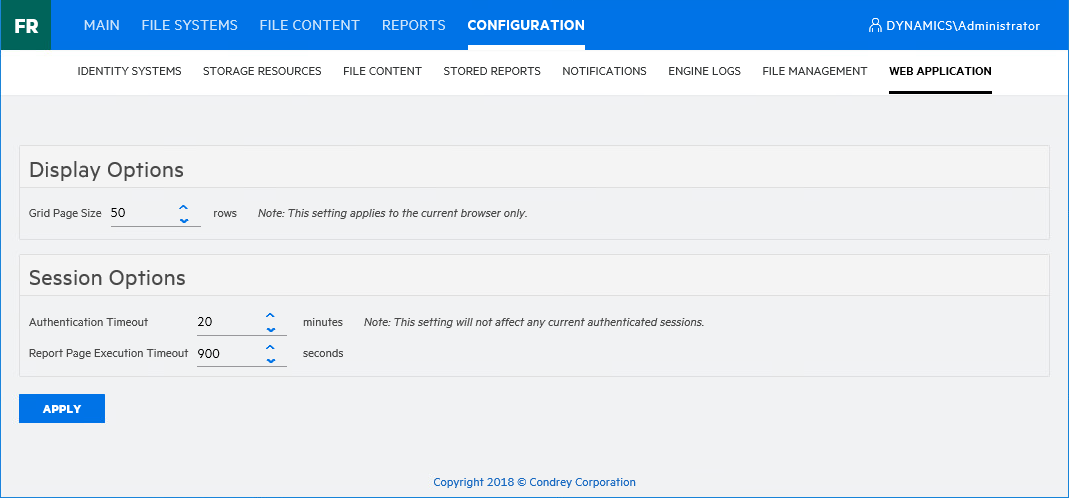
3.3.2 Configuring the Web Interface
After 20 minutes of inactivity in the administrative interface, you are required to log in again. You can adjust this setting and specify the number of items displayed per page through the option of the menu.
-
From the menu, select .
-
In the field, specify the number of entries you want displayed.
-
In the field, specify the minutes of inactivity before you will need to log in again.
-
Click .
-
When you are notified that the Web interface configuration was saved, click .
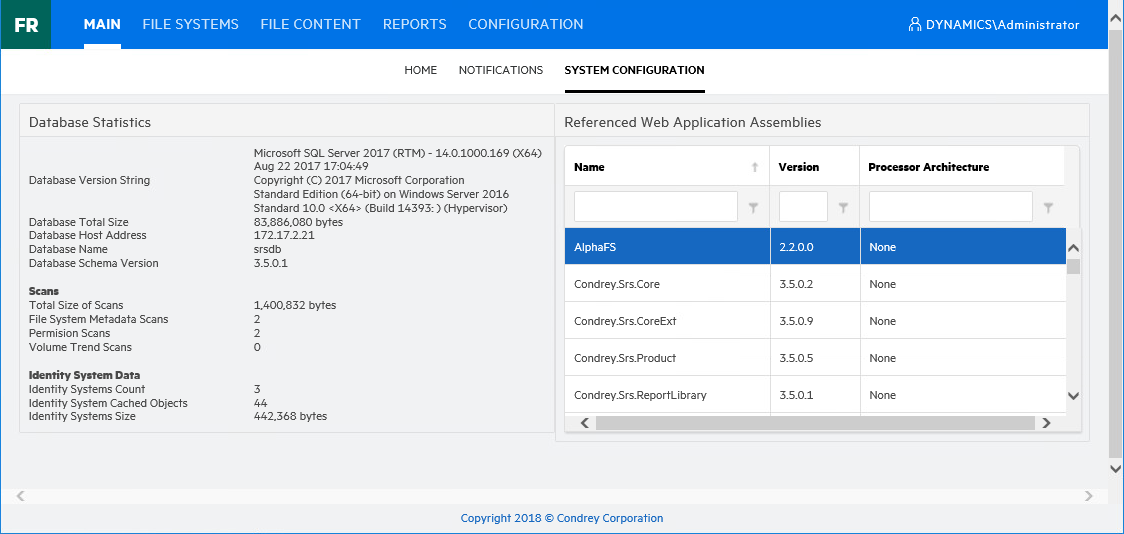
3.3.3 Viewing System Information
When you work with a Micro Focus Support representative to diagnose the source of a problem, you might be asked to access the System Info page. To do so, simply select from the menu.