1.9 Configure Restore Area on Linux
Once a backup has been created the link to the Restore Area can be made.
1.9.1 On the GroupWise Disaster Recovery Server, enable NFS Server
-
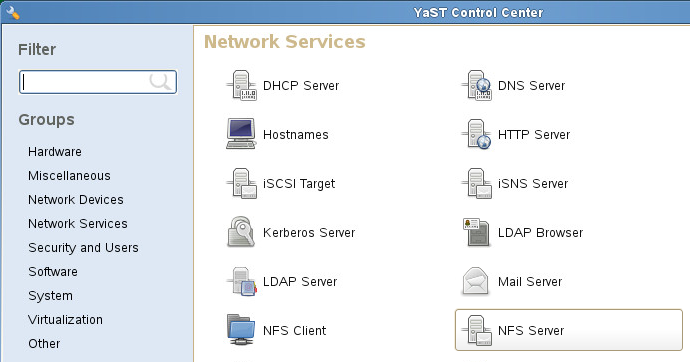
Open YaST2 and select .
-
Configure the NFS Server:
-
Set NFS Server to .
-
Open the port in the firewall, if applicable.

-
-
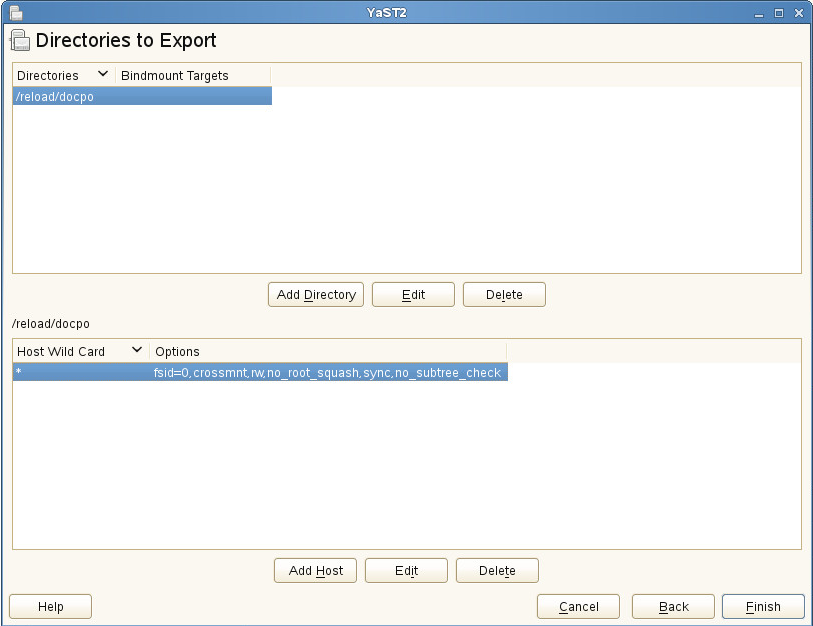
Select Add Directory button:
-
Set options: rw,no_root_squash,sync
-
Browse to the post office backup directory. For example: /reload/po
-
1.9.2 On the Linux GroupWise Server
You need to create a mount point on the Linux GroupWise Server and enable the NFS Client.
To create a mount point:
-
Open a terminal window.
-
Create a local directory for the mount point. Generally, this is placed in the /mnt directory. For example:
mkdir /mnt/restore
To enable the NFS Client:
-
Open YaST2 and select .
-
Click on .
-
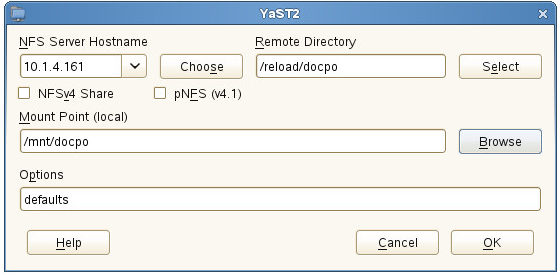
Set the NFS server host name to the GroupWise Disaster Recovery server IP address or host name.
-
Set the Remote Directory to the backup directory on the GroupWise Disaster Recovery server. For example:
/reload/po
-
Set the Mount Point to the one created on the GroupWise server.
-
1.9.3 In GroupWise Administration
The Restore Area needs to be defined and the users given access to it.
Create Post Office Restore Area.This will need to be done for each Post Office:
-
Browse to GroupWise Administration:
https://<GroupWise_Server_Address>:9710
-
Navigate to > , and click .

-
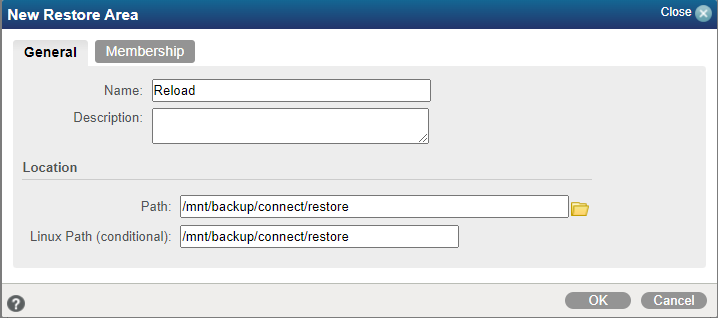
Enter a name and description
-
Set the and to the mount point adding /connect/restore. For example:
/mnt/backup/connect/restore
-
Under the Membership tab, click .
-
Select and add a post office from the list.
-
Click for both windows, and then click .