8.2 Setting Up Microsoft Outlook Clients
Complete the tasks in the following sections to set up Outlook clients to access GroupWise:
8.2.2 Adding a GroupWise Account to the Microsoft Outlook Client
The Outlook client must be configured to access a user’s GroupWise account. The following instructions assume that the Outlook client is already installed on the desired machine.
-
On the machine, open > .

-
Click .
-
(Conditional) If a Mail Setup dialog box is displayed, click to display the Mail dialog box.

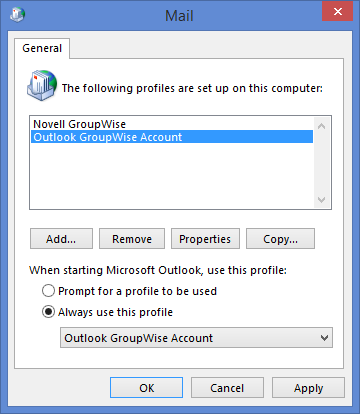
If GroupWise is installed on the machine, the Profiles list includes a profile, as shown in the screenshot above. You need to keep this profile and create a new profile.
-
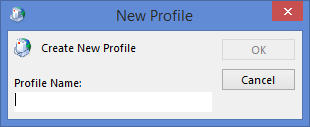
Click to create a new profile.
-
Specify a name for the profile (for example, Outlook GroupWise Account), then click to display the Add Account dialog box.
-
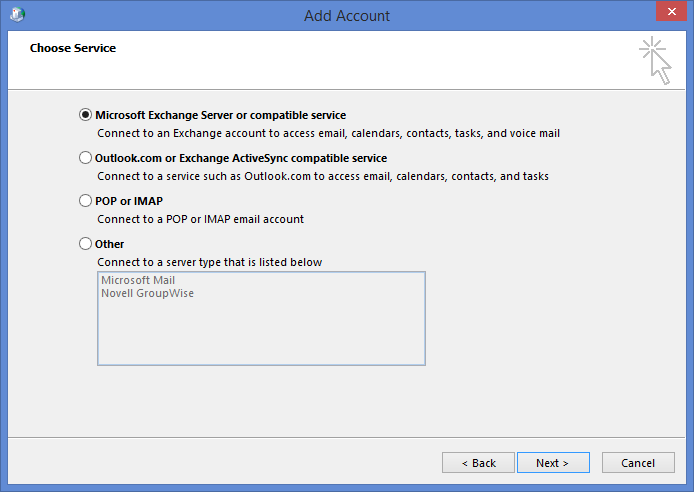
Select , then click .
-
Select , then click .

-
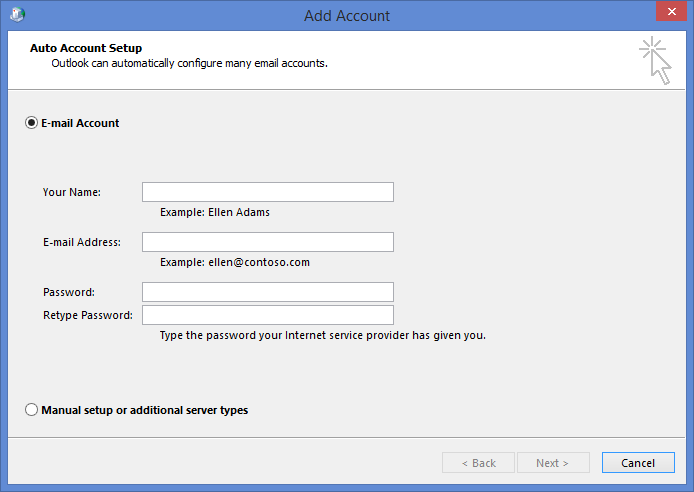
Provide the following information, then click .
Your Name: The GroupWise user’s full name (for example, Sarah McBride).
E-mail Address: The user’s GroupWise address (for example, smcbride@acme.com).
Mail Server: The GroupWise Mobility Server name or IP address (for example, gms.acme.com).
User Name: The GroupWise user name.
Password: The password associated with the user name.
-
When the account settings have been verified, click to dismiss the verification dialog box.
-
Click to return to the profiles dialog box.
-
Select one of the following options, then click to save your changes.
-
Prompt for a profile to be used: Select this option if the Outlook client will be used to access multiple email accounts and the user wants to be prompted to select an account when starting the client.
-
Always use this profile: Select this option if the user wants to always open the GroupWise account when starting the client, then select the Outlook GroupWise account in the list.
-
-
Launch the Outlook client.
The client begins synchronizing data from the GroupWise account.