66.2 Using ZENworks Desktop Management to Distribute the GroupWise Windows Client
You can use the Application Management functionality in Novell ZENworks Desktop Management to distribute the GroupWise Windows client to workstations. The following sections provide instructions:
IMPORTANT:This information assumes that you are familiar with ZENworks Desktop Management. For background information, or for help completing the ZENworks tasks outlined in the steps below, see the ZENworks Desktop Management documentation at the Novell ZENworks Documentation Web site. See also TID 3492700: Tips on Deploying GroupWise 7 MSI via ZENworks in the Novell Support Knowledgebase.
66.2.1 Creating a GroupWise Client Application Object
The following steps explain how to use ZENworks Desktop Management to create a GroupWise client Application object from the .msi file. Depending on your version of ZENworks Desktop Management, the steps might be slightly different. If you want to change the default MSI installation, then you must use the GroupWise 7 Tuner program to create a custom transform file. For more information on how to use GroupWise 7 Tuner, see Section 66.2.2, Using GroupWise 7 Tuner.
-
In ConsoleOne®, right-click the container where you want to create the GroupWise client Application object, then click to display the New Object dialog box.
-
In the list of objects, click , then click to display the New Application dialog box.
-
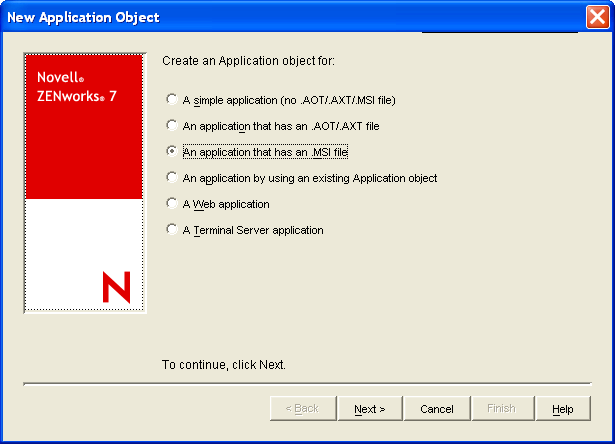
Select , then click to display the .msi file path page.
-
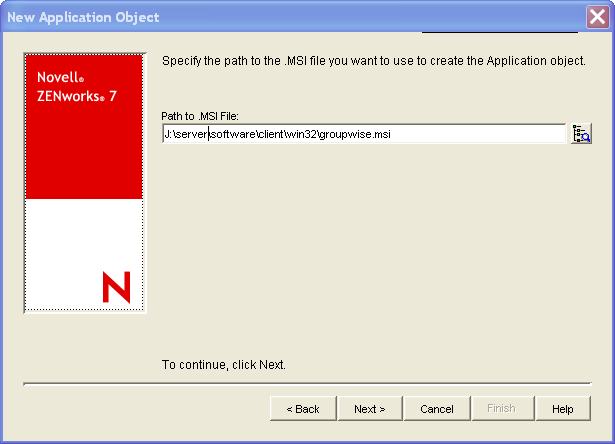
In the field, browse for and select the groupwise.msi file.
-
Click to display the Application object information page, then customize the object name, source path, and target path information if necessary.
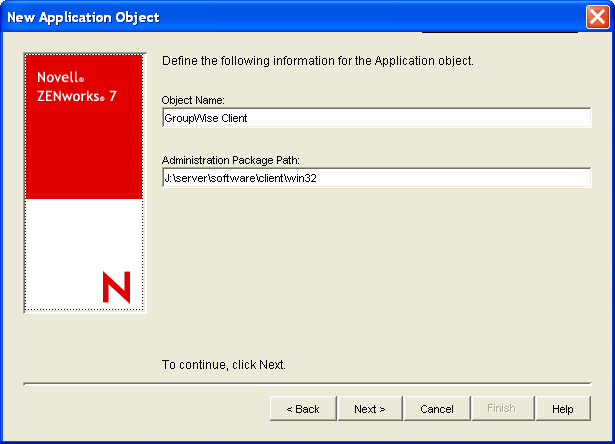
Object Name: The name to be used for the Application object in eDirectory. You might want to use a descriptive name.
Administration Package Path: The directory from which the GroupWise client will be installed. Specify the full path to the client directory (for example, \\server1\vol1\grpwise\software\client\win32). Unless all users will have the same drive mapping to the volume, make sure you use a UNC path.
This path is saved as the Administration Package Path variable. If you need to change it later, you can do so on the Application object’s Sources page (Application object > ).
-
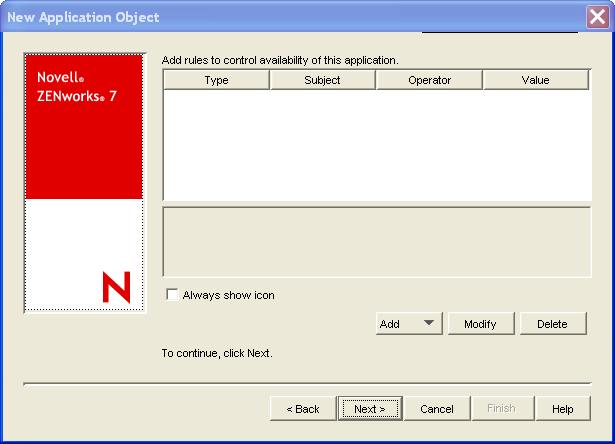
Click to display the rules to control availability of this application page, then modify the rules if necessary.
-
Click to display the user associations page.
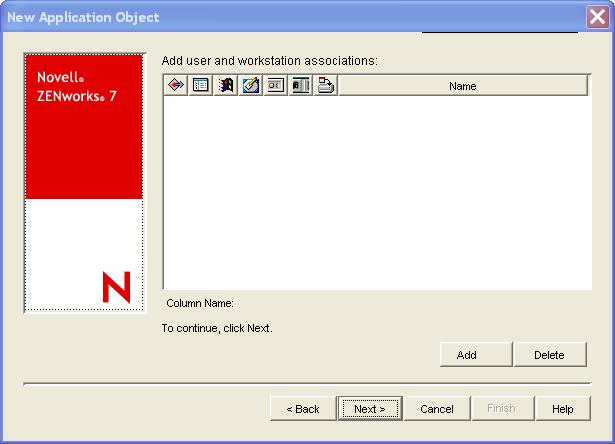
You can associate the Application object with the users and workstations you want the object distributed to at this time, or you can create the associations later.
-
After you add the associations you want, click , review the information, then click to create the Application object.
-
Right-click the newly-created GroupWise client Application object, then click .
-
Configure any other Application object settings required to provide the performance or functionality you want.
For example, you can configure the Application object so that the GroupWise client is installed immediately upon distribution to the user’s workstation, without any intervention by the user. Or, you can change the locations where the GroupWise client’s icon is displayed. Or, you can specify the location of a transform file for custom MSI installs. For information about Application object settings, see the ZENworks Desktop Management documentation at the Novell ZENworks Documentation Web site.
After you associate the Application objects with the users you want, Novell Application Launcher™ displays the Application object’s icon on the users’ workstations, if the workstation meets the operating system requirements. If the Application object’s icon does not appear immediately, have the user refresh Novell Application Launcher.
If a service is preventing the GroupWise Windows client from installing correctly you can add a property to the GroupWise application object that stops the service until the installation has finished.
-
In ConsoleOne, right-click the container where you created the GroupWise client Application object, then double-click the GroupWise Application object.
-
Click > , then click .
-
In the field, type STOPSERVICE.
-
In the field, type the name of the service to stop.
-
Click twice.
66.2.2 Using GroupWise 7 Tuner
GroupWise 7 Tuner is an application that allows you to customize your MSI install. The Tuner application creates a transform file called groupwise.mst, which you can specify to use when performing an MSI install with ZENworks. You must have write access to the software distribution directory to use the GroupWise 7 Tuner application.
NOTE:If you install the GroupWise client using a Tuner file to a protected area, such as the C:\Program Files directory, the installation fails if you try to install using a non-Administrator user. You must install the GroupWise client to an unprotected are such as, C:\Novell\GroupWise if you are using a non-Administrator user.
-
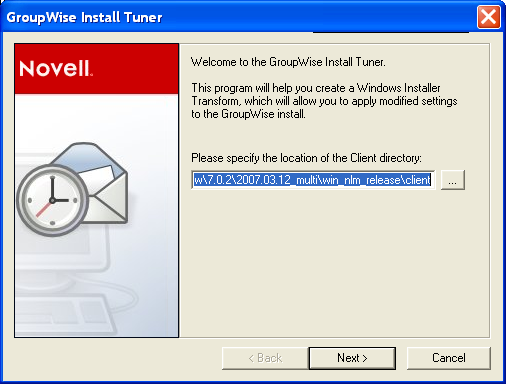
From the \admin\UTILITY\GWTUNER directory of the GroupWise 7 Support Pack 1 or greater download, select the GWTuner.exe file, then click to run the GroupWise 7 Tuner application.
-
Specify the location of the client distribution directory on your GroupWise system, then click .
-
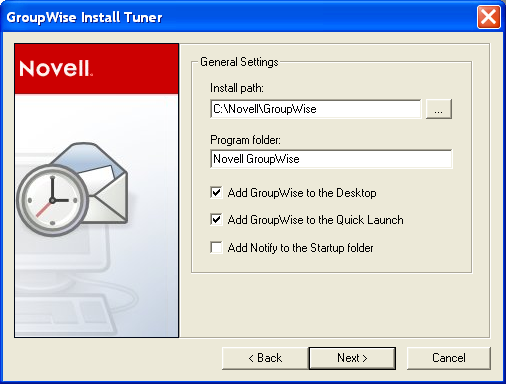
Specify where the GroupWise client should be installed on the client machines.
-
Specify which program folder the GroupWise client should be installed to.
-
Select if you want to add a GroupWise icon to the client desktop.
-
Select if you want to add a GroupWise icon to the client Quick Launch.
-
Select if you want to add GroupWise to the client Startup folder.
-
Click to continue.
-
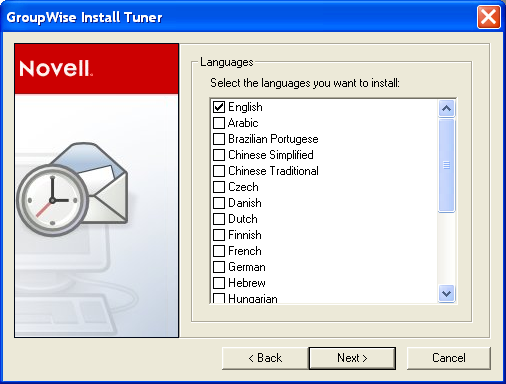
Select the languages to install, then click .
-
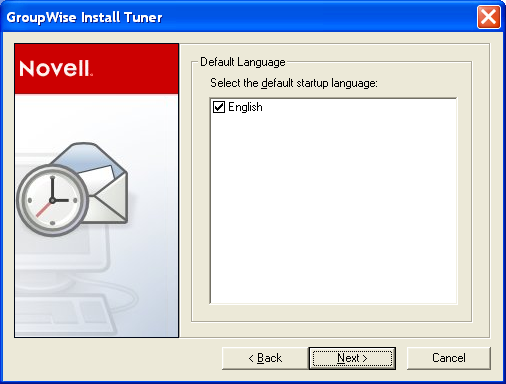
Select the default startup language for the client, then click .
-
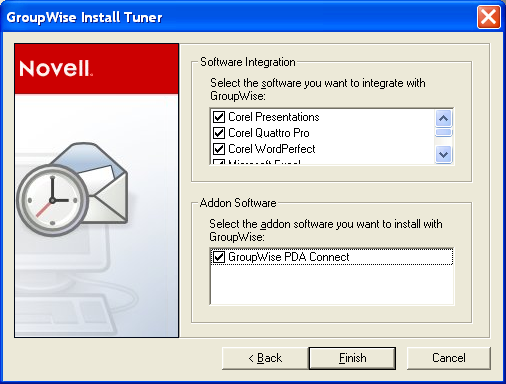
Select which software integration you want the client to use.
-
Select which add-on software to install with the client, then click Finish to create the transform file (groupwise.mst) in the client software distribution directory.
66.2.3 Configuring ZENworks to Use a Transform File
After you have created the transform file (groupwise.mst), you must configure ZENworks to use the transform file when doing MSI installations.
-
From ConsoleOne, right-click the application file that was created in Section 66.2, Using ZENworks Desktop Management to Distribute the GroupWise Windows Client, then click .
-
Click the tab.
-
Click , then browse to the location of the transform file (groupwise.mst).
-
Click to add the transform file to the Transform List.
-
Click again.