19.3 Managing Provisioning Team Request Rights
Before configuring a provisioning team requests object, you need to select the Identity Manager User Application driver that contains the definition. After selecting the driver, you can create a new team requests definition, edit an existing definition, or delete an existing definition.
19.3.1 Selecting the Driver
To select an Identity Manager User Application driver:
-
Select the category in iManager.
-
Open the role.
-
Click the task.
iManager displays the User Application Driver panel.
-
Specify the driver name in the field, then click .
iManager displays the Provisioning Team Requests panel. The Provisioning Team Requests panel displays a list of existing team requests objects.

Changing the driver. When you have selected a driver, the driver selection remains in effect for the duration of your iManager session, unless you select a new driver. To select a new driver, click the command, then choose from the menu.
19.3.2 Creating or Editing a Provisioning Team Requests Object
To create a new provisioning team requests object:
-
Click the command in the Provisioning Team Requests panel.

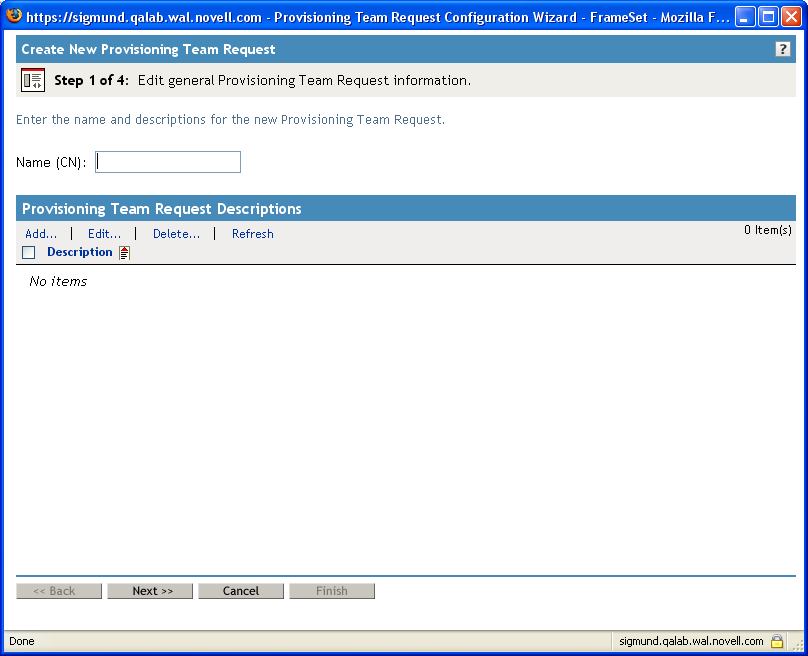
The first page of the Create New Provisioning Team Request wizard displays.
-
Type a common name for the new object in the field.
-
For each description you want to add for the team requests object, type the description text in the fields under . This text is used to identify the provisioning team requests object in iManager.
-
To add a new description for the team requests object, click , type the description text, then click .
The text is then added to the field under . This text is used to describe the team requests object on the Provisioning Team Requests panel.
-
Click .
-
Select the team definition to which this team requests object applies, as described in Selecting the Team Definition for the Team Requests Object.
-
Specify the task scope and permission options for the team requests object, as described in Specifying the Team Requests Options.
-
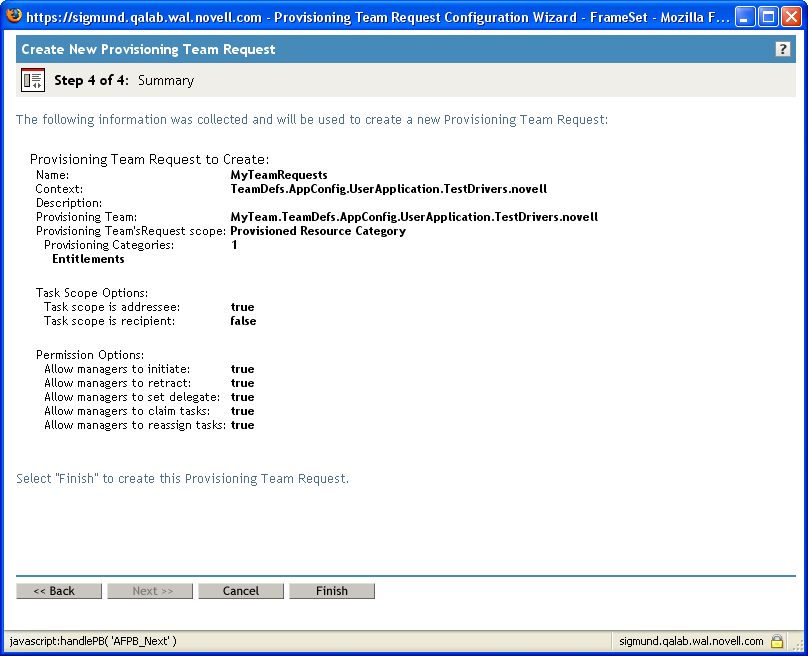
Review your settings, then click .
Selecting the Team Definition for the Team Requests Object
To select the team definition:
-
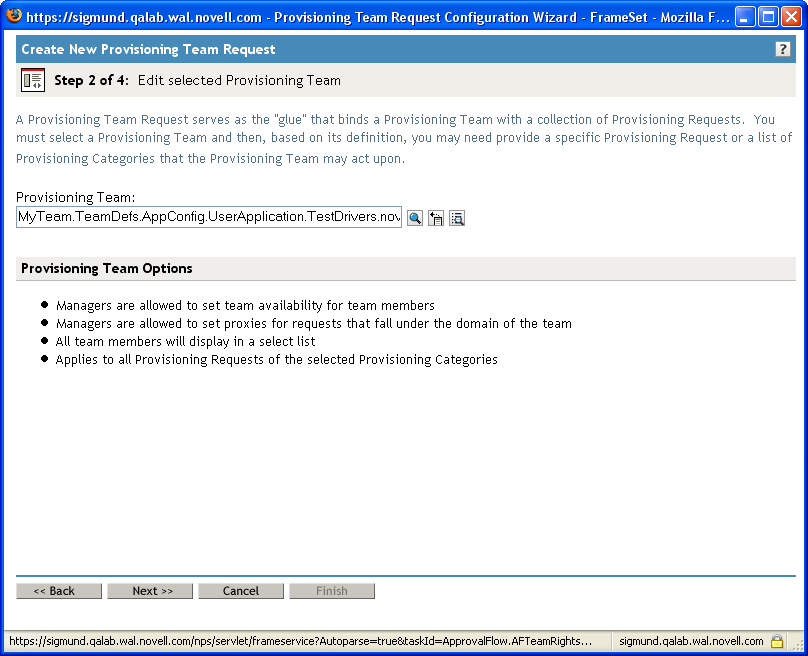
Use the Object Selector to pick a team.
After you have made your selection, the team is displayed in the field, and the team options settings for the team are displayed under .
-
Click .
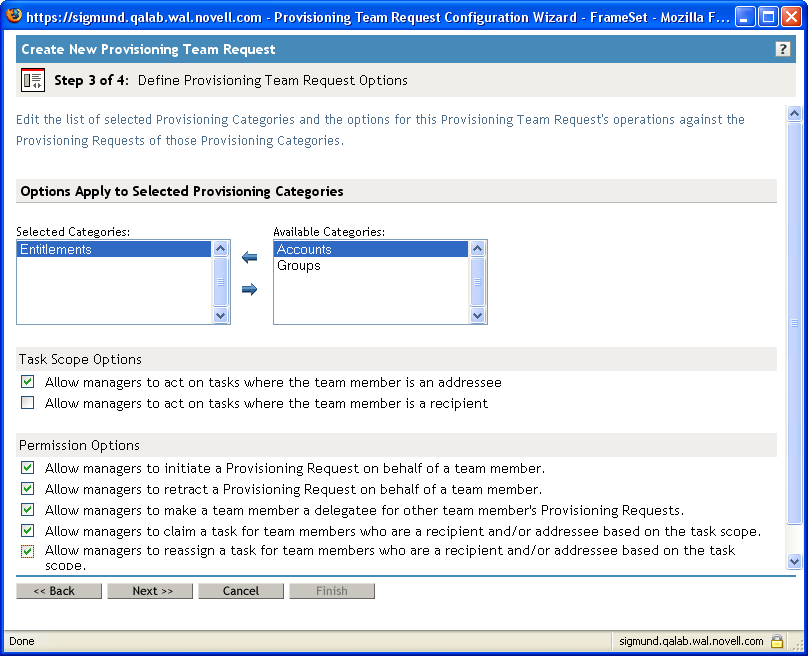
Specifying the Team Requests Options
To specify the team requests options:
-
Define the scope for the team requests object:
-
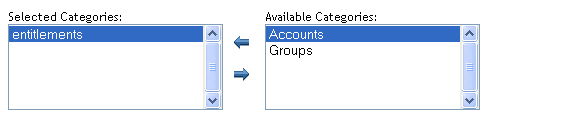
If the scope for the team is , select one or more categories for this team requests object by moving them from the list into the list.
-
If the scope for the team is , use the Object Selector to choose the provisioning request for this team requests object.

-
If the scope for the team is All Provisioning Requests, you do not need to take any additional action in the team requests object.
-
-
Define the task scope options, as follows:
-
Define the permission options, as follows:
-
Click .
NOTE:The Provisioning Team Requests plug-in allows you to configure two different team requests objects that use the same provisioning request or category with different sets of permissions for the same team. This might lead to conflicts that make the permissions associated with a team unclear. To avoid these sorts of conflicts, make sure you do not define two different team requests objects that specify different sets of permissions for the same provisioning request or category.
19.3.3 Deleting a Provisioning Team Requests Object
To delete a provisioning team requests object:
-
Select the provisioning team requests object you want to delete by clicking the check box next to the name.
-
Click the command in the Provisioning Team Requests panel.