8.3 Exploring Filr Functionality for End Users
After you have completed the setup and administration instructions in this guide, the Filr VMs and your Windows server are ready for the exercises in the following sections:
8.3.1 My Files—Home Folders and Personal Storage
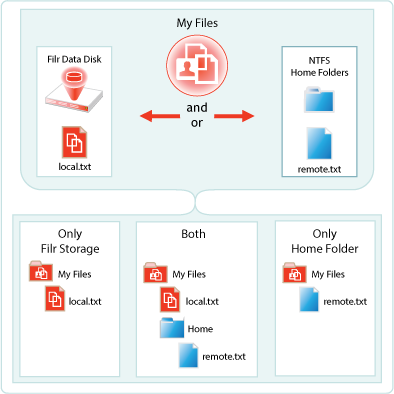
The files and folders that users see when they access My Files are illustrated in Figure 8-1 and demonstrated in the steps that follow the figure.
-
The top half shows that two storage locations can be assigned to users for their own use—personal storage on the Filr data disk and/or home storage on a Windows file server.
-
The bottom half shows how the assigned storage is displayed in My Files, depending on what a user is assigned.
Figure 8-1 What Filr Users See in My Files Depends on What Is Set Up for Them
In the following steps, take the role and do the steps of the users that are indicated.
-
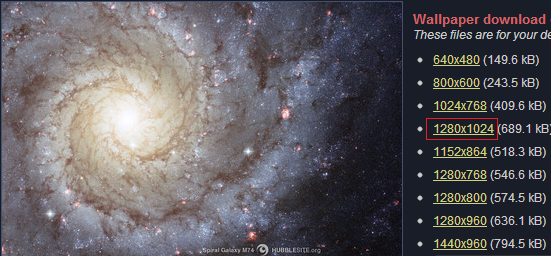
User is a fan of the Hubble telescope and especially likes this image.
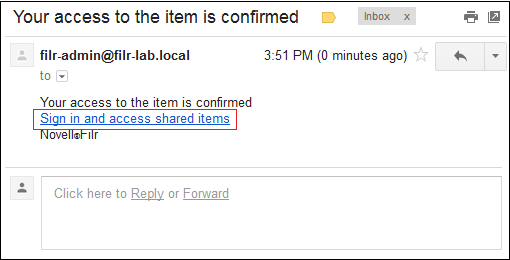
On the exercise workstation, open a browser, then click the link.
-
Right-click the displayed image, then save it to the desktop.
-
Close the browser.
-
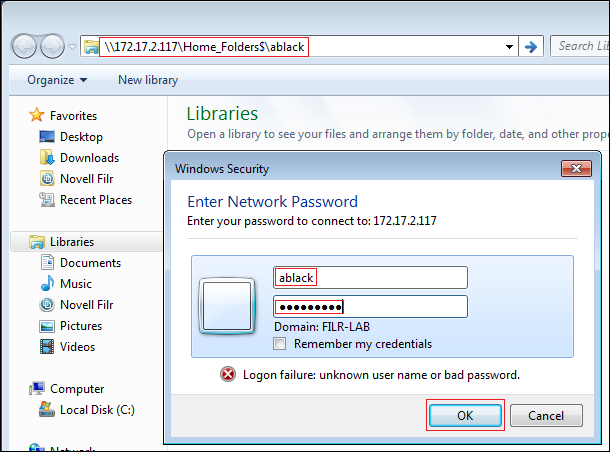
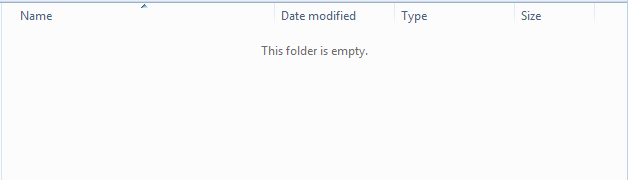
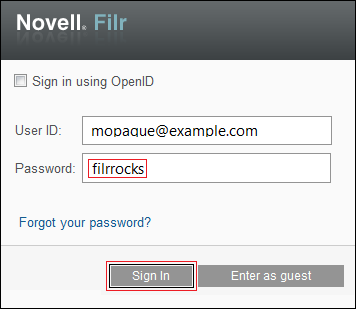
Open Windows Explorer and access user ablack’s home folder by entering the UNC path to the folder and logging in as user ablack with the password filrrocks.
The folder is empty.
-
Drag and drop (copy) the image from the desktop to user ’s home folder.

-
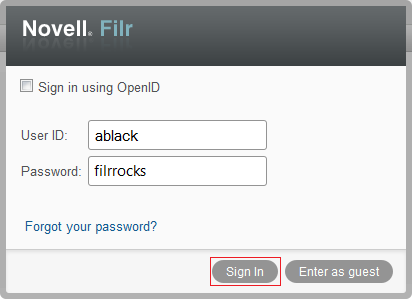
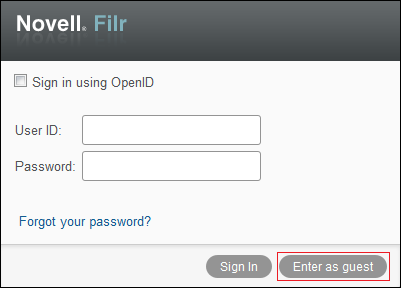
Open the web browser, access Filr on port 8443 (https://172.17.2.112:8443) and sign in as user ablack.
-
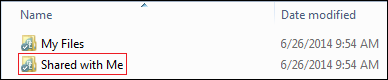
Click MyFiles and notice the folder named Home. This is user ’s home folder on the Windows server.
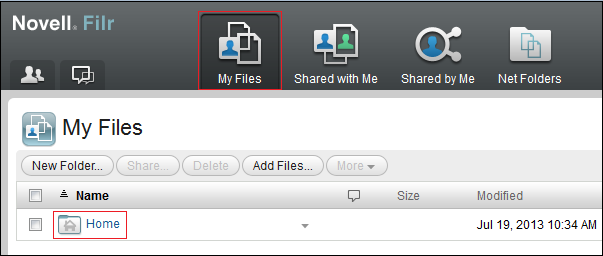
Refer to Table 4-1 and notice that user has a home Folder and is also assigned personal storage. In other words, user is an example of the section labeled
Both
in Figure 8-1. -
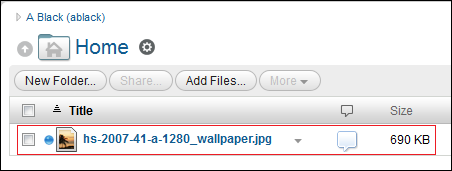
Open the Home folder.
The Hubble image file is there as you would expect it to be.
-
Sign out as user .
-
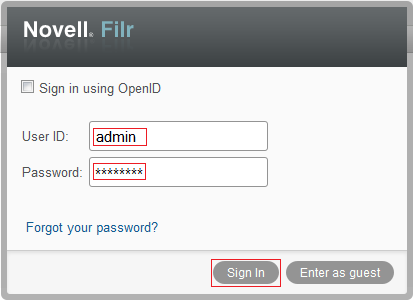
Sign in as : admin.
-
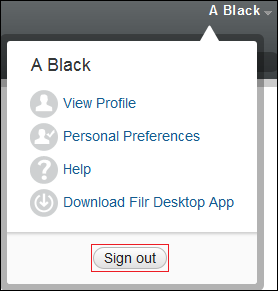
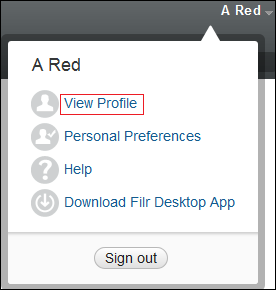
Access the (upper-right corner).
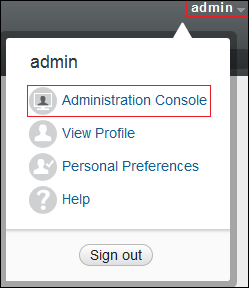
-
Under , click .
-
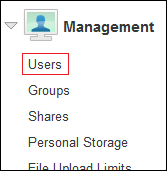
Select , then click and select
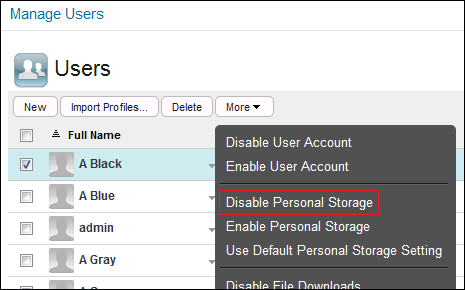
-
Sign out as user admin, then sign in as user .
-
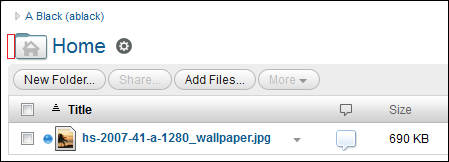
Notice that the Home folder has disappeared from user ’s My Files folder (the up-arrow left of Home has disappeared) and the Hubble image file is now directly listed as a child.
Because you removed the Personal Storage that was assigned to user , user now fits the definition in the section of Table 4-1 that is labeled
Only Home Folder.
(Purging user ’s personal storage had no effect on the Windows server’s file structure or files.) -
Click the down-arrow next to the image, then select .

-
In the field, type all, then select .
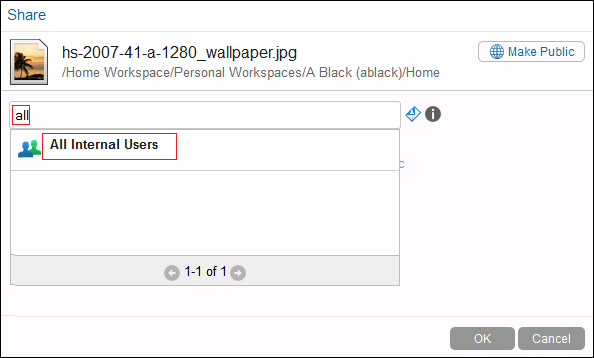
-
Click .
-
Feel free to explore further if you want to get more experience with Filr’s functionality and the role that traditional home folders play in that context. Then continue with Internal Sharing.
8.3.2 Internal Sharing
The exercises in this section demonstrate how Novell Filr users can share files with users who are internal to your organization.
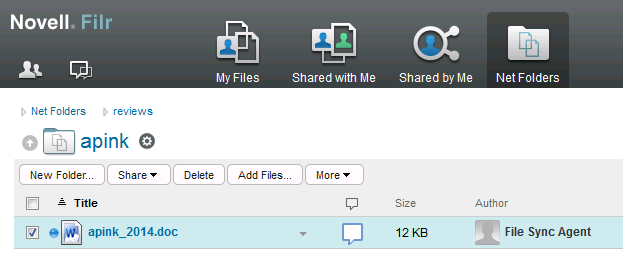
User ared Initiates User apink’s Annual Review
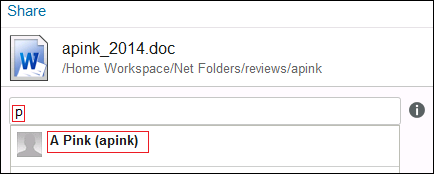
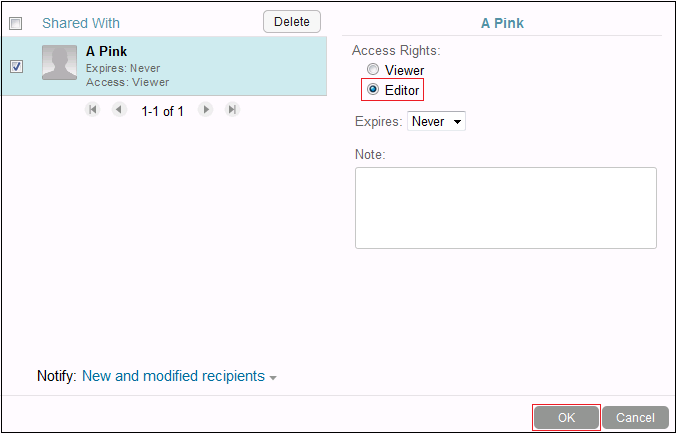
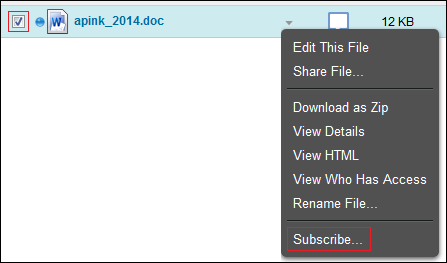
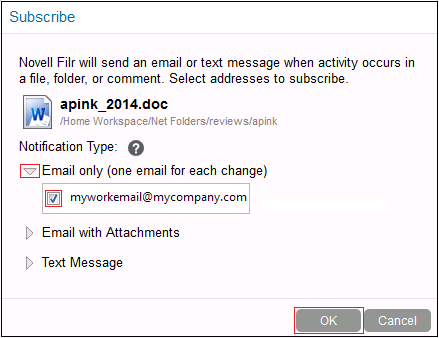
User needs to complete the annual review for user , but user doesn’t have file system access to the review file (apink_2014.doc). Rather than sending the file in email or assigning user the required file system trustee rights on the Windows server, simply shares the review file with user and includes Editor privileges. First, however, optionally ensures that email notifications will be sent when the file changes.
-
Sign in to the Web application as user . (This requires that you sign out as user first.)

-
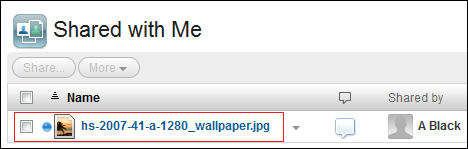
Click and notice that the image that shared is listed.
IMPORTANT:If you are not experimenting with email notifications, skip to Step 4 and skip all subsequent steps that are marked (Email only).
-
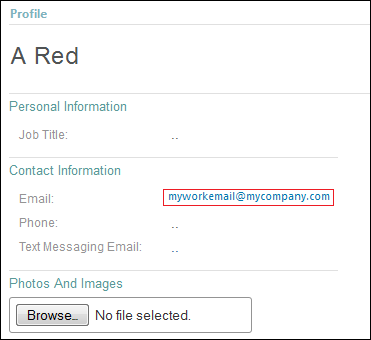
(Email only) Click in the upper-right corner, then select .
When the profile displays, notice that the email address you configured in Active Directory for user is listed.
-
Click > > .
-
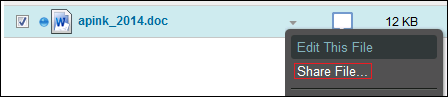
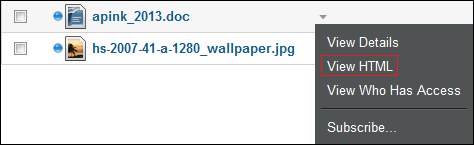
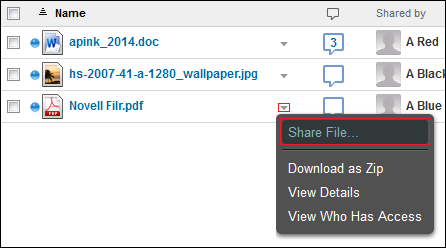
Click the check box for apink_2014.doc, then click the file drop-down arrow
 to the right of the file and select .
-
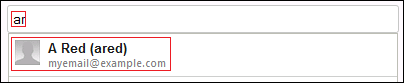
In the field, type p, then select .
-
Select , then click
-
(Email only) Click the check box for apink_2013.doc and the file drop-down arrow again, then click .
-
(Email only) Expand the option, then select the email address you entered for user in Directory and click .
-
Click the comment icon
 .
.
-
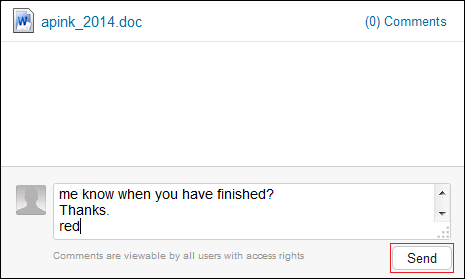
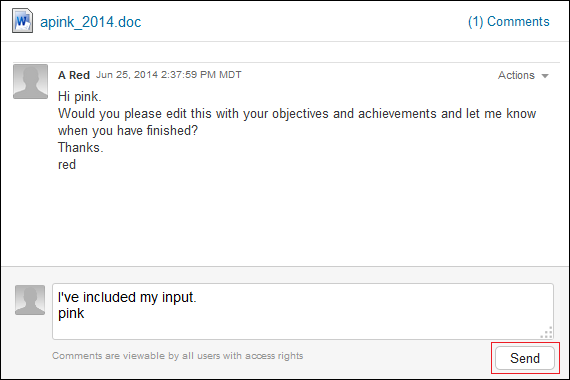
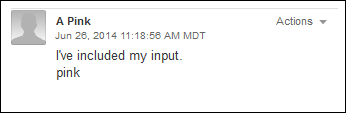
Add a comment, such as
Hi pink.
Will you please edit this with your objectives and achievements and let me know when you have finished?
Thanks.
red
-
Click , then close the Comments dialog.
User apink Responds to the Annual Review Request
-
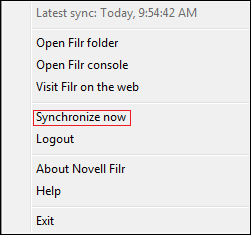
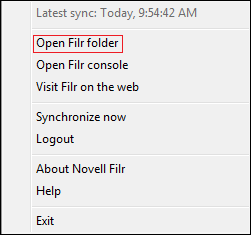
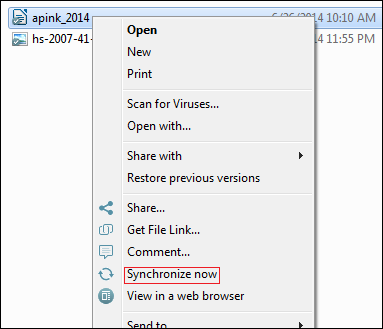
On the Windows 7 VM desktop in the notifications area, right-click the Filr icon.
-
Select .
-
Select .
-
Double-click .
-
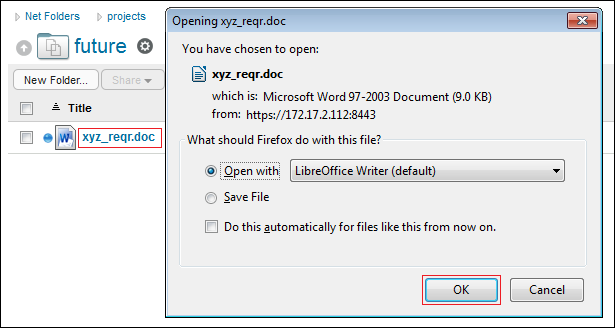
Right-click , then select .
The file should open in LibreOffice Writer, assuming the prerequisites are met for the Windows workstation.
-
Make a few changes, then save and close the file.
You can be as verbose or brief as you want.
-
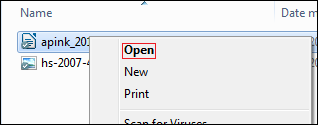
In the Shared with Me folder on the workstation, right-click the file you just edited and select .
-
Sign in to the Web application as user
-
Click .
-
Click the drop-down arrow for apink_2013.doc, then click View HTML.
Your changes are reflected in the view.
-
Close the HTML view.
-
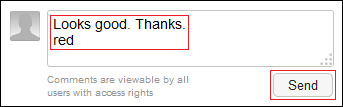
Click the review file’s comment icon, type a comment indicating that the review is ready, then click and close the comment panel.
-
Continue with User ared Approves User apink’s Annual Review.
User ared Approves User apink’s Annual Review
-
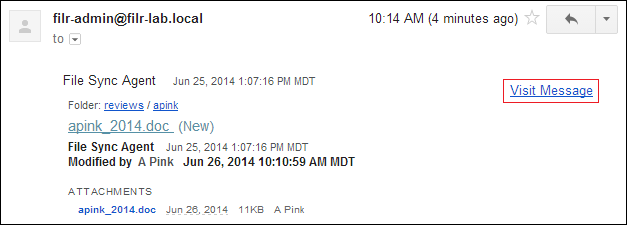
(Email only) In the Windows VM, log in to the email account that you assigned to user , open the message from filr-admin (it might be in your SPAM folder), then click the link.
-
Sign in to the Web application as user .
If you accessed it through the email link, the message from user is displayed. Otherwise, click , then click the message icon for ’s review document.
-
In the new comment box, type a comment indicating that the review is approved, then click .
-
Close the view.
-
Continue with (Email Only) External Sharing.
8.3.3 (Email Only) External Sharing
The exercises in this section demonstrate how Filr users can share files with users who are external to your organization.
IMPORTANT:Completing the instructions in Section 7.8, (Optional) Setting Up Email Communication with the Filr VM is required for the exercises in this section.
About External Users
External users are those who receive share invitations through email and subsequently provision themselves as system users. They can then log in to the system using the credentials they establish with Filr, or they can elect to be authenticated through a Google or Yahoo Open ID account.
For more information about the different kinds of users who can access Filr, see Users and Groups with Filr
in the How Filr Works–Overview Guide.
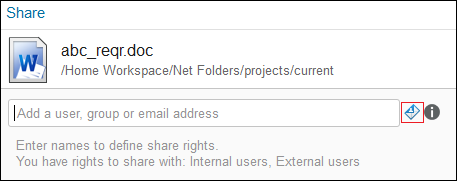
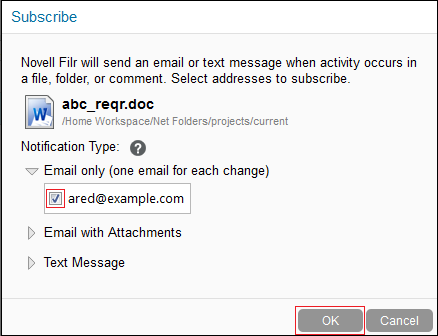
User ared Gathers Input for the Next Release
User managed the ABC product release and is responsible for gathering input for the upcoming XYZ product. User also wants to invite input from a key partner named M Opaque. Inviting M Opaque to participate requires using the second email address mentioned in Section 2.0, Hands-on System Requirements and further explained in Section 7.8, (Optional) Setting Up Email Communication with the Filr VM.
-
If you aren’t already signed in to the Web application as user , do so now.
-
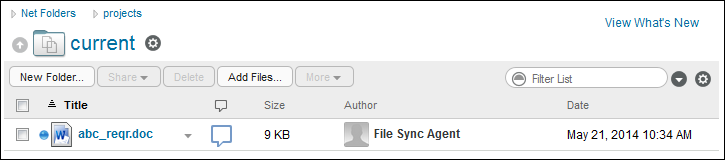
Click > > .
-
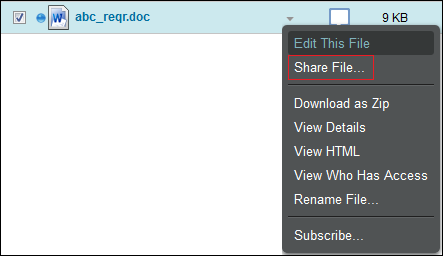
Click the check box for abc_reqr.doc, then click the file drop-down arrow
to the right of the file and select .
-
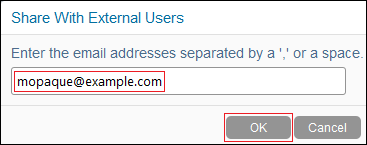
Click the envelope icon next to the search field.
-
In the field, type your second email address, then click the plus sign (+) to add the external user.
-
Click .
-
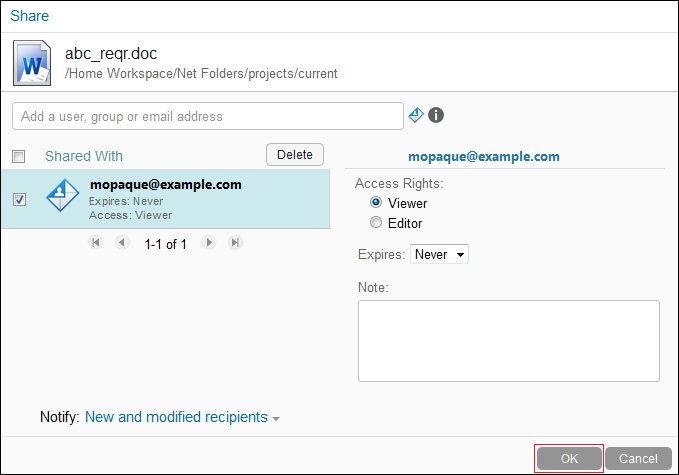
Click the check box for and the file drop-down arrow again, then click .
-
Expand the option, then select the email address you entered for user and click .
-
Click the comment icon
to the right of the down-arrow.
-
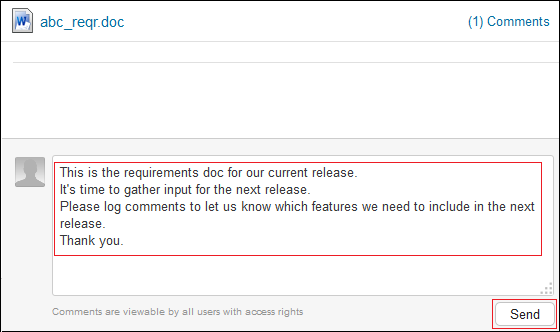
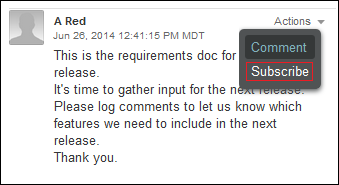
Add a comment, such as
This is the requirements doc for our current release.
It's time to gather input for the next release.
Please log comments to let us know which features we need to include in the next release.
Thank you.
Then click .
-
Close the Comments dialog.
-
Continue with User opaque Self-Provisions and Responds to the Review Request.
User opaque Self-Provisions and Responds to the Review Request
-
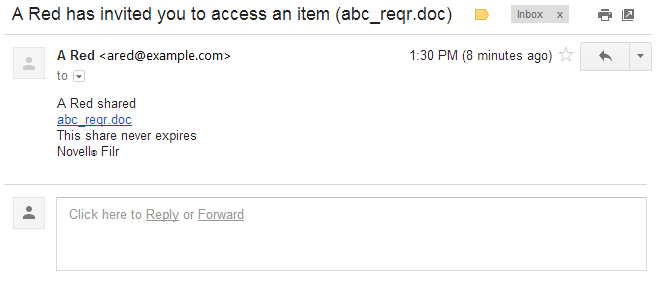
Log in to the email account that you used to invite user to participate in the review.
-
Open the message from the email address that you assigned to user , then click the link.
-
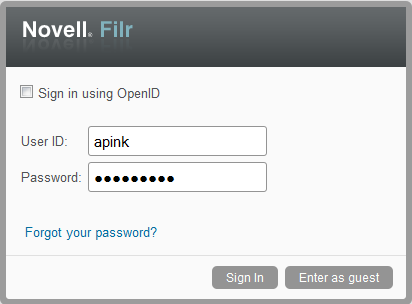
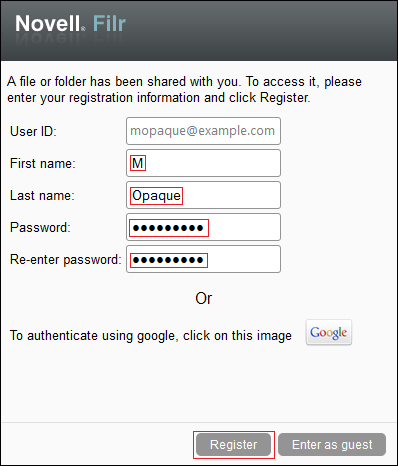
The Filr registration dialog lets external users register or log in as a guest.
Register as M Opaque by typing M, Opaque, filrrocks, and filrrocks.
The User ID (email address) cannot be changed.
-
Open the confirmation email, then click .
-
Type the password that you registered for M Opaque, then click .
-
Read the comment from user , click the down arrow, then click .
-
Click the arrow by , then select M Opaque’s email and click .
Emails will now be sent to user as others comment on the document or perform other actions.
-
Log the following comment, then click .
Competing products have had morning coffee functionality for over 18 months now.
If the next release doesn't include this, we will be forced to switch.
The comment is included.

-
Continue with User ared Responds to User opaque’s Input.
User ared Responds to User opaque’s Input
User receives notification of user ’s comment (you can check ’s email if you wish) and remembers that the requested feature has been discussed. It should already be in the next requirements document (xyz_reqr.doc), but isn’t certain that it is.
-
Log in to the Web application as user .
-
Click > > .
-
Click xyz_reqr.doc, then click .
-
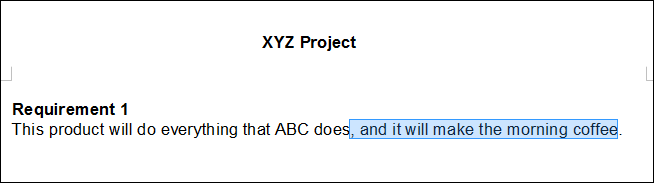
Insert the following text before the period:
, and it will make the morning coffee
-
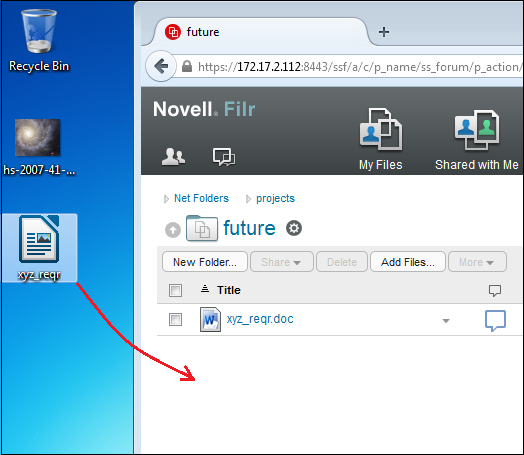
Save the file to the Desktop, then close LibreOffice.
-
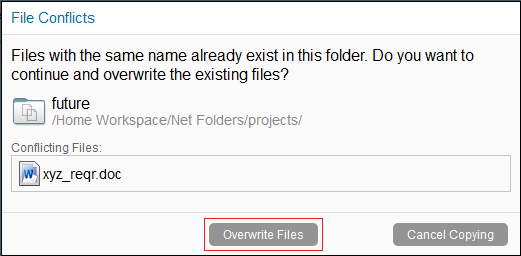
Drag the file from the desktop to the browser.
-
Click .
-
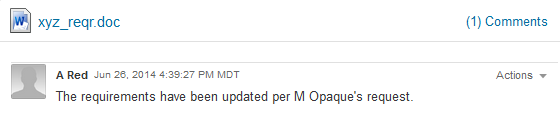
Send a comment indicating that the file has been updated.
-
Log a comment for the abc_reqr.doc file that Opaque’s requirement has been included in the next version.

-
Continue with Public Sharing.
8.3.4 Public Sharing
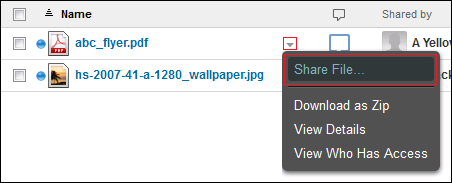
User wants to get the word out about the abc version of the organization’s product and elicits the help of user with the effort.
-
Log in to the Web application as : ayellow.
-
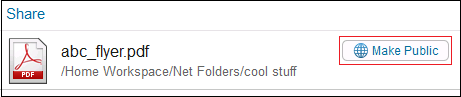
Click > .
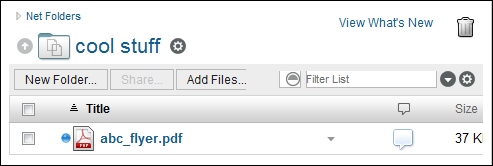
-
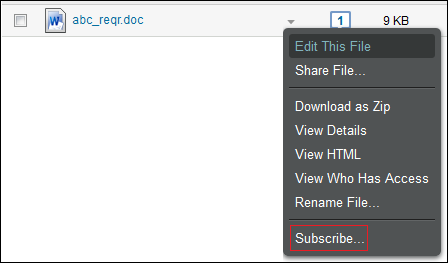
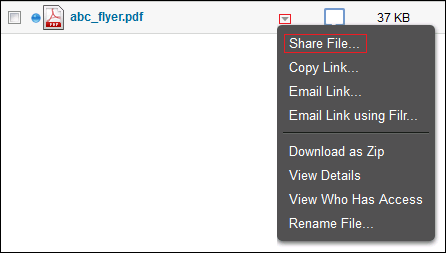
Click the file drop-down arrow
for abc_flyer.pdf, then select .
-
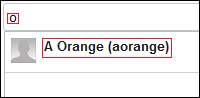
In the field, type o, then select .
-
Click > > .
-
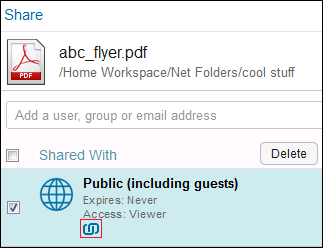
Log in as : aorange.
-
Click .

-
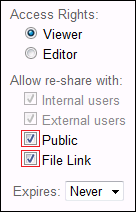
Click the action drop-down for the abc_flyer.pdf file, then click .
-
Click .
-
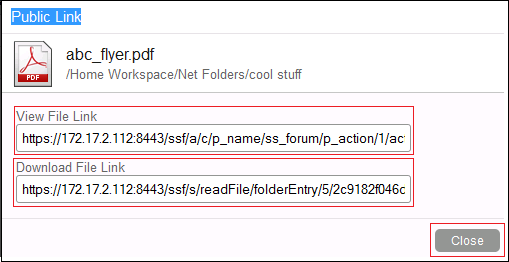
Click the link for exposing the public links to the file.
-
Enter one of the URLs in a separate browser window or tab, then click to see what Internet users who access the URL will see.
-
Continue with Creating a Filr Group.
8.3.5 Creating a Filr Group
-
Log in to the Web application as : admin.
-
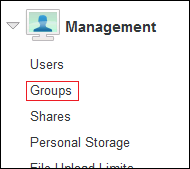
Open the Administration Console and under click .
-
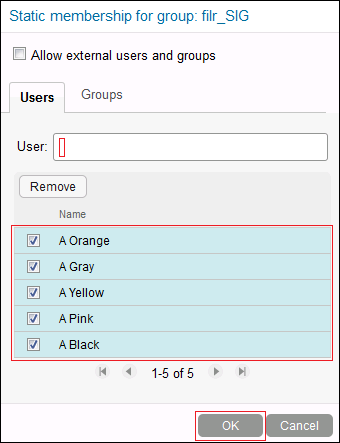
Type the , , and shown below, then click .

-
Type user names in the User: field and press Enter to add the users listed below to the group, then click > .
-
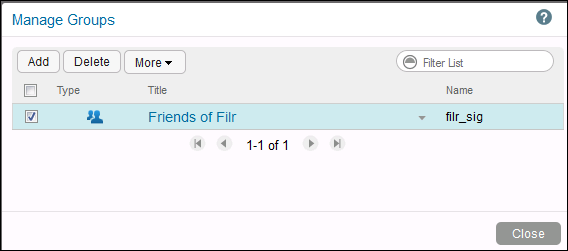
Click .
-
Continue with Re-sharing and Searching.
8.3.6 Re-sharing and Searching
-
Log in to the Web application as : ablue.
-
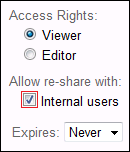
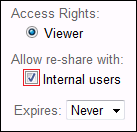
In Net Folders, navigate to > , then share the file with the group with rights and rights to reshare the file with internal users.
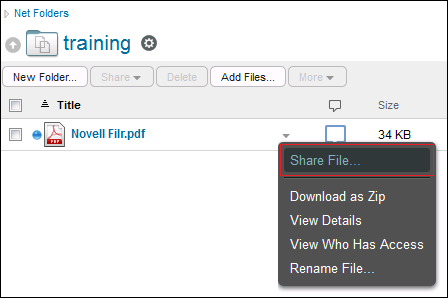
-
Close the Group Management dialog.
A few days after user shared the file, user is talking with user in the hallway and mentions the Filr quick start.
-
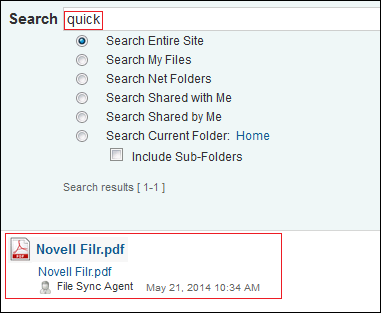
Log in as user , then in the search field, type quick and press Enter.
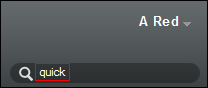
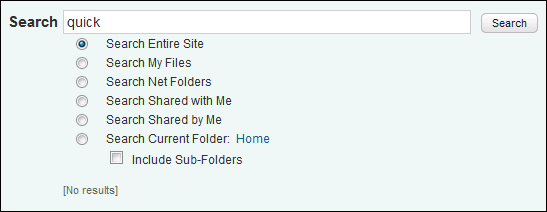
Because the file is not found, user asks user to share the file.
-
Log in as user and share the file with user .
-
Log in as user and search for the file again.
The file is listed in the search results window.
8.3.7 More Things You Can Try
There are a few additional files in the other Net Folders that you can experiment with as indicated below. You can also experiment with your own files.
|
Activity Type |
Net Folder |
File Location |
Task Descriptions |
|---|---|---|---|
|
Planning |
comp planning |
2015.xls |
|
|
Planning |
projections |
fy_2015.xls |
|
|
Reporting |
quotas |
fy_2014.xls |
|