7.0 Securing LDAP Communications between Filr and Active Directory
-
Generate a self-signed certificate for Active Directory.
-
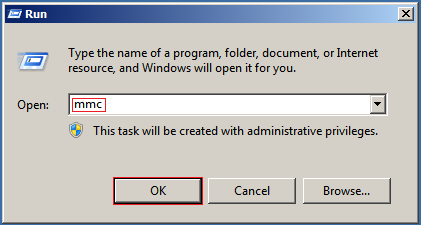
On the Windows server, click > , then enter mmc.
-
In MMC, type Ctrl+M.
-
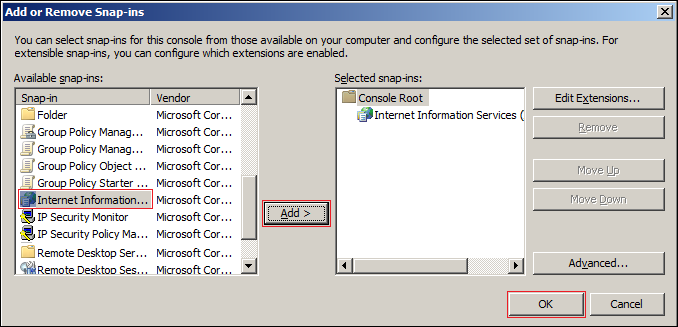
If the snap-in is not installed on your Windows server, install it.
-
With IIS selected, click , then click .
-
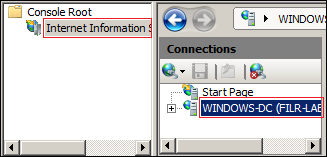
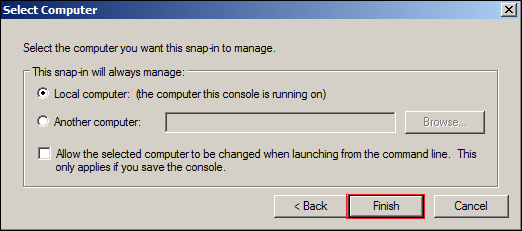
In the left frame, click , then click a Windows server that Filr can connect to for synchronizing the test users that you created in Section 4.0, Creating Test Users.
-
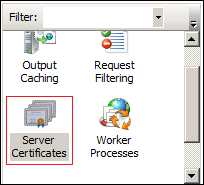
In the Filter list, scroll down to and double-click the icon.
-
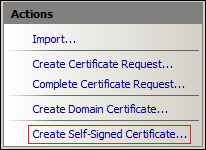
In the list, click .
-
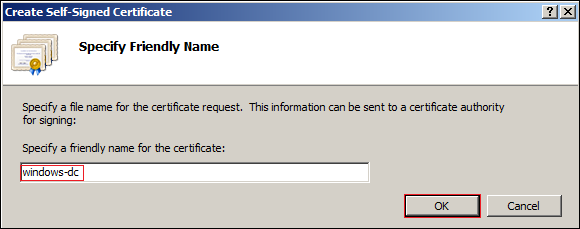
Name the certificate with a name you can remember, such as the server name, then click .
-
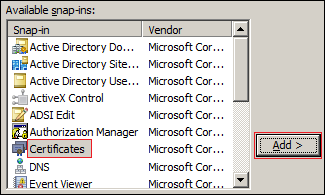
Type Ctrl+M, select the plug-in, then click .
-
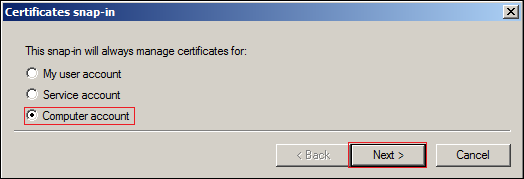
Select , then click .
-
Click .
-
In the Snap-ins dialog, click .
-
In MMC, expand the plug-in, expand , then click .

-
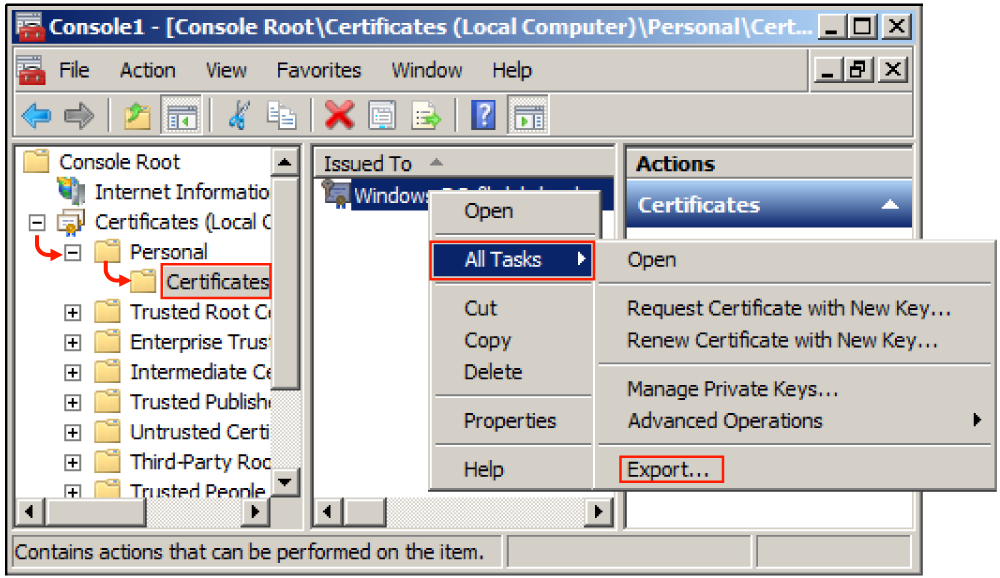
Right-click the certificate you created, select , then click .
-
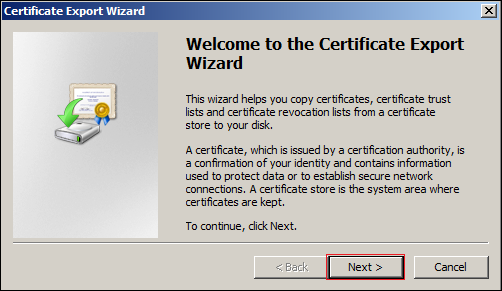
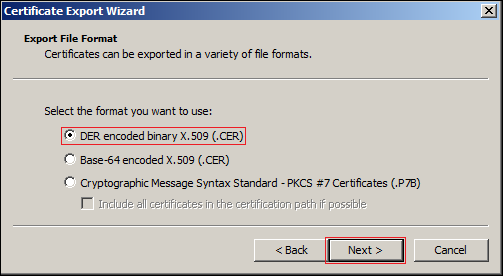
In the Certificate Export wizard, click .
-
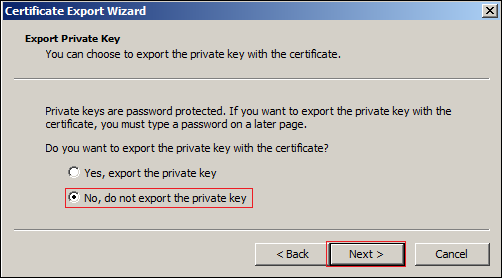
Ensure that is selected, then click .
-
Ensure that is selected, then click .
-
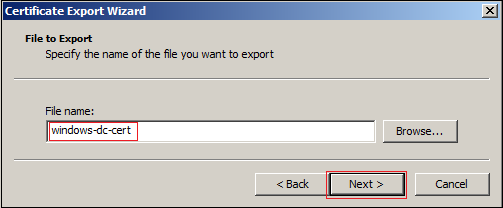
Name the certificate, then click .
-
Click > .
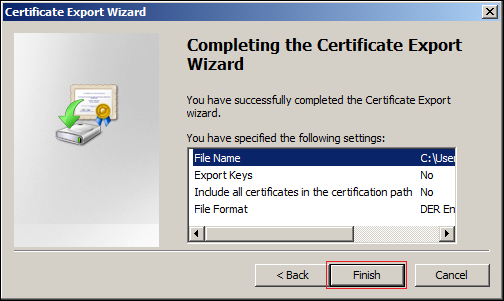
The certificate is saved in C:\Users\Your-User-Name.
-
Ensure that the certificate is accessible from your management browser.
-
-
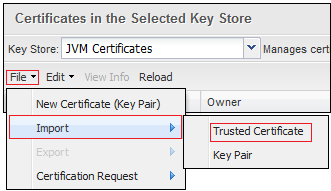
Using your management browser, import the certificate into the Filr appliance’s Java Keystore:
-
In the upper-right corner of the Filr Console, click the link.
-
Click the icon.

-
Click the icon.
-
Click > > .
-
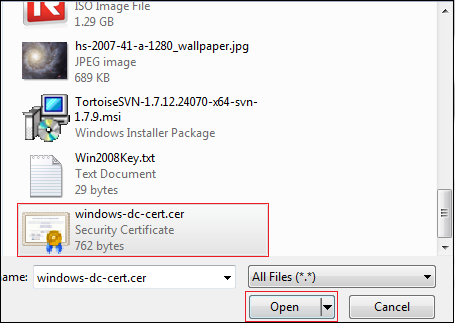
Browse to the certificate file that you saved in Step 1.s, then click .
-
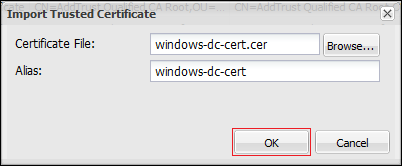
Click .
-
Click .

-
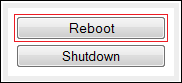
Click > > .
-
As soon as the Filr appliance restarts, both the Windows server and Filr are prepared for the exercises in Section 8.0, Administering Filr.