5.4 Setting Up Two Filr Search Appliances
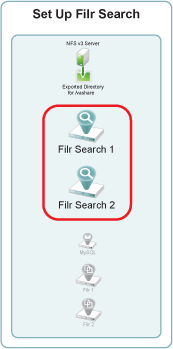
Novell best practices require that every Filr-clustered deployment have two Filr Search appliances. A Filr cluster can operate with one search appliance, but this should only occur under special circumstances, such as when reindexing is required. Figure 5-4 illustrates that two Filr Search appliances are the second and third components deployed when creating a Filr Cluster.
Figure 5-4 Filr-Clustering Task 2: Set up two Filr Search appliances
You can use the steps that follow to gain hands-on experience with setting up Filr Search appliances, or for general guidance as you set up a Filr-clustered deployment in your own lab or production network. For complete instructions, see the Novell Filr 1.0.1 Installation and Configuration Guide.
5.4.1 Downloading, Starting, and Configuring the Filr Search Appliances
-
Download and configure the virtual environment for a Filr Search appliance as documented in
Downloading the Search Index Appliance and Configuring the Virtual Environment
in the Novell Filr 1.0.1 Installation and Configuration Guide.For example, for a VMware Workstation deployment this involves the following basic steps:
-
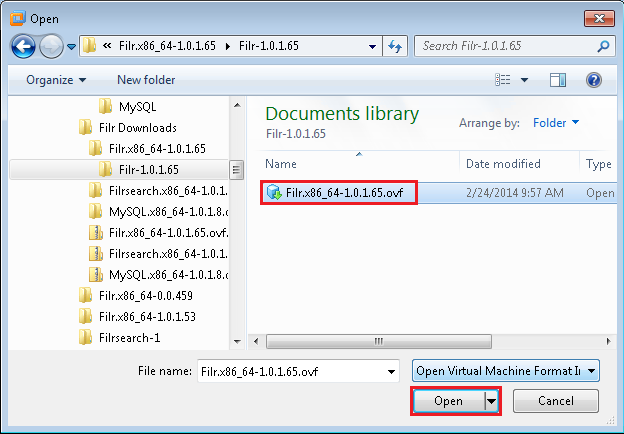
Download, unzip, and open the Filrsearch*.ovf file.
-
Name the appliance and click .
-
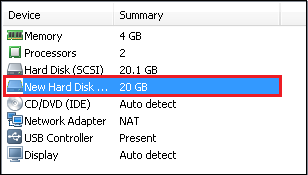
Add a second hard disk to the appliance for the /vastorage mount point.
-
Adjust the appliance’s resources (RAM and so forth) as needed.
-
Power on the appliance.
-
-
Install the Filr Search appliance that you downloaded and configured in Step 1 as documented in
Installing the Search Index Appliance
in the Novell Filr 1.0.1 Installation and Configuration Guide.-
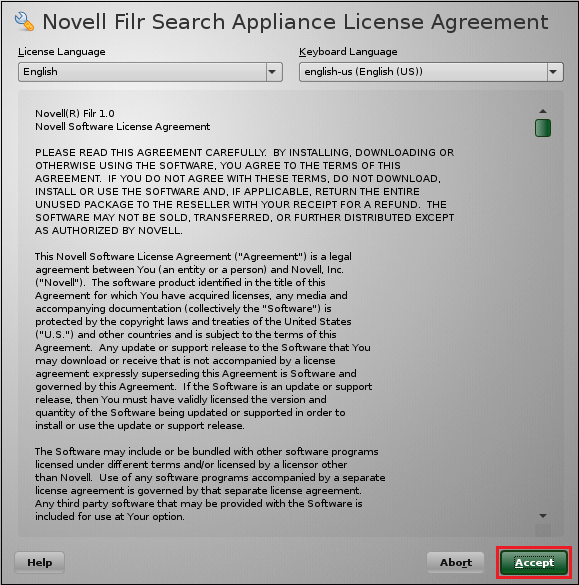
Accept the license agreement.
-
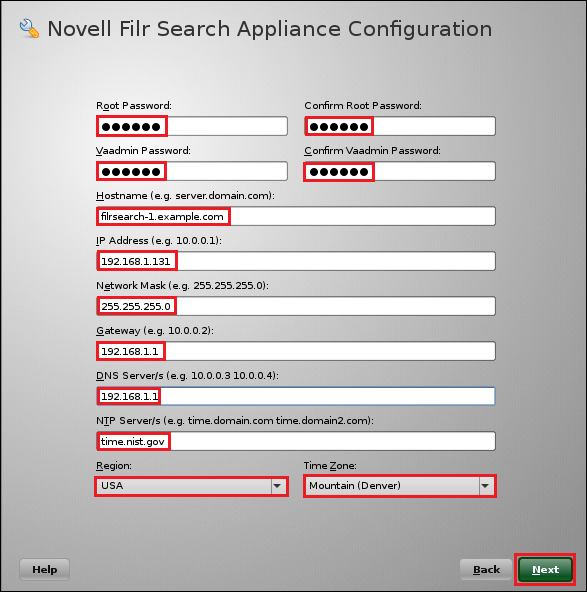
Specify the passwords, network settings, and time settings, then click .
-
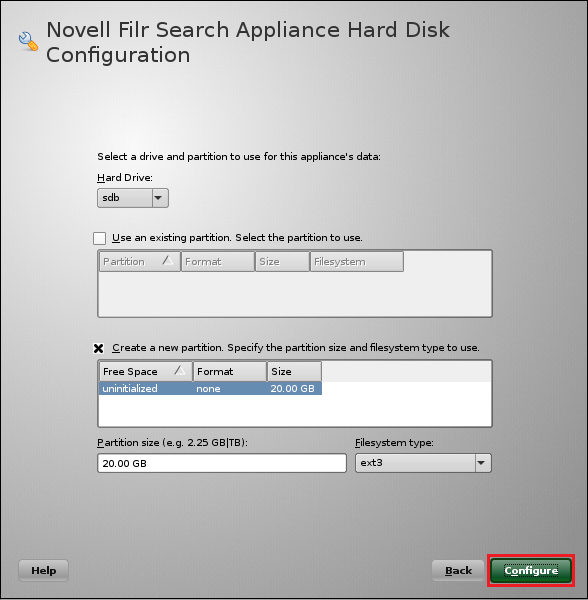
Select the Hard Disk option by clicking , then specify the second hard disk you added in Step 1.c as the data storage location for /vastorage by clicking .
When the terminal prompt screen appears, the search appliance is ready to configure.
-
5.4.2 Deploying the Filr Search Appliances
-
Using a browser, access the Appliance Administration Utility on the first Filrsearch appliance by entering the following URL:
https://IP_Address:9443
Where IP_Address is the IP address of the first Filr appliance.

-
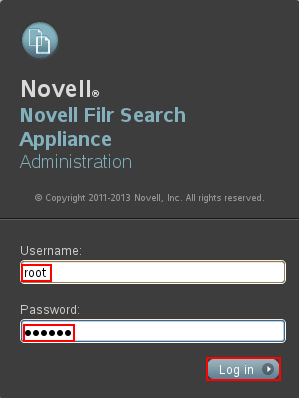
Log in as the root user using the password that you set in Step 2.b.
-
Click the button to launch the .

-
Click to confirm that this is a new appliance.

-
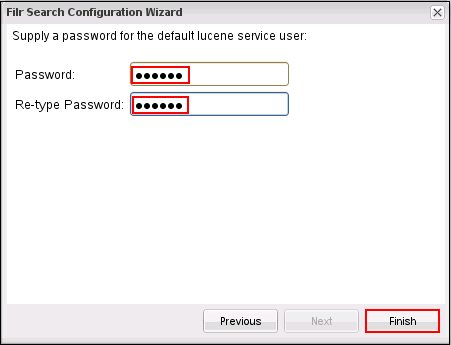
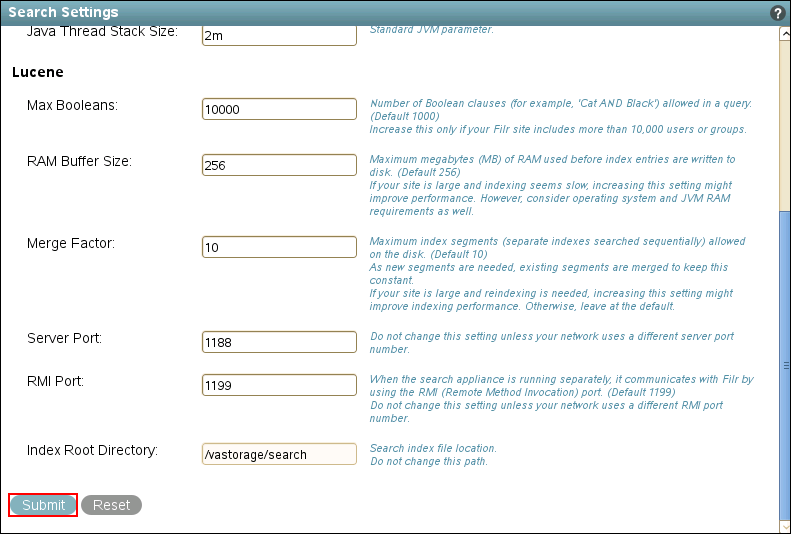
Specify and confirm a password for the default Lucene user, then click .
-
At the bottom of the Search Settings dialog, click .
-
Close the browser.
-
Repeat from Step 1 to install and configure a second Filr Search appliance, then continue with Setting Up the MySQL Appliance.