11.4 Installing Virtualized NetWare
This section provides the instructions for installing NetWare 6.5 SP8 as a guest OS.
11.4.1 Preparing the Installation Media
You must use the DVD installation files to install a NetWare VM guest on a Xen VM host server. (Xen on SLES 10 doesn’t support CD swapping.)
The installation media must appear as a local disk to the virtual machine, but it can be physically located in either of the following locations:
-
On a DVD in the host’s physical DVD reader.
-
As the DVD ISO image file copied to the Xen VM host server desktop.
The following steps are for downloading to the VM host server’s desktop and can be adapted as necessary for the other locations listed above.
-
Use the Firefox browser on the VM host server to access the Novell Open Enterprise Server 2 Downloand Instructions page and download the NW65SP8_OVL_DVD.iso file to the server’s desktop (or another location of your choosing).
-
After the file downloads, if you are installing on an OES 2 SP3 VM host server by using a response file, continue with Step 3. Otherwise, skip to Section 11.4.3, Creating a Xen Virtual Machine and Installing a NetWare VM Guest Server.
-
Click in the Firefox download dialog box.
-
Sort the list of files by by clicking the column heading, then scroll to /LICENSE.
-
Select the .NFK and .NLF files, right-click them, and select .
-
In the Extract dialog box, click , then close the ISO file and the browser.
-
Double-click the LICENSE folder on the desktop or other location that you chose in Step 1, select the two files you extracted and drag them to the desktop, then delete the LICENSE folder by dragging it to the Trash.
-
Continue with Creating a Response File for an Unattended NetWare Installation.
11.4.2 Creating a Response File for an Unattended NetWare Installation
OES 2 SP3 includes a YaST-based NetWare Response File utility that asks you for information about the NetWare server you want to install. Basically, you answer the same questions as you would during a physical NetWare installation. When the time comes to run the NetWare Install program, the installation reads your responses from the file and proceeds without requiring further intervention.
-
Open YaST and click > .
-
On the Select Install Type page, make sure the is set for . Do not change any other options. Click .
-
Click , specify a valid NetWare server name for the virtualized NetWare server, and specify the IP address you want the virtualized server to use.
The IP address must be unique on the subnet just as it would be for a physical NetWare installation.
-
Click .
-
Click .
-
Specify the name of the eDirectory tree and a context for this server object.
-
In the field, specify the IP address of the eDirectory server.
-
In the section, specify the admin information for the tree, then click .
-
Click , specify the eDirectory container where you want the NetWare license files stored (usually the Organization object), then click .
-
Click .
-
Specify the and information for the subnet and click .
-
Click , change the language settings if needed, then click .
-
Click .
-
If your tree has more than three servers, you must specify valid SLP information before continuing. Otherwise, you can leave the page at the default settings.
After you are finished with the page, click .
-
Click , specify the DNS information, then click .
-
Click , select your time zone options, then click .
-
Click .
-
Leave the protocol set to TimeSync (do not select NTPv3), select , specify the same time synchronization source as your eDirectory server uses, select if applicable, then click .
-
Click , change the default settings if needed, add any needed SET parameters by clicking , then click .
-
Click , adjust the default sizes if desired, then click .
-
Click , select the preconfigured server pattern you want installed, then click .
-
If you selected in Step 21, click , select the services you want installed, then click .
-
Click > > .
-
(Conditional) Depending on what products you selected for the server, click the headings and enter the required information until all the configuration options have been completed for the response file.
-
On the Save Response File page, specify a response filename, then browse to the directory where you stored your NetWare license files. (If you completed all of the instructions in Section 11.4.1, Preparing the Installation Media, the field should show a path that ends with a forward slash (/).
-
If you want the VM Manager to launch automatically after you exit the Response File Generator, select .
IMPORTANT:If the option is not selectable, the server isn’t running the Xen kernel. See Section 11.6, If VM Manager Doesn’t Launch on a Xen VM Host Server.
-
Specify the location of the Installation Source by browsing to the DVD .iso file that you copied to the local server, then click .
-
Click .
-
If you chose to automatically launch VM Manager in Step 26 above, click and skip to Step 5. Otherwise, continue with Section 11.4.3, Creating a Xen Virtual Machine and Installing a NetWare VM Guest Server.
11.4.3 Creating a Xen Virtual Machine and Installing a NetWare VM Guest Server
-
Open YaST, then click > .
-
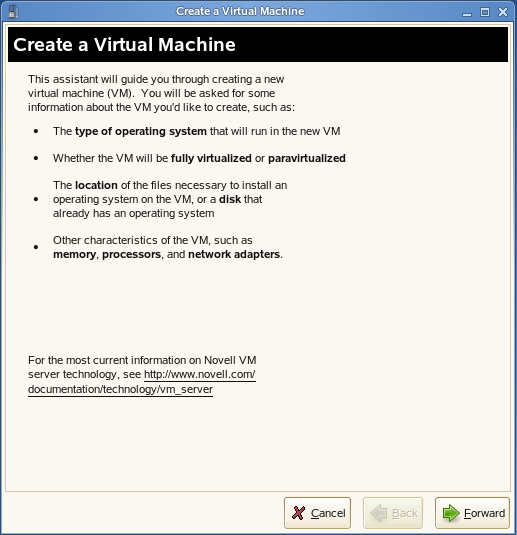
Read the Create a Virtual Machine welcome page, then click .
-
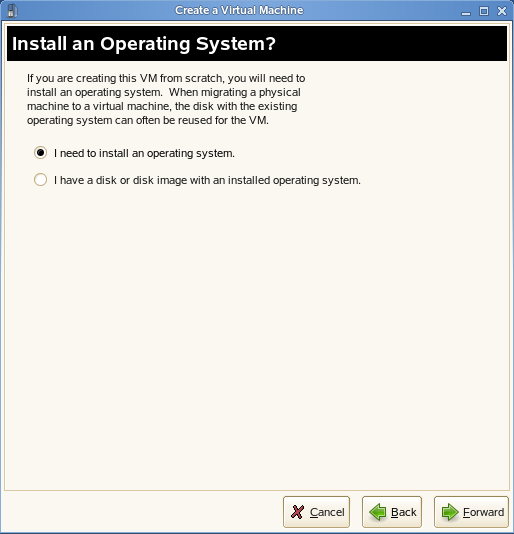
Select , then click .
-
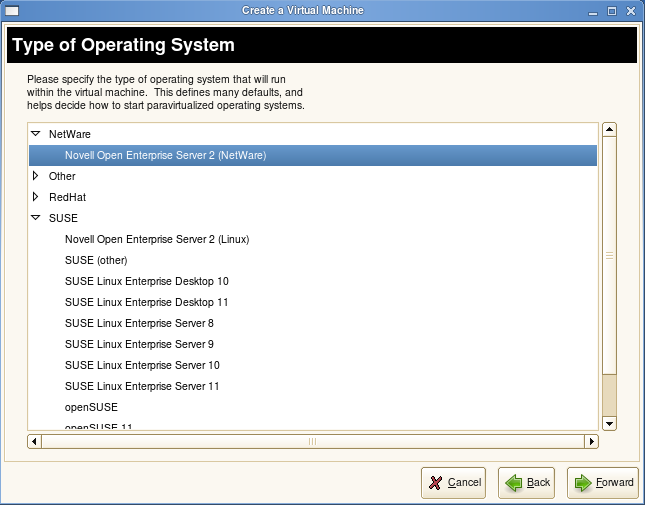
Click the triangle next to , select , then click .
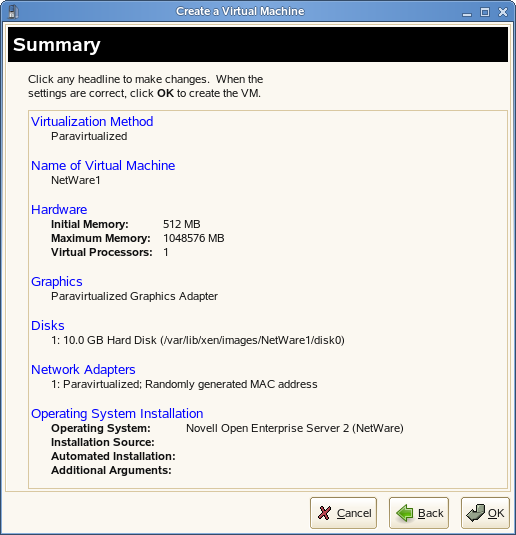
The Summary page appears, showing the settings to be used for the virtual machine.
-
Click .
Specify the name that you want displayed for this virtual machine in the Virtual Machine Manager.
For example, you might specify hostname_vm, where hostname is the host name of the server you are installing.
-
Click .
Change the initial memory setting to at least 1024 MB and the maximum setting to as much as 8 GB, depending on the RAM available on your host server.
Add additional virtual processors if desired.
-
Click .
The Virtual Disks dialog box lets you create the virtual disks that the NetWare VM guest has access to. This includes the installation media if you are installing from a DVD on the host server or from an ISO image file copied to the host server’s storage devices.
Initially, a 10 GB file is specified for the partitions/volumes on the virtual server. The default location of the file is /var/lib/xen/images.
By default, this is a sparse file, meaning that although 10 GB is allocated, the size of the file on the disk is only as large as the actual data it contains. Sparse files conserve disk space, but they have a negative impact on performance.
The NetWare install allocates 500 MB for a DOS partition and 4 GB for the sys: volume. The default disk size of 10 GB leaves about 5.5 GB for other partitions.
-
If you want to change the location of the NetWare VM’s first virtual hard drive, select the default and click . Then modify the path in the field to where you want the virtual disk located.
Make sure that you specify enough physical disk space on the host server’s hard drive and partition to accommodate the maximum size of the virtual disk.
-
If you want optimal performance, deselect the sparse file option. This creates a blank file of the selected size when you start the virtual machine installation.
-
Click .
-
If you are installing from a mounted DVD, click , browse to /dev/cdrom or /dev/dvd, then click > > .
or
If you are installing from a downloaded ISO image file, browse to the image file, then click > > .
-
If you want multiple virtual network adapters, click .
Create virtual network adapters for the server.
The default setting is a single paravirtualized network adapter.
-
If you are installing on an OES 2 SP3 VM host and you created a response file that you want to use for the NetWare installation, click and complete the following tasks:
-
Click , then browse to and select the file you created in Section 11.4.2, Creating a Response File for an Unattended NetWare Installation.
-
Click > .
The response file ’s path and filename should be displayed in the Automated Installation field on the Summary page.
-
-
When you have the virtual machine settings the way you want them, click to proceed with the creation of the virtual machine and the installation of the virtual NetWare server.
A VNC viewer window appears, displaying the progress of the NetWare install program.
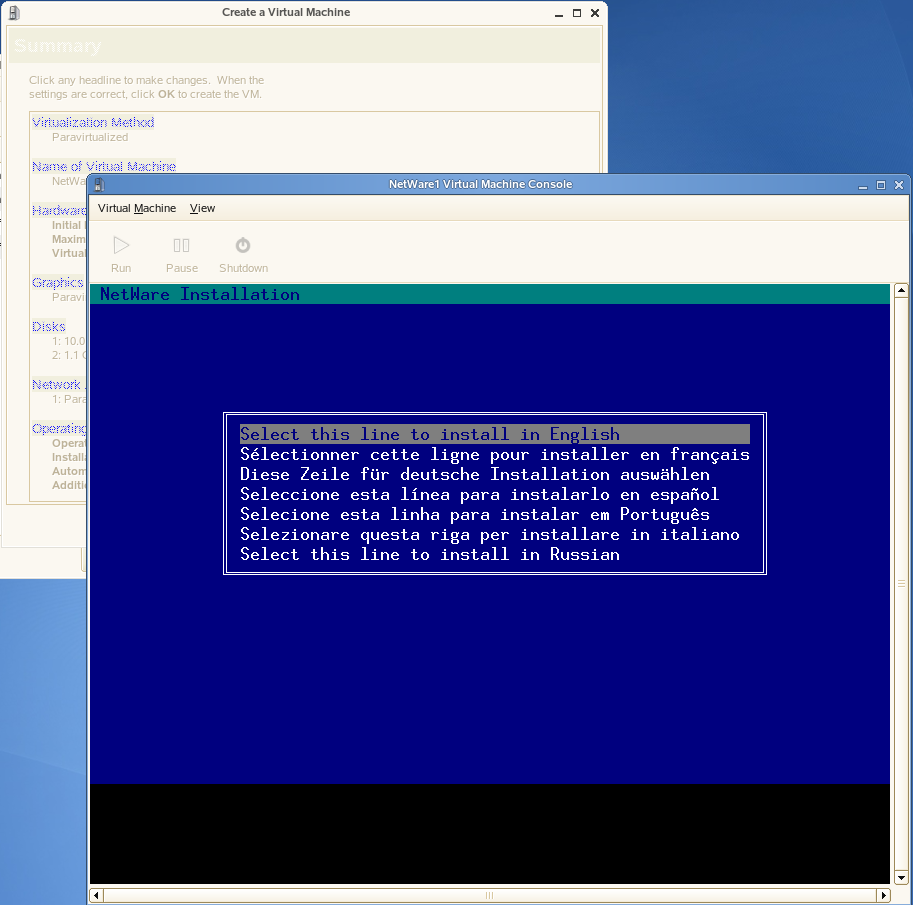
If you specified a response file, the installation uses the information you recorded in the response file. If a required parameter is missing in the response file, you are prompted to enter the desired values during the installation.
-
If you did not specify a response file, you must do the following:
-
Click inside the installation window to set the mouse pointer.
The mouse is not used on the first few screens, but you must set it now. Otherwise, the mouse and the keyboard might not work as expected when the GUI pages appear.
-
Enter all of the installation information as you would for a physical NetWare installation.
-
IMPORTANT:Do not close the VNC viewer window while the NetWare install program is running. Doing so prevents the installation from finishing properly.