6.5 NFARM (OES File Access Rights Management)
OES File Access Rights Management (NFARM) is a Windows-based shell extension that enables Windows Active Directory administrators to manage the rights of AD users or groups on Novell Storage Services (NSS) resources.
NFARM helps AD administrators or users with sufficient rights to mange the following:
-
Trustees explicit rights, inherited rights filter, and view effective rights. You can also view trustees with rights from the selected path and child or parent directories.
-
Owners, NSS attributes and directory quota
-
User quotas
-
All paths that a user is a trustee of
-
Salvage and Purge (also supports eDirectory users)
NOTE:
-
User Quota and Files System Rights operations are restricted to AD domain administrators, and to use these features one should have logged in to the Windows workstation using the AD domain administrative credentials.
-
To view or modify User Quota and File System Rights for an AD user from the trusted domain or forest, ensure that the user belongs to AD supervisor group of the domain where OES server is joined.
The term object referred to in this section, indicates a path, folder, or volume.
After performing any operation in NFARM, you can click the following:
-
to save changes to the NSS file system and remain in the same window.
-
to save changes to the NSS file system and exit.
-
to discard changes and exit.
All these operations are performed on a Windows mapped network drive that is mapped to an NSS volume, NSS Folder, or CIFS Share in the Windows client. These shares must be compatible with OES 2015 or later servers that have NSS AD set up and configured.
6.5.8 Salvage and Purge
The Salvage and Purge utility for Windows lets you recover or delete the files and directories permanently from the NSS file system. The files that have been purged cannot be recovered. This tool gets automatically installed when you install NFARM.
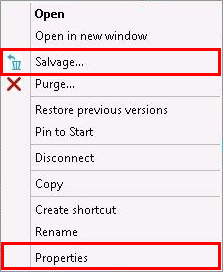
Salvaging Files
The Salvage utility for Windows lets you recover the deleted files and directories from the NSS file system.
To salvage:
-
Right-click a Windows mapped network drive or folder, then click or .
-
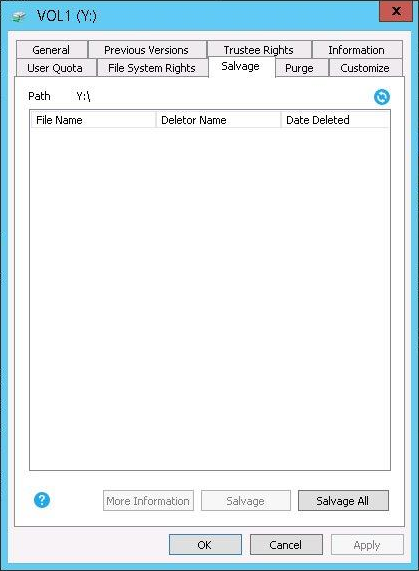
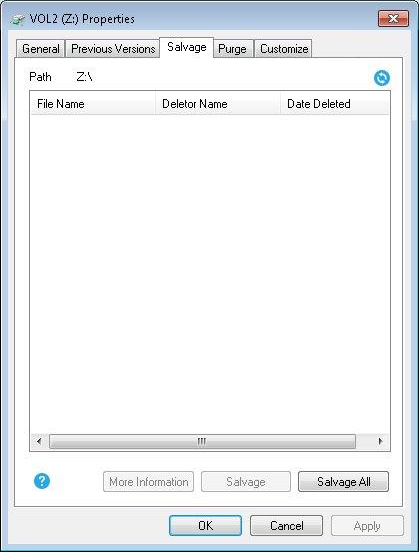
If you have logged in as AD user, the following tabs are displayed:
-
If you have logged in as eDirectory user, the following tabs are displayed:
-
-
Select the salvageable files, then click . The selected files are salvaged. To salvage all files, click .
HINT:
-
To select all files: Select the first file, then press CTRL+SHIFT+END.
-
To select multiple files: Press and hold the CTRL key, then click the files of your choice.
-
To select a series of files: Press and hold the SHIFT key, then click the first file and the last files.
-
To refresh: Click
 (refresh) to display the latest list of salvageable files and folders.
-
To sort: Click the column heading to sort the files and folders. The
 icon indicates descending order and the
  icon indicates ascending order.
-
-
While salvaging, if a file already exists with the same name, you are prompted to rename it.
-
To see the attributes of the selected files, click . The attributes include: File name, Deletor Name, Date Deleted, Creator Name, Date Created, Modifier Name, Date Modified, Archiver Name, Date Archived, Date Accessed and File Size.
The dialog box also includes and . Follow the same procedure provided in Step 2 to perform the salvage operation.
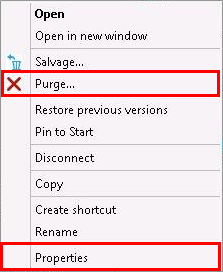
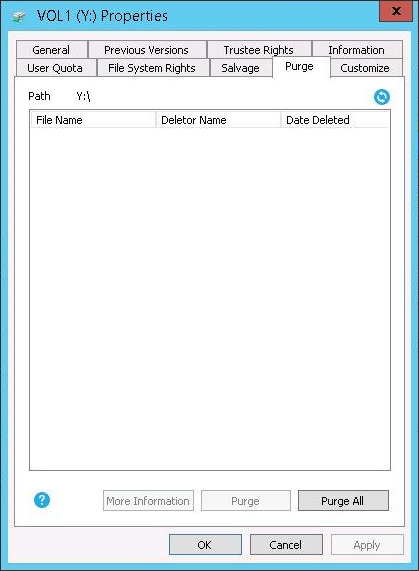
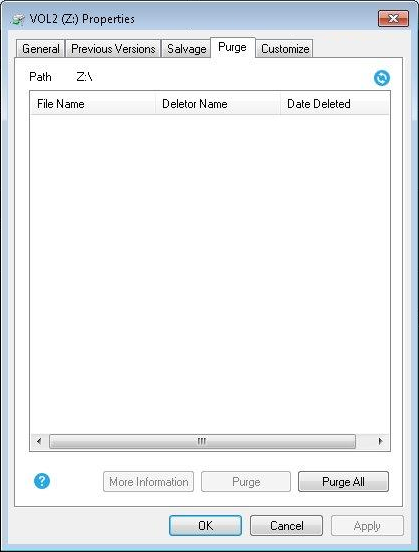
Purging Files
The purge utility for Windows lets you delete files and folders permanently from the NSS file system. Purging is an irreversible action. The files that have been purged cannot be recovered.
To purge:
-
Right-click a Windows mapped network drive or folder, then click or .
-
If you have logged in as AD user, the following tabs are displayed:
-
If you have logged in as eDirectory user, the following tabs are displayed:
-
-
Select the files to be purged, then click . The selected files are purged. To purge all files, click .
HINT:
-
To select all files: Select the first file, then press CTRL+SHIFT+END.
-
To select multiple files: Press and hold the CTRL key, then click the files of your choice.
-
To select a series of files: Press and hold the SHIFT key, then click the first file and the last files.
-
To refresh: Click
(refresh) to display the latest list of purgeable files and folders.
-
To sort: Click the column heading to sort the files and folders. The
icon indicates descending order and the icon indicates ascending order.
-
-
To see the attributes of the selected files, click . The attributes include: File name, Deletor Name, Date Deleted, Creator Name, Date Created, Modifier Name, Date Modified, Archiver Name, Date Archived, Date Accessed and File Size.
The dialog box also includes and . Follow the same procedure provided in Step 2 to perform the purge operation.