11.1 Salvaging or Purging Deleted Files with iManager
As an administrator, you can use the Files and Folders plug-in to iManager to salvage or purge deleted files from an NSS volume where the Salvage attribute is enabled. When salvaging deleted files, the file content, trustees, trustee rights, and inherited rights filter are just as they were before the file was deleted. If the rights in the tree above the salvaged file have changed, then the inherited rights for the salvaged deleted file is calculated based on the current rights above it in the directory tree.
11.1.2 Salvaging a Deleted File
You can salvage a deleted file and restore it to the directory from which it was deleted if you are a trustee of the file with the Create write. You can choose to overwrite any existing copies of the file in that location, or to rename the deleted file before it is salvaged. Review the guidelines in Section 11.1.1, Prerequisites to understand when deleted files are available for salvage.
-
In iManager, click , then click to open the page.

-
If the folder that contained the file has also been deleted, salvage the deleted directories in the path to that folder.
-
On the page, click the icon to browse and locate the folder that contains a deleted folder in the path, then click the name link of the folder to select it.
-
Browse the list of deleted files and folders in the selected directory, and locate the version of the folder you want to salvage.
-
Select the check box next to the deleted folder, then click .
-
Repeat the process to salvage each lower directory in turn until you salvage the directory of interest.
-
-
On the page, use one of the following methods to locate the folder on an NSS volume where the deleted file existed when it was deleted:
-
Click the icon to browse and locate the folder, then click the name link of the folder to select it.
-
Click the icon to select a folder from the list of folders that you recently accessed.
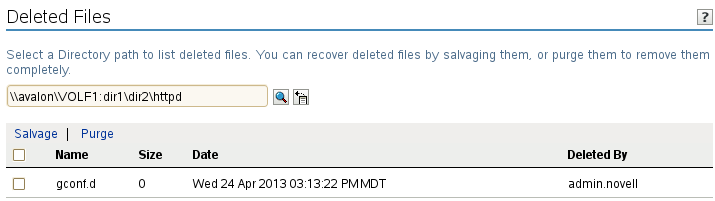
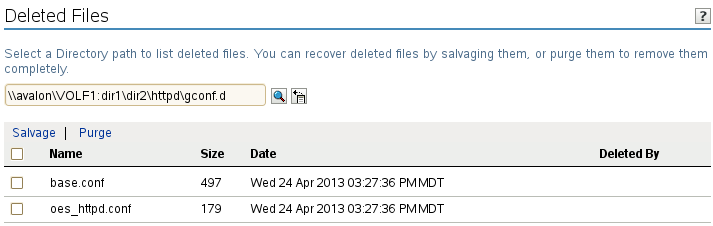
The report lists the deleted files in the folder and shows who deleted each file and when it was deleted.
-
-
Browse the list of deleted files to locate the version of the file you want to salvage.
-
Select the deleted file that you want to salvage, then click .
-
If a current file in the folder is named the same as the salvaged file, you are prompted to do one of the following:
-
Type a new name for the salvaged file, then click .
-
Click to overwrite the current file with the salvaged file.
A confirmation message indicates that the file was successfully saved.
-
-
Click to salvage or purge other deleted files, or click to dismiss the confirmation message.
11.1.3 Purging Deleted Files
You can purge a deleted file to remove it immediately from the volume if you are a trustee of the file with the Erase right. Purged files can no longer be salvaged. Review the guidelines in Section 11.1.1, Prerequisites to understand when deleted files are available.
You can purge a single deleted file, purge all deleted files in a folder, or purge a deleted folder and all of the deleted subfolders and files it contains.
-
In iManager, click , then click to open the page.
-
If the folder that contained the file has also been deleted, salvage the deleted directories in the path to that folder.
-
On the page, click the icon to browse and locate the folder that contains a deleted folder in the path, then click the name link of the folder to select it.
-
Browse the list of deleted files and folders in the selected directory, and locate the version of the folder you want to salvage.
-
Do one of the following:
-
To continue in the path to purge one or multiple deleted files in a salvaged folder, select the check box next to the deleted folder, click , then continue to Step 2.d.
-
To purge a deleted folder and all of the deleted subfolders and files it contains, select the check box next to the deleted folder, click , then continue to Step 6.
-
-
Repeat the process to salvage each lower directory in turn until you salvage the directory of interest.
-
-
On the page, use one of the following methods to locate the folder on an NSS volume where the deleted file existed when it was deleted:
-
Click the icon to browse and locate the folder, then click the name link of the folder to select it.
-
Click the icon to select a folder from the list of folders that you recently accessed.
The report lists the deleted files in the folder and shows who deleted each file and when it was deleted.
-
-
Browse the list of deleted files to locate the version of the file you want to purge.
-
Select one or multiple deleted files that you want to purge, then click .
A confirmation message indicates that the file was successfully purged.
-
Click to salvage or purge other deleted files, or click to dismiss the confirmation message.