3.2 Groups
After you have created users, you can group them for the purpose of assigning the same settings and rights to everyone in the group.
For example, you could create a group named “Auditors” and assign the group rights to specific functions that an auditor needs.
Or you could create a group named GW-MFA and enable Multi-factor Authentication as an inheritable setting. GroupWise and on-prem Exchange users with GW-MFA as their assigned Configuration Group, could then inherit the setting and access Retain using multi-factor authentication (MFA).
Path: Retain Server Manager >
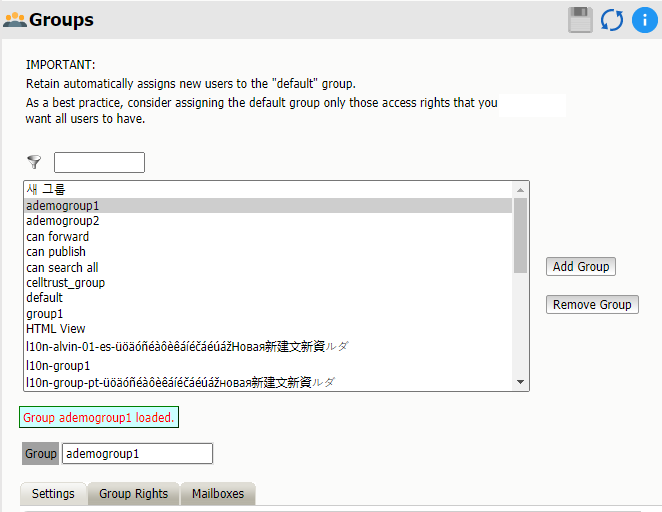
The groups page lists all defined groups, including the group named default, which is created when you install Retain.
Users are automatically assigned to default when they are first created. If you want users to be part of other groups, you can create them and then add users to them.
Use the information in the following sections to manage the groups on your Retain system.
3.2.2 Group Rights Tab
Group rights are the same as user rights User Rights Tab, just applied to the entire group.
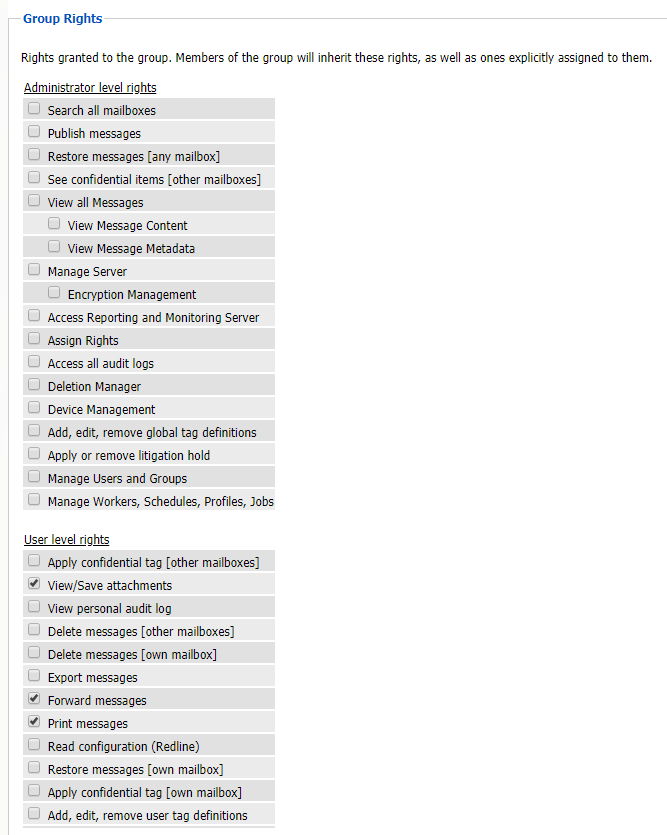
In this tab, you define all the rights that will be common to all members of the group. These rights are ADDITIVE and will be in ADDITION to the rights you have explicitly given to the individual user.
For this reason, if you want to manage users as a group, you would typically not assign any individual rights. Rather, you would assign rights to their group. These rights have all the same meanings and functions as the user rights.
To log into and manage or monitor Workers, a User or Group must have the manage workers, Schedules, Profiles, Jobs right. To set or work with the Deletion Manager, the user must likewise have the Deletion Manager right, or they will not be able to modify those settings. There are, however, certain rights which implicitly grant other rights. For example, granting a Group the Restore Messages [Any Mailbox] right automatically grants the Restore Messages [Own Mailbox] right.
TIPS
Typically, you will not want to grant GroupWise Reporting and Monitoring rights to a group, but in a situation where you have more than one GroupWise Reporting and Monitoring control center and you want to see which one is monitoring, group-level GroupWise Reporting and Monitoring rights would be appropriate.
Typically, you will want to make the default group’s rights rather restrictive, granting very limited access by default. If you wanted a user to have more rights, you would simply assign them to another group or you could assign additional explicit rights.
By using groups, you can have groups of individuals with rights to totally different sets of archives. Other than their own mailboxes, users only get rights to the mailboxes that you grant to them.
3.2.3 MailboxesTab

-
This screen works exactly like the user’s access to mailboxes. Please see the user’s mailbox section for details on how to select which mailbox or mailboxes to assign to the group.
-
You use the address book selector to choose which mailbox or mailboxes to give the group access to.
-
By default, groups have access to NO mailboxes; users may only access their own mailboxes. If the user exists only in Retain (no GroupWise account) and their group has access to no mailboxes, then they will have access to no mailbox either.
-
Only give group access to mailboxes when you want all members of the group to be able to access a particular mailbox. Some examples could include a general sales account or accounts being audited by a group of auditors, a workgroup needing to access each other’s archives, and so on.