6.6 Archiving CellTrust (SecureLine Generation 1)
6.6.1 Creating a CellTrust Module
The CellTrust SecureLine module allows the collection of data from the CellTrust SecureLine server into the Retain system. CellTrust SecureLine supports the archival of SMS from both Android and iOS phones. All devices which are supported by the SecureLine server are covered by Retain.
To archive CellTrust SecureLine information, the SecureLine server must be configured to log SMS data. The server log files are what Retain uses to collect the information about SMS activity. If the SecureLine server has not been configured to log the data, Retain will be unable to archive the information. See below for SecureLine server configuration.
Configuring the CellTrust SecureLine Module is incredibly simple. Essentially, the module needs to be enabled and configured with the log file location. Afterwards, the data is treated the same as any other data entering the Retain archive. Data is archived in the database under the user/phone it originated from and can be searched and viewed through the Search Messages interface.
-
To begin configuring the CellTrust Module, open Retain Server Manager > > > .
-
Use the information and options in the sections that follow to configure the CellTrust Module.
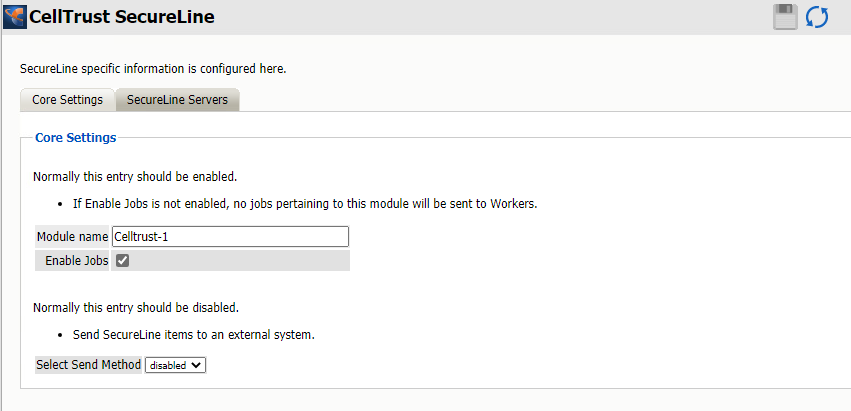
Core Settings Tab (CellTrust SecureLine 1 Module)
Path: Retain Server Manager > > >
The module needs to be enabled on this page to make it active in the Retain system.
The module can be given a name.
The Send Method option enables either the SMTP Forwarding or FTP features. For either feature to appear and function, the Module Forwarding tab must be configured on the Server Configuration page. See that section for more information.
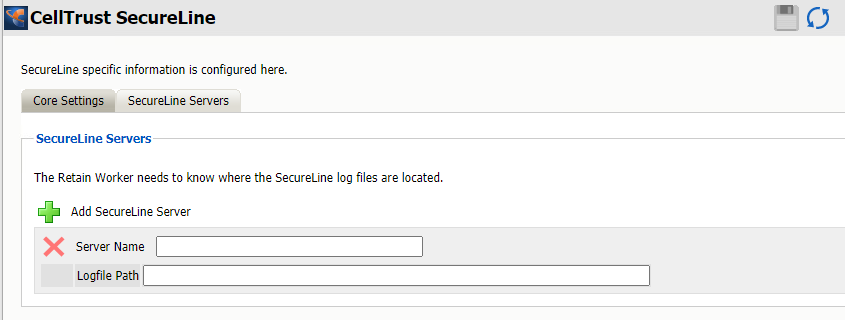
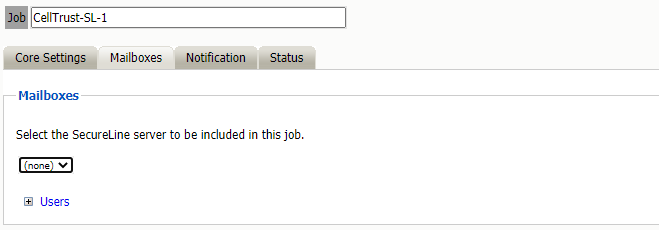
Adding SecureLine Servers (Cell Trust SecureLine 1 Module)
Path: Retain Server Manager > > >
The log file path for each server in the system is required to archive the SMS data. To add a server to the Retain process, select the Green Plus Sign( +). Give the server a name (any name will do), and provide the log file path.
The log files must be directly accessible to the worker tasked with archiving the CellTrust SecureLine data, whether through direct access or through a mapped drive. The logfile path is the direct file access path to the log files of the CellTrust SecureLine server, (/opt/PM/scheduler/external by default), and should be specified as the worker will access the log files.
Configuring the CellTrust Secureline Server
Retain requires the CellTrust SecureLine server to create log files for the worker to access, digest, and send to the Retain Server for storage. To configure the SecureLine server to create these files requires the scheduled run of a Gwava Report script, a tool provided by CellTrust.
The script may be scheduled through the quartz scheduler.
To configure the quartz scheduler to run the GwavaReport script, navigate to the /opt/PM/bin directory and run the start_sched_client.sh script, then follow the desired prompts.
For example:
[root@dev04120lv bin]# ./start_sched_client.sh
Hi, welcome to PrimeMessage Scheduler configuration utility
You will be prompted to enter different values. Every time you finish to enter something - just hit "Enter". You can quit any time - just enter single 'q' character in the beginning of the line.
GOOOOD LUCK!
Select operation ( 1 - add job; 2 - remove job; 3 - pause job; 4 - resume job; 5 - current jobs):
1
Enter job name:
GwavaReport
Enter job class name ( omit ".class" part ):
GwavaReportJob
Please select Trigger type( 1 - Simple, 2 - Cron):
At this point, select whether you want to use a Cron configuration for the triggers or a simple type – this is an example using the simple type:
Please select Trigger type( 1 - Simple, 2 - Cron):
1
Enter delay ( in seconds ) before first execution:
30
Enter number of executions ( 0 for indefinite ):
2
Enter interval between executions ( in seconds ):
30
Enter job additional params ( String or int only)
When finished, enter empty line for attribute name
Enter attribute name:
The GwavaReport has no quartz attributes, so hit enter, then ctrl-c to exit the script.
Schedule the report to run as often as desired according to traffic and desired archival.
Once the report tool has run, it will place the necessary log file in the /opt/PM/scheduler/external directory. The files here are required by the Retain Worker. The Retain Worker required direct file access to these files. Whether by export or by local access, configure the CellTrust SecureLine module with the location of these files, the file location must be from the worker’s point of view.
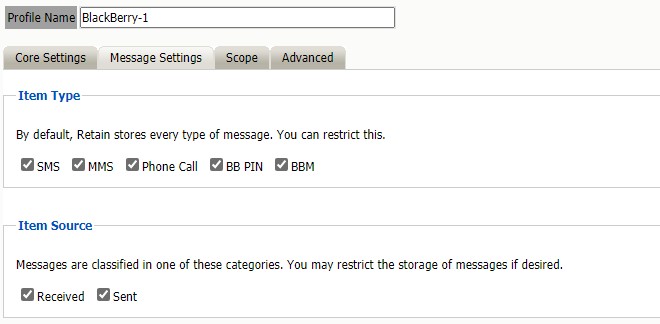
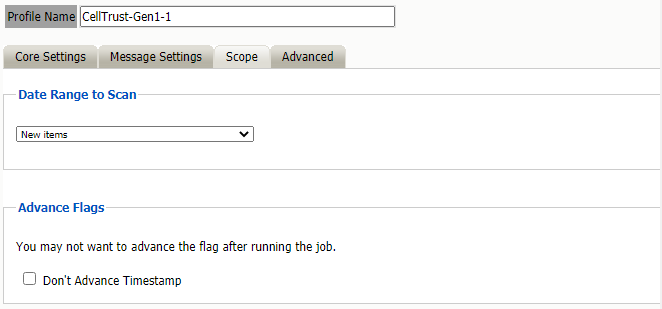
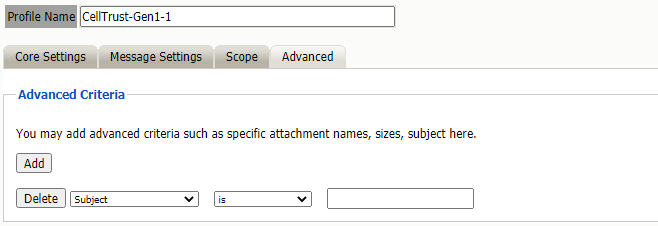
6.6.3 Specifying a CellTrust Profile
After you have created a CellTrust Module and one or more schedules, you can create a CellTrust Profile.
-
To begin configuring the CellTrust Profile, open Retain Server Manager > >
-
Click > .
-
Use the information in the sections that follow to configure each tab.

6.6.5 Creating a CellTrust Job
After completing the instructions in the preceding sections, you can create a CellTrust Job.
-
To begin creating a CellTrust Job, open Retain Server Manager > .
-
Click > .
-
Use the information in the sections that follow to configure each tab.
-
Make sure that you save your changes before leaving the dialogs.
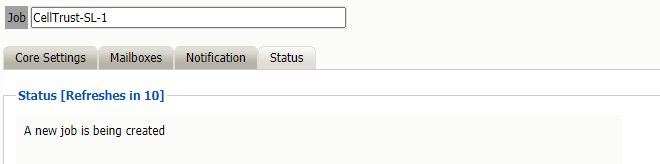
Core Settings Tab (CellTrust Job)
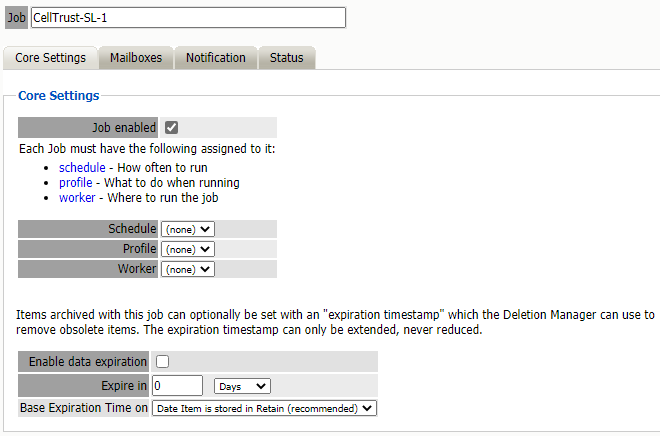
Path: Retain Server Manager > > > >
A job must be enabled or it will not run.
Select the following from the drop-down lists presented:
-
Schedule
-
Profile
-
Worker
If you want Retain to remove data from your message system as it archives you may use Enable data expiration, but it is recommended to remove items with your message system administration console which is better suited to the task.
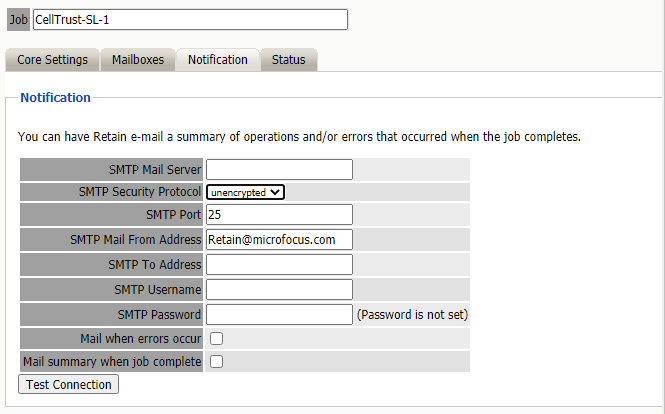
Notification Tab (CellTrust Job)
Path: Retain Server Manager > > > >
To send status messages about the job:
-
Enter the mail server connection data.
-
Enter the desired To: email address.
-
Enable “Mail when errors occur”, if desired.
-
Enable “Mail summary when job is complete”, if desired.
-
Make sure you always use the Test Connection button to validate the information you have entered.