Select Finance>Purchase Orders
Click
New
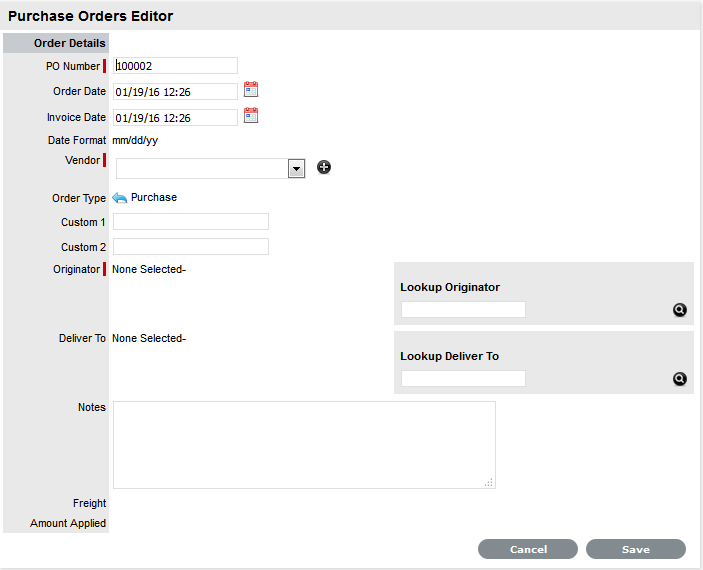
The Purchase Order editor appears.
Purchase Orders within the system can simplify the tracking of where and when new Items are purchased or leased. This feature is not meant to replace an organization's original Purchase Order system, it is designed to easily link a specific PO number (and its associated vendor and date information) with an Item.
Select the Purchase Order sub-menu button under the Finance tab to display the list of current Purchase Orders in the system and the Purchase Order search tool.
To create a new Purchase Order:
Select Finance>Purchase Orders
Click
New
The Purchase Order editor appears.
Enter the following details for the Purchase Order:
Field |
Description |
|---|---|
Order Details |
|
PO Number* |
The Identification number assigned to the Purchase Order (Must be unique). |
Order Date* |
The date the Purchase Order was entered. |
Invoice Date* |
The date the vendor shipped the Item. This information is used to help calculate warranty / lease expiration date. |
Vendor* |
The distributor or vendor
of the item. Select from the drop-down menu, or create a new
entry using the |
Order Type* |
Purchase or Lease. Use the icon to switch been Types. If Lease is selected, Lease Length must be defined. |
Originator Name* |
The Customer who placed the order. Use the last name to lookup the Customer, select the name to assign. |
Deliver To |
The Customer to take delivery and ownership of the new Item. Use the last name to look-up the Customer. If a Customer is not selected, it will remain as the Originator. |
Notes |
Additional information regarding the Purchase Order. |
* Denote Mandatory Fields
Click
Save to enter the Purchase Order into the database.
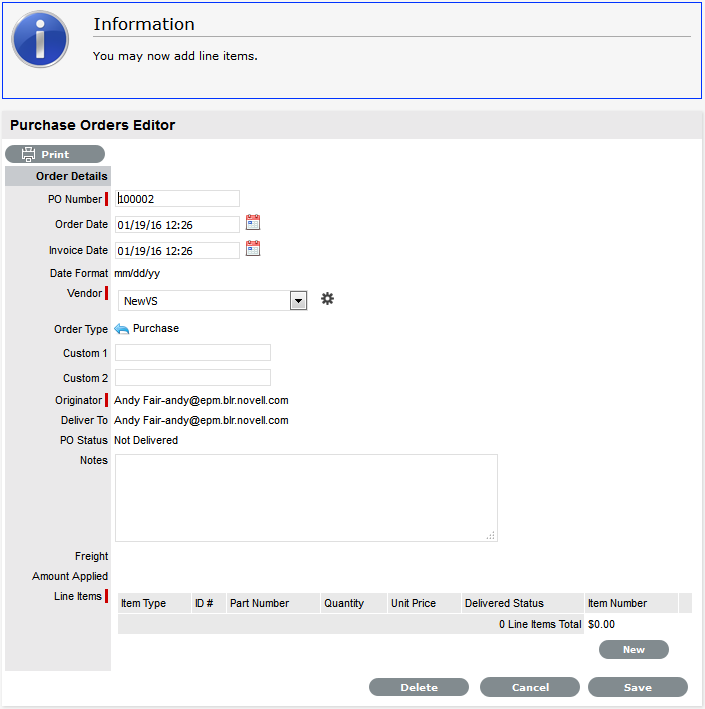
Once a Purchase Order is saved to the database, the Line Item editor becomes available at the bottom of the Purchase Order form. Line Items define the Item Type, and contain part number and price information options.
To add a new Line Item:
In
the Line Item field, click New

Search
and select the Item Type
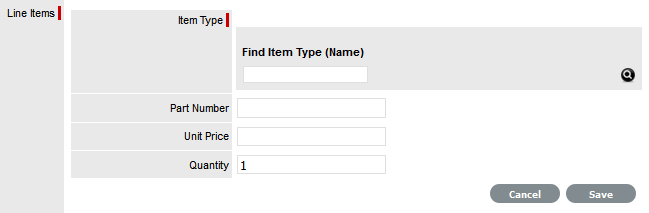
Complete the Part Number (if known)
Enter the Price
Enter the Quantity
Click
Save

To
add more line items to the PO, click New and repeat steps 2 to 6
Remove any unwanted line items by selecting  within
the relevant line.
within
the relevant line.
Click
Save
The Purchase Order is moved out of edit mode.
Click Done.
Purchase Orders and Invoices are not automatically linked within the system. However, Invoices can be created for Purchase Orders. See: Invoices.
To edit an existing PO:
Select Finance>Purchase Orders
Click the PO Number link
Click Edit
Move
to the Line Items field and click the relevant Item Type link
The screen expands the Line Item editor.

Make the required changes
Click the Save button, within the Line Items field.
To remove a Line Item from an existing Purchase Order:
Select Finance>Purchase Orders
Click the PO Number link
Click
Edit
The Minus and New buttons are displayed in the Line Item field.
Move
to the Line Items field and next to the relevant Item Type click
The
system will confirm that the User wishes to continue
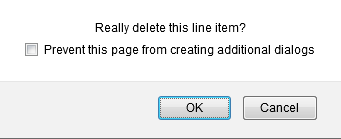
Click OK
Click Save.
A Purchase Order can be associated with an Item Number after its delivery has been recorded.
To confirm delivery:
Select Finance>Purchase Orders>Order number Hyperlink
On
the Purchase Order Number link, click Edit
The Purchase Order opens in edit mode. Item information can be edited
by selecting the Item Type link before Delivery has been processed.
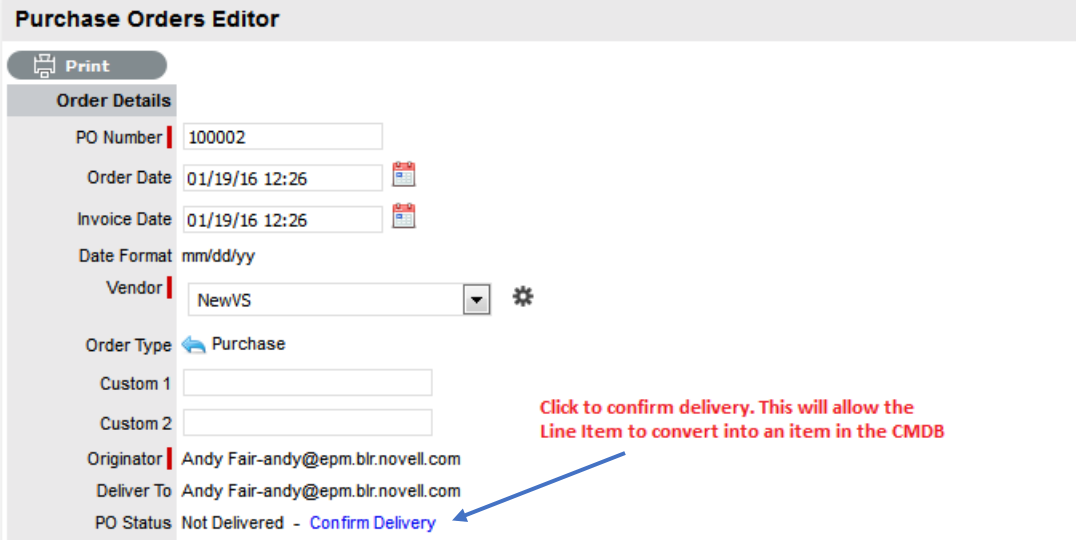
Click
the Confirm Delivery hyperlink
The system will ask to confirm delivery.
Click
OK within the system message
The Generate Items For Delivered Line Items link appears.

Click
the link to generate an Item number
This will generate a new Item for each line item of the PO.

Click
Save
The application will return to the Purchase Order screen.

Click Done.
Existing Purchase Orders can be searched using the PO number, order date, invoice date, the person who placed the order, the person to be allocated the Item or the Vendor.
To search for a specific PO:
Select Finance>Purchase Orders
Click
Search
The Search Purchase Orders screen is displayed.
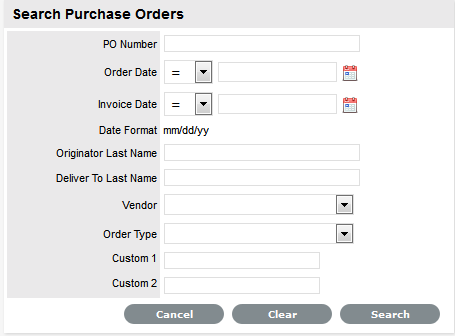
Enter the search details
Click
Search
The results are displayed in a Purchase Order list. Use the column
header arrows to sort the PO list.
Click the PO Number link to view or edit PO details.
 button (at minimum for a new entry, the Vendor name is required).