1.5 Installing the Driver Pack
1.5.1 Preparing the Driver Pack for Installation
-
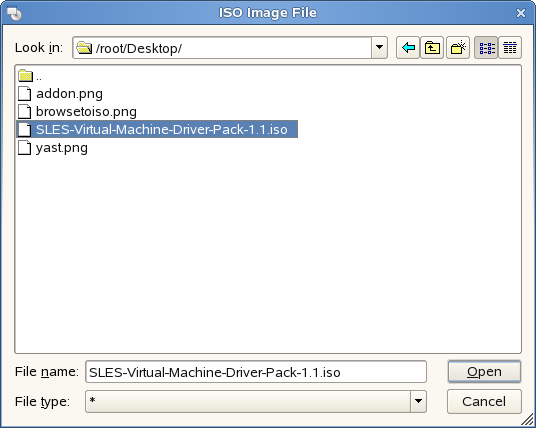
Download SLES-Virtual-Machine-Driver-Pack-10.iso to your SLES 10 SP1 virtual machine host.
-
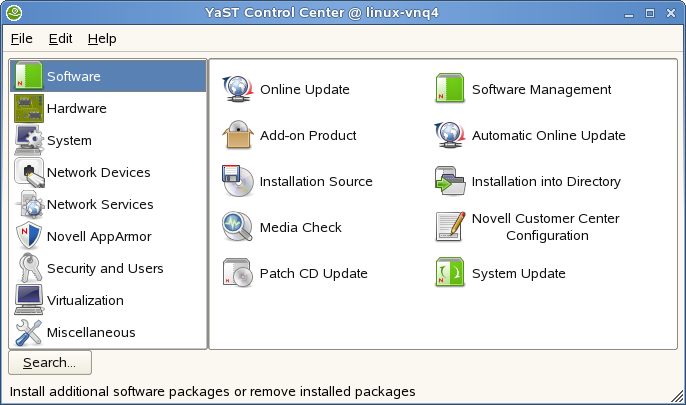
Open YaST.
If YaST doesn’t appear in your list of applications, you can run YaST by logging in as root and entering YaST2 at a terminal.
-
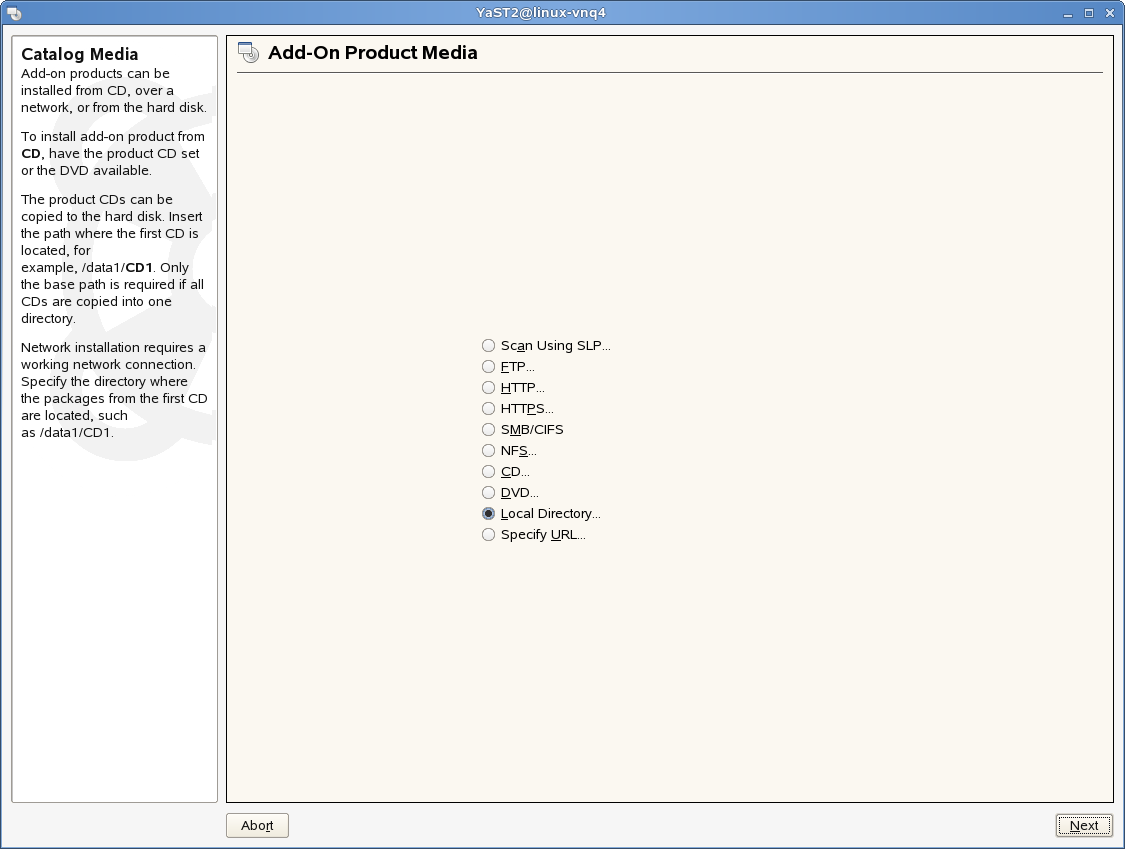
Select , then click .
-
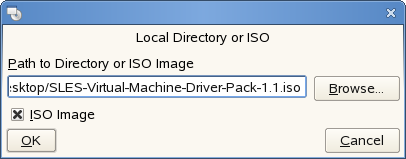
Click , then click .
-
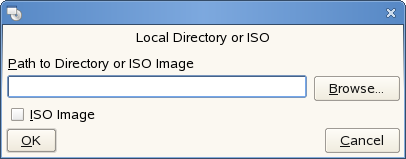
Select the box, then browse to the location of the driver pack ISO image you downloaded.
-
Select the driver pack ISO, then click .
-
Click .
-
At the license agreement, click , then click .
-
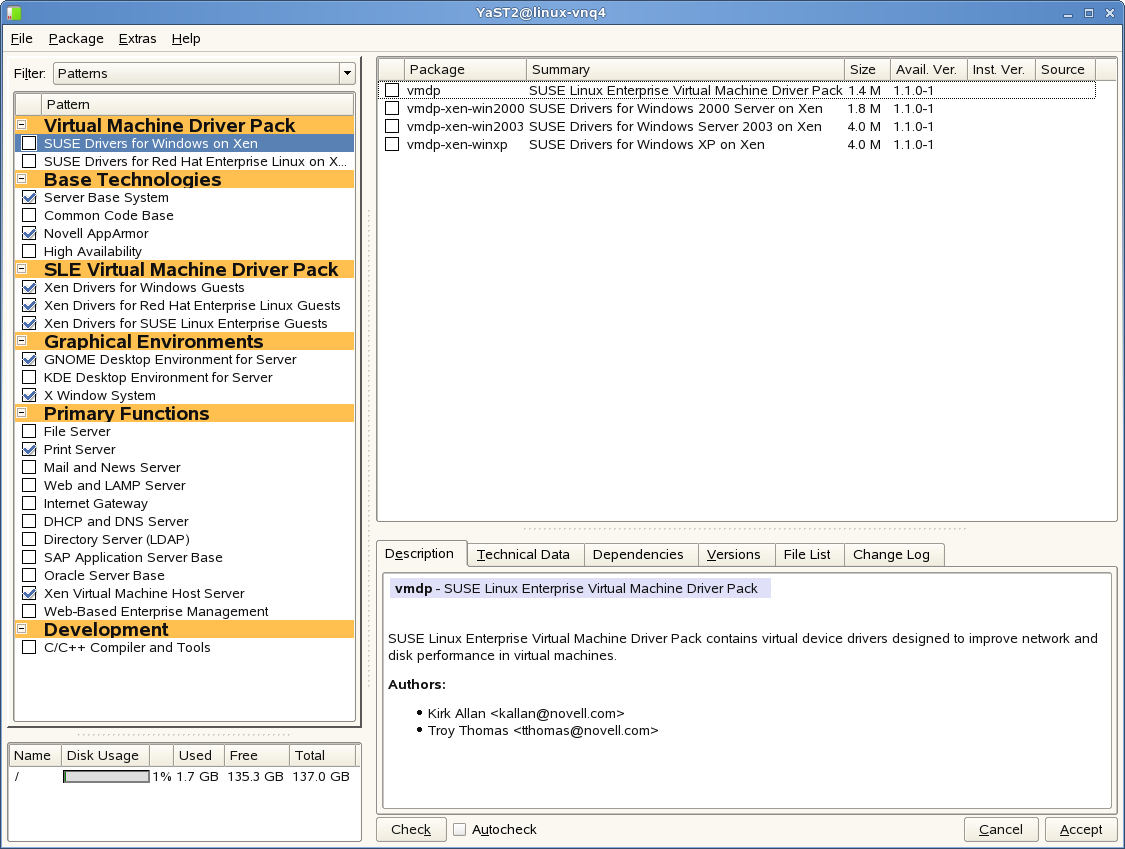
Select from the drop-down list.
-
Select the drivers you want to install, then click .
-
When asked if you want to install more packages, click .
The drivers are now on your SLES 10 virtual machine host in the opt/novell/vm-driver-pack/xen directory.
1.5.2 Using the Installation Wizard to Install the Driver Pack
-
Launch the Virtual Machine Manager and start your Windows virtual machine.
-
Set up the ISO image or CD of the drivers you want to install as a virtual CD reader by following the instructions in the Configuration Options and Settings Guide in Section 1.5: Virtual CD Drives and ISO Images. The ISO images are found in the SLES 10 virtual machine host opt/novell/vm-driver-pack/xen directory .
-
Right-click the virtual CD-ROM you just added, then click .
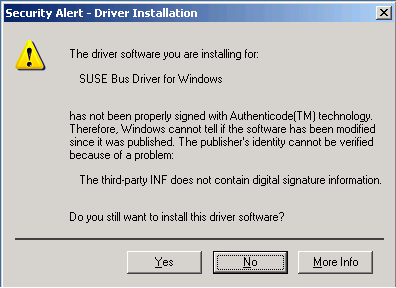
If you see a security alert that indicates the Bus driver has not been properly signed, click to install the Bus driver software.
IMPORTANT:Do not click .
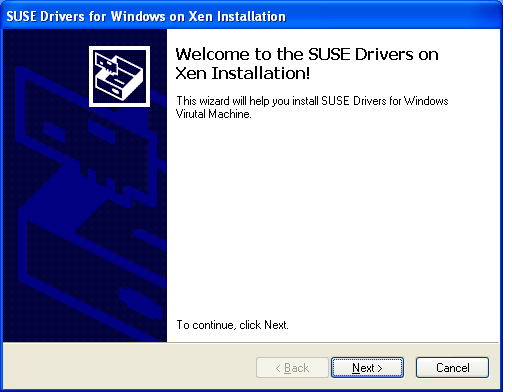
The Novell Virtual Device Driver Installer launches.
-
Click .
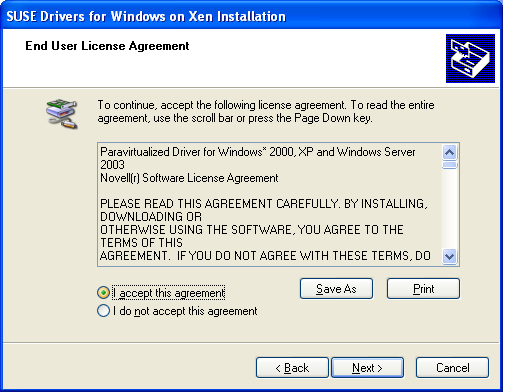
The End User License Agreement window appears.
-
Click , then click .
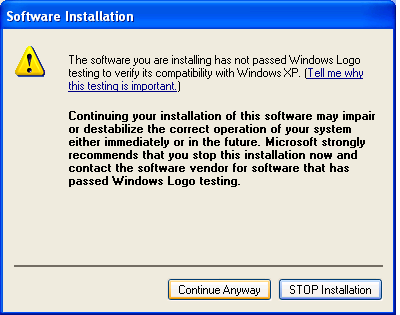
A software installation note appears, indicating that the software has not passed Windows logo testing.
If you are installing Windows XP or Windows Server 2003, you see the following:
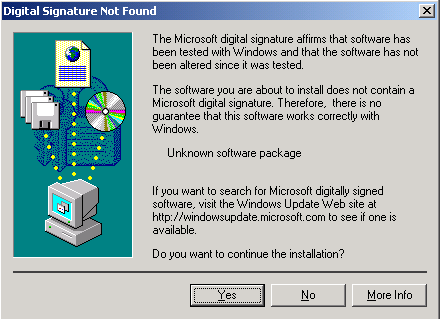
If you are installing Windows 2000, you see the following:
-
Click or click for each occurrence of this window.
A Congratulations window indicates that the drivers were installed.
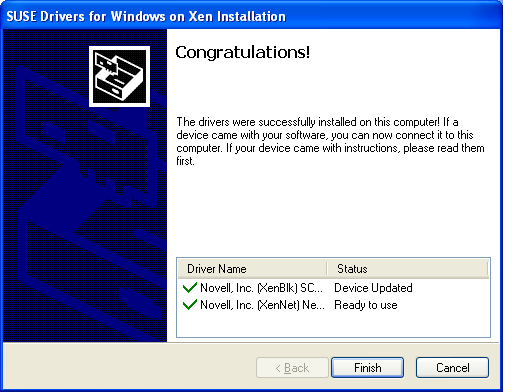
NOTE:Clicking on this screen does not cancel the installation. If you want to cancel, you will have to uninstall (see Section 1.6, Uninstalling the Driver Pack).
-
Click .
A message appears, indicating that you must restart the system.
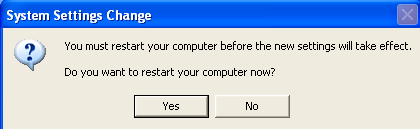
-
Click .
The system restarts. The Found New Hardware Wizard appears, indicating that it has found new hardware.

-
Click , then click .
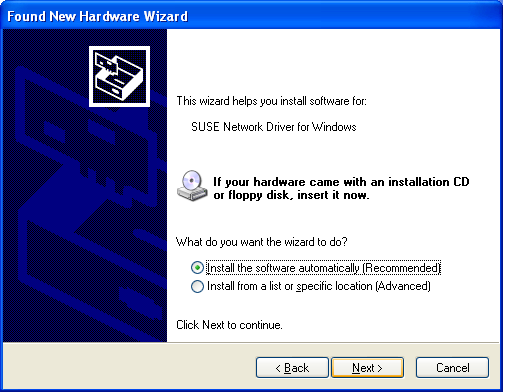
-
Click , then click .
A software installation note appears, indicating that the software has not passed Windows logo testing.
If you are installing Windows XP or Windows Server 2003, you see the following:
If you are installing Windows 2000, you see the following:
-
Click or click .
A message indicates the Found New Hardware Wizard is done.

-
Click .
-
If you are installing the Windows 2000 Server, you must reboot the system again.