Performing Pre-installation Tasks
Before installing the ZENworks Handheld Management Server, complete the following tasks:
- Creating the ZENworks Handheld Management Server's Windows User Account
- Creating the Service Object's User Account
- Creating a MAPI Profile (BlackBerry Device Support Only)
- Schema Extension and Product Licensing
Creating the ZENworks Handheld Management Server's Windows User Account
The ZENworks Handheld Management Server requires a valid Windows user account that is a member of the Administrators group on the local machine in order to log in as a service and to access the ZENworks Handheld Management database and application data.
To create the server user account in the Administrators group:
-
On a Windows NT/2000/XP computer, log in as the Administrator or as a member of the Administrators group.
-
Click Start > Settings > Control Panel.
-
Double-click Users and Passwords.
-
Click Add.
If the Add button is disabled, select the "Users Must Enter a User Name and Password to Use This Computer" check box.
-
Type the username, full name, and description for the new account, then click Next.
-
Type a password for the new account, confirm the password by retyping it, then click Next.
-
Select the Other button, click Administrators in the drop-down list, then click Finish.
You must configure the newly created user account's password so that it never expires. If you allow the password to expire, the service cannot load until you reconfigure the password.
To configure the password so that it never expires:
-
On a Windows NT/2000/XP computer, log in as the Administrator or as a member of the Administrators group.
-
Click Start > Settings > Control Panel.
-
Double-click Administrative Tools.
-
Double-click Computer Management.
-
Expand Local Users and Groups under System Tools.
-
Click Users.
-
In the right pane, right-click the user account you created in Step 4, then click Properties.
-
Deselect the User Must Change Password at Next Logon check box.
-
Select Password Never Expires.
-
Click OK.
Creating the Service Object's User Account
The ZENworks Handheld Management service object requires a valid user account to access eDirectory through LDAP. You create this user in ConsoleOne.
Make sure that you use a non-expiring password for this account.
This user account should have at least Read, Write, Create, Rename, Compare, and Delete rights on all tree areas that will contain ZENworks Handheld Management objects and policies.
If you want to access application data or copy retrieved files on a NetWare volume, you should have at least Read, Write, and Create rights on the NetWare server.
Creating a MAPI Profile (BlackBerry Device Support Only)
If you want to manage BlackBerry devices using ZENworks Handheld Management, you need to create a MAPI profile on the ZENworks Handheld Management Server machine to connect to your e-mail system.
ZENworks Handheld Management supports the same groupware/e-mail systems supported by RIM, including Novell GroupWise®, Microsoft Exchange, Lotus Notes*, and any POP3- or IMAP-compliant e-mail system.
Before creating the MAPI profile, log in using the user account you created in Creating the Service Object's User Account. Refer to Windows help or to your e-mail system help for step-by-step information on creating the MAPI profile.
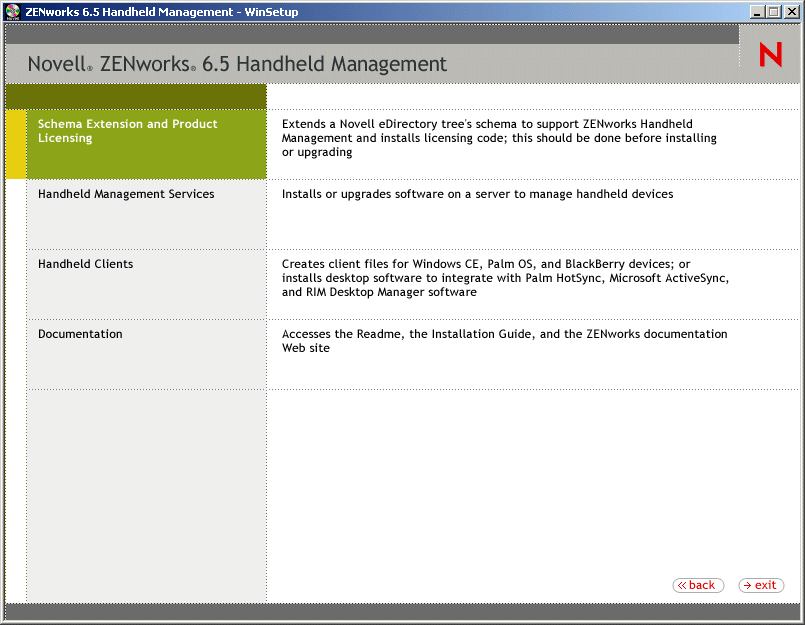
Schema Extension and Product Licensing
Before installing the ZENworks Handheld Management Server, you must prepare the directory by extending the eDirectory schema for ZENworks Handheld Management.
To extend the schema, you must have root level admin privileges to the tree and you must have the Novell ClientTM installed.
Before running the schema extension tool, ensure that you are logged in to the tree that you want to extend.
To extend the schema:
-
Insert the ZENworks Handheld Management CD on a machine that has the Novell Client running.
The installation program will autorun. If it does not, run winsetup.exe from the root of the CD.
-
Click Handheld Management.
-
Click English.
-
Click Schema Extension and Product Licensing.
-
In the Software License Agreement, select the language, select Accept, then click Next.
-
Click
 to select the eDirectory tree for creating the objects, then select the Extend Schema check box.
 -
Click Next.
-
Provide the license code.
If you do not provide the license code, you can use the product for only 90 days.
-
Review the installation summary. To make any changes, click Back. Click Finish to complete the schema extension and product licensing.