3.1 Configuring the Directory Service for Novell eDirectory
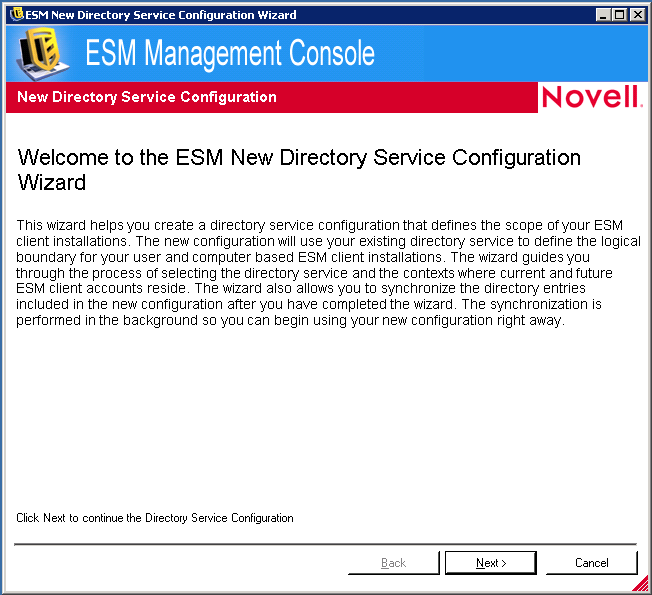
After installing ZENworks Endpoint Security Management, the New Directory Service Configuration Wizard automatically displays. If you have just installed the product and the Welcome page is displayed, skip to Step 4 in the following procedure.
To configure the directory service:
-
In the Management Console, click > .
-
Click .
-
Click to launch the New Directory Service Configuration Wizard.
-
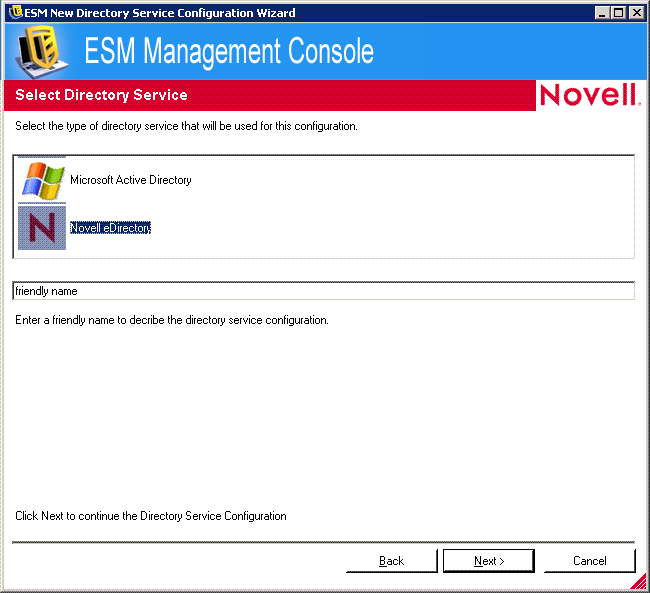
Click to display the Select Directory Service page.
-
Select as the directory service.
-
Specify a friendly name to describe the directory service configuration, then click to display the Connect to Server page.
-
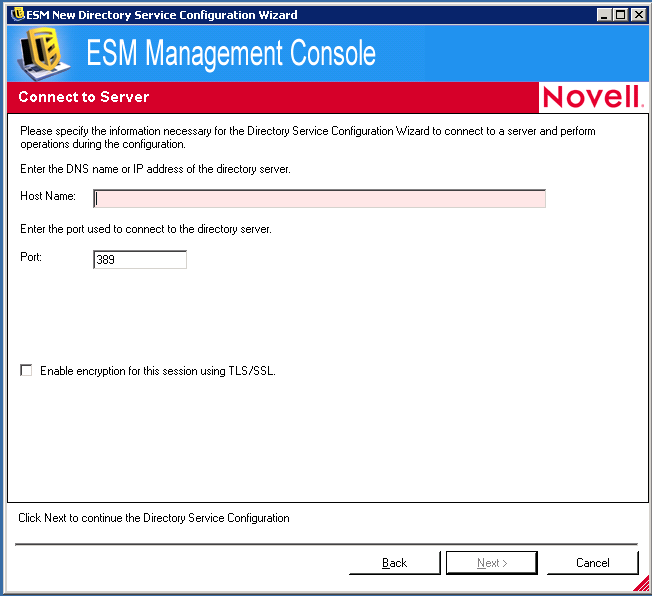
Fill in the fields:
-
Host Name: Specify the DNS name or IP address of the directory server. If the DNS name or IP address cannot be authenticated, a bind error message displays.
-
Port: Specify the port used to connect to the directory server.
Port 389 is the default. If you use a different port to connect to the directory server, you can specify that port.
-
Enable Encryption for this Session using TLS/SSL: Select to enable encryption. If you select this option, the port is automatically changed to 636.
-
-
Click to display the Provide Credentials page.
-
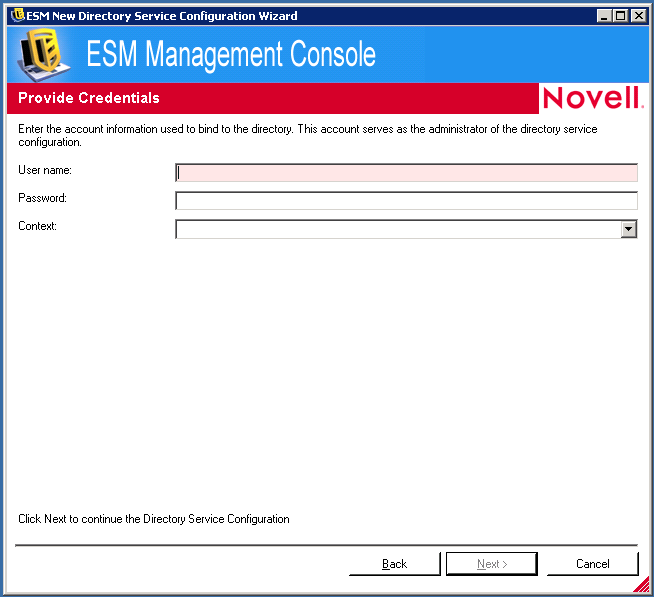
Fill in the fields:
-
User name: Specify the account administrator to bind to the directory.
This account serves as the administrator of the directory service configuration. The login name must be a user who has permission to view the entire directory tree. It is recommended that this user be the OU administrator.
-
Password: Specify the password for the account administrator.
This account serves as the administrator of this directory service configuration.
The password should not be set to expire, and this account should never be disabled.
-
Context: Specify the context in which the account administrator is a member.
-
-
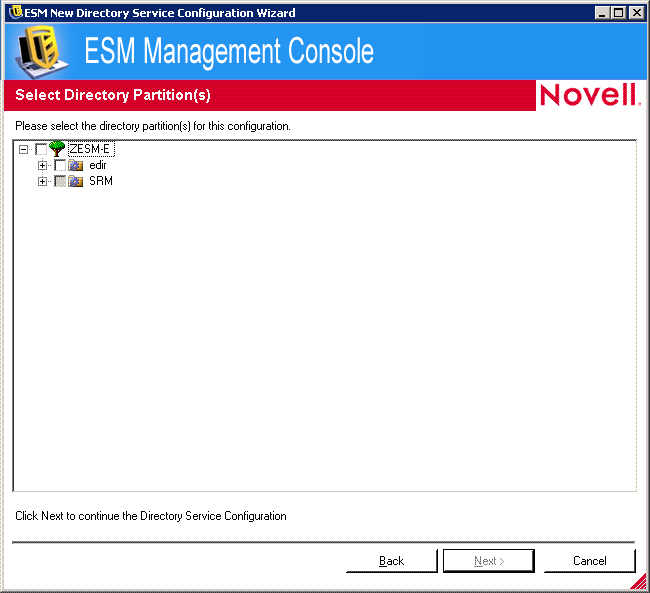
Click to display the Select Directory Partitions page.
-
Browse to and select the directory partitions for this configuration, then click to display the Select Client Contexts page.
-
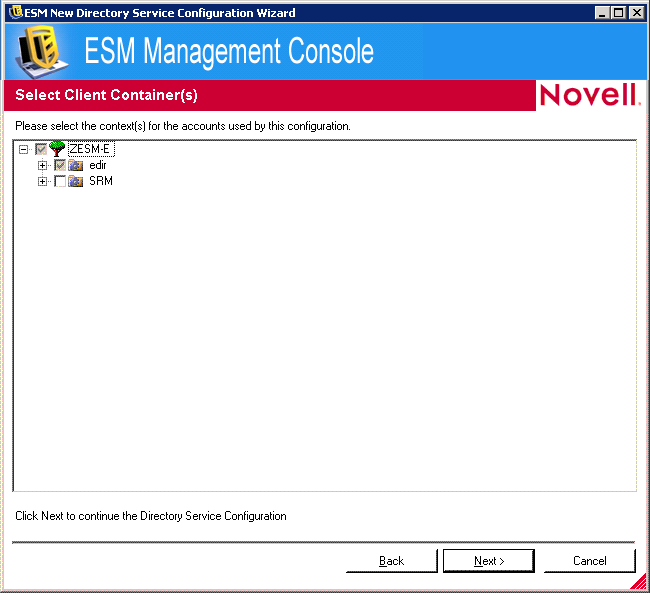
Browse to and select the context(s) for the accounts used in this configuration.
The Select Client Context(s) page lets you narrow the search to only those contexts that contain managed users and computers, which improves performance.
Any client installation that attempts to check in with the management server the does not reside in a selected context results in longer search times.
-
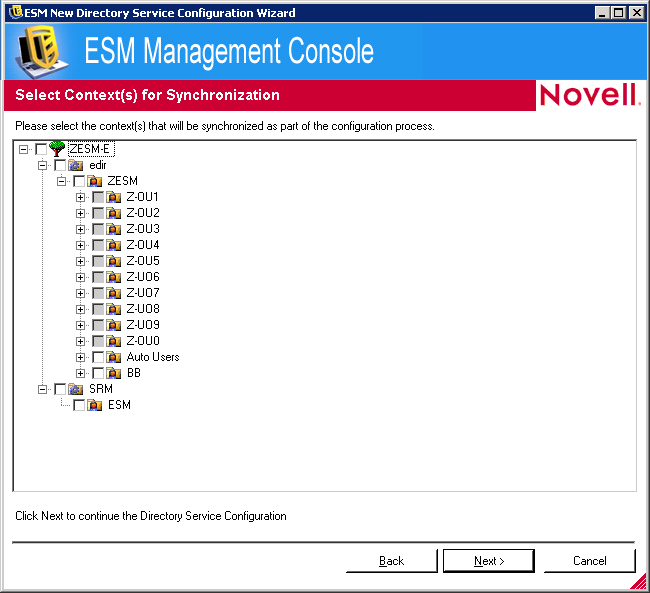
Click to display the Select Context(s) for Synchronization page.
-
(Optional) Select the contexts to synchronize as part of the configuration process.
The synchronization is performed in the background so you can immediately begin using your new configuration. If you have many users and computers to synchronize, this might take a few hours.
If you do not specify contexts to synchronize, the users and computers in those contexts are populated in the Management Console when they check in.
Synchronizing contexts pre-populates the Management Console with those users and computers so that you can immediately perform actions such as creating security policies. When the users or computers check in to the system, those policies are pushed down and applied. By pre-populating the Management Console, you can immediately begin creating policies that are specific to individual users or computers, rather than creating a policy that applies to all users and computers in the context. If you do not synchronize the context, you must wait until those users and computers check in to the system before creating unique policies for different users or computers.
-
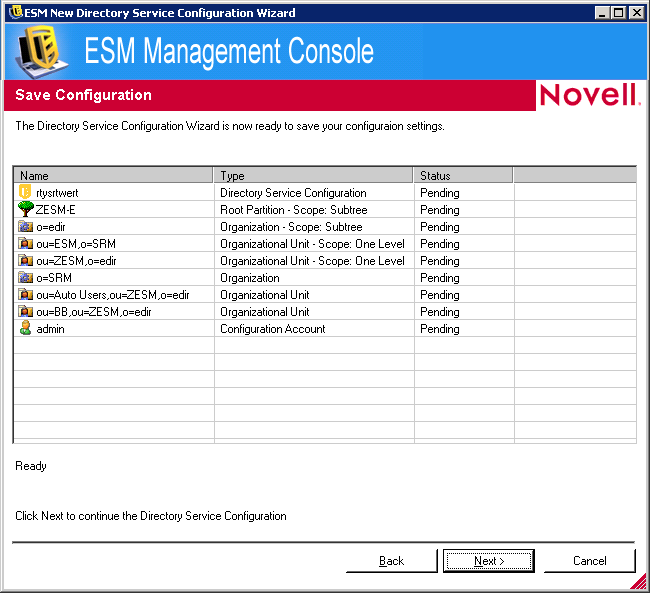
Click to display the Save Configuration page.
-
Review the information, then click .
You can click to change any settings, if necessary.
-
Click .
When you click , the  icon displays in your Windows notification area and the synchronization begins. You can double-click the icon to display the Directory Services Synchronization dialog box.
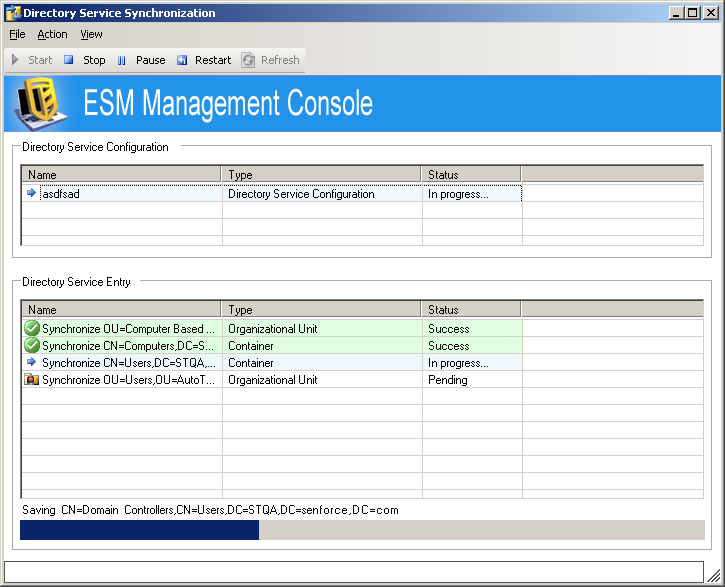
The synchronization occurs in the background. If you exit the Management Console, the synchronization stops. When you open the Management Console again, the synchronization resumes where it left off.