12.1 Antivirus/Spyware Rules
Antivirus/spyware rules verify that designated antivirus or spyware software on the endpoint device is installed, running. and up to date. Each rule includes one or more tests and each test can include two checks: File Exists (with date comparison) and Process is Running. If either check fails, you can determine the follow-up action:
-
A report is sent to the Reporting Service.
-
A custom user message is displayed, with an optional launch link that provides information on how to fix the rule violation.
-
The user is switched to a Quarantined state, which limits the user's network access and disallows certain programs from accessing the network to prevent the user from further infecting the network.
After a follow-up test determines that endpoints are compliant, security settings automatically return to their original state.
Several predefined rules are provided for common antivirus/spyware software. The rules include integrity tests and checks that you can edit as necessary. We recommend that you add a predefined rule in order to better see how rules work and are configured.
To add a rule:
-
In the Integrity and Remediation Rules tree of the Management Console, select the folder.
-
If you want to define a new rule, click on the Policy toolbar.
or
If you want to add an existing or predefined rule, click on the Policy toolbar.
The rule is added under the Antivirus/Spyware Rules folder in the tree. If you add a new rule, the name is displayed as New Antivirus/Spyware Rules. If you add an existing rule, the rule’s name is displayed.
-
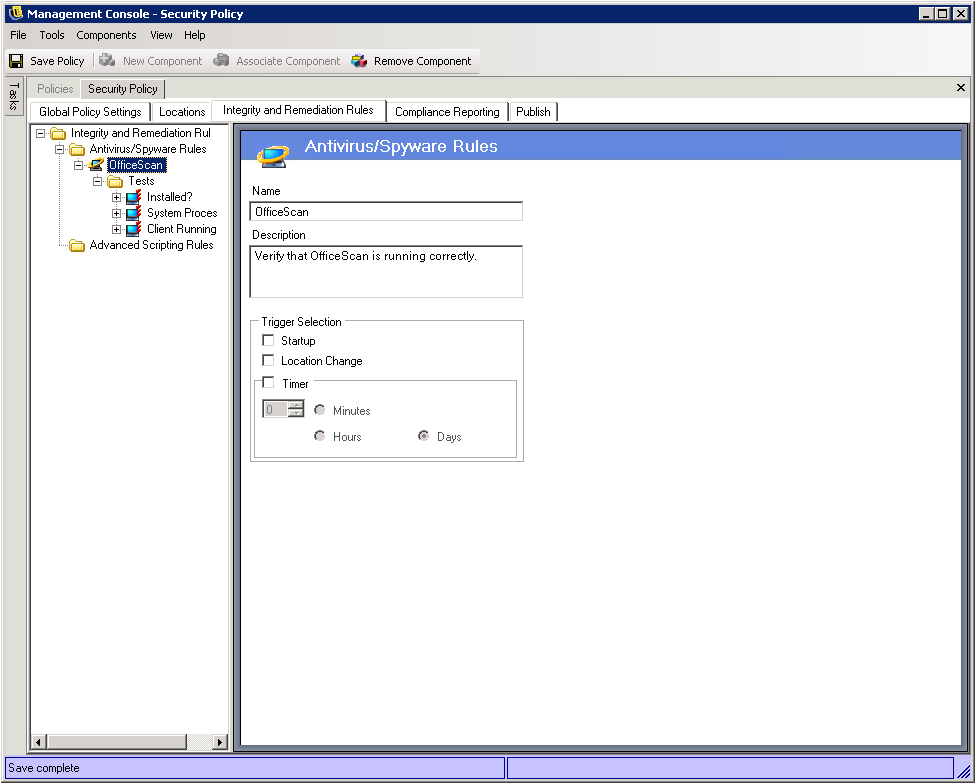
Name the rule and provide a description.
-
Select the trigger for the rule:
-
Startup: Run the tests at system startup.
-
Location Change: Run the tests whenever the Security Client switches to a new location.
-
Timer: Run integrity tests on a defined schedule by the minute, hour, or day.
-
-
Click to save your changes.
-
Continue with the next section, Integrity Tests, to define the rule’s tests.
12.1.1 Integrity Tests
Each integrity test can run two checks, and . Each test has its own success and fail results. A single test can run checks for one or more software pieces within the same rule.
If you add multiple tests, the tests are run in the order listed, from top to bottom. The first test must finish successfully before the next test runs.
To add an integrity test:
-
In the Integrity and Remediation Rules tree of the Management Console, click the + sign next to the rule to expand the rule settings, then select the folder.
-
If you want to define a new test, click on the Policy toolbar.
or
If you want to add an existing or predefined test, click on the Policy toolbar.
The test is added under the Tests folder in the tree. If you add a new test, the name is displayed as New Tests. If you add an existing test, the test’s name is displayed.
-
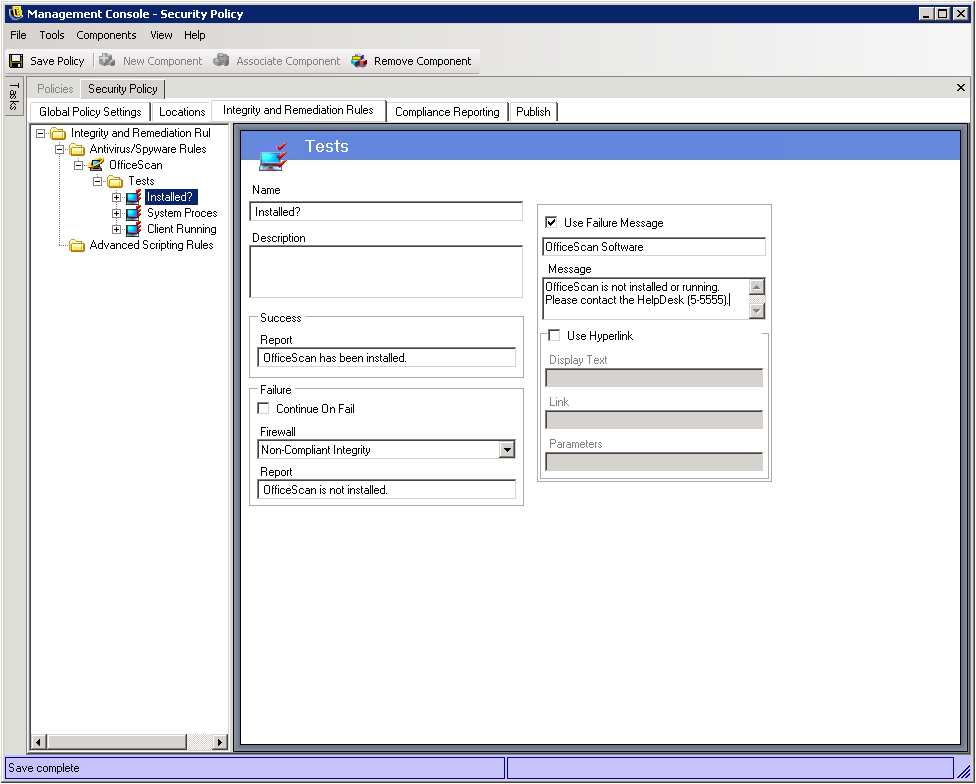
Name the test and provide a description.
-
Provide the success report text for the test.
-
Define the following for a test failure:
-
Continue on Fail: Select this option if you want the user to be able to continue to connect to network if the test fails. Deselect the option if the test should repeat.
-
Firewall: This setting is applied if the test fails. All Closed, Non-compliant Integrity, or custom Quarantine firewall settings prevent the user from connecting to the network.
-
Message: Select a custom user message to be displayed at test failure. This can include remediation steps for the end user.
-
Report: Enter the failure report that is sent to the reporting service.
-
-
Provide the title and message text for a failure message. This message displays only when one or more of the checks fail. Click the check box, then specify the information in the provided boxes.
-
Add a hyperlink to provide remediation options. This can be a link to more information or a link to download a patch or update for the test failure.
-
Click to save your changes.
-
Continue with the next section, Integrity Checks, to define the test’s checks.
12.1.2 Integrity Checks
The checks for each test determine if one or more of the antivirus/spyware processes is running or if essential files exist. At least one check must be defined for an integrity test to run.
To add an integrity check:
-
In the Integrity and Remediation Rules tree of the Management Console, click the + sign next to the test to expand the test settings, then select the folder.
-
If you want to define a new check, click on the Policy toolbar.
or
If you want to add an existing or predefined check, click on the Policy toolbar.
The check is added under the Integrity Checks folder in the tree. If you add a new check, the name is displayed as New Integrity Checks. If you add an existing check, the check’s name is displayed.

-
Configure the following settings:
-
Test Type: Select the type of check:
-
Process is Running: Determines if the software is running at the time of the triggering event (such as the AV client). The only information required for this check is the executable name.
-
File Exists: Determines if the software is current and up-to-date at the time of the triggering event.
-
-
File Exists: Determines if the software is current and up-to-date at the time of the triggering event.
-
File Name: Specify the filename that you want to check. The filename is also used as the name of the integrity check.
-
Directory: This setting applies only to the type. Specify the directory where the file resides.
-
Comparison: This setting applies only to the type. If you want to perform a date comparison on the file, select the comparison, then fill in the fields.
The Equal file comparison is treated as Equal or Less when using the check.
-
-
Click to save your changes.