5.5 Setting Up the MySQL Appliance
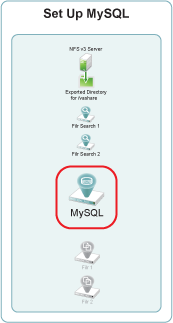
Figure 5-4 illustrates that a MySQL appliance is the fourth component deployed when creating a Filr Cluster.
Figure 5-5 Filr-Clustering Task 3: Set up a MySQL appliance
NOTE:As noted in Installing the MySQL Database Appliance
in the Novell Filr 1.0.1 Installation and Configuration Guide, Novell recommends using an existing MySQL database if one is already available.
You can use the steps that follow to gain hands-on experience with setting up a MySQL appliance, or for general guidance as you set up a Filr-clustered deployment in your own lab or production network. For complete instructions, see the Novell Filr 1.0.1 Installation and Configuration Guide.
5.5.1 Downloading, Starting, and Configuring the MySQL Appliance
-
Download and configure the virtual environment for a MySQL appliance as documented in
Downloading the MySQL Database Appliance and Configuring the Virtual Environment
in the Novell Filr 1.0.1 Installation and Configuration Guide.For example, for a VMware Workstation deployment this involves the following basic steps:
-
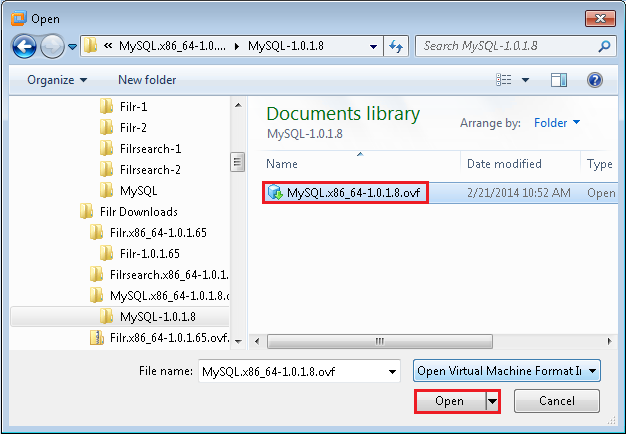
Download, unzip, and open the .ovf file.
-
Name the appliance, then click .
-
Add a second hard disk to the appliance for the /vastorage mount point.

-
Adjust the appliance resources (RAM and so forth) as needed.
-
Power on the appliance.
-
-
Install the MySQL appliance that you downloaded and configured in Step 1 as documented in
Installing the MySQL Database Appliance
in the Novell Filr 1.0.1 Installation and Configuration Guide.-
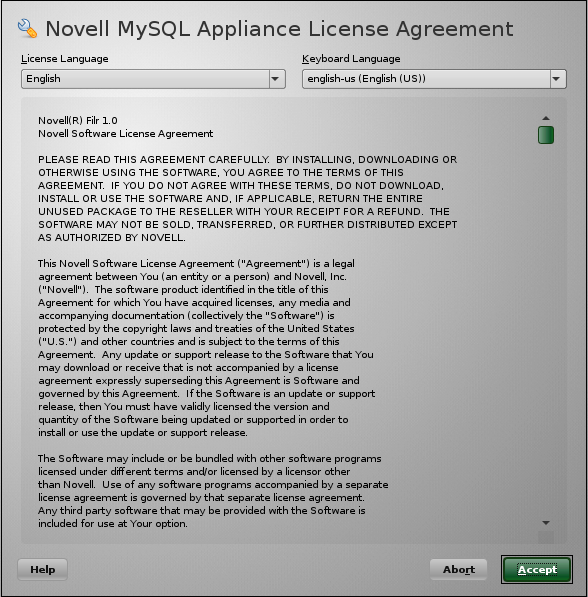
Accept the license agreement.
-
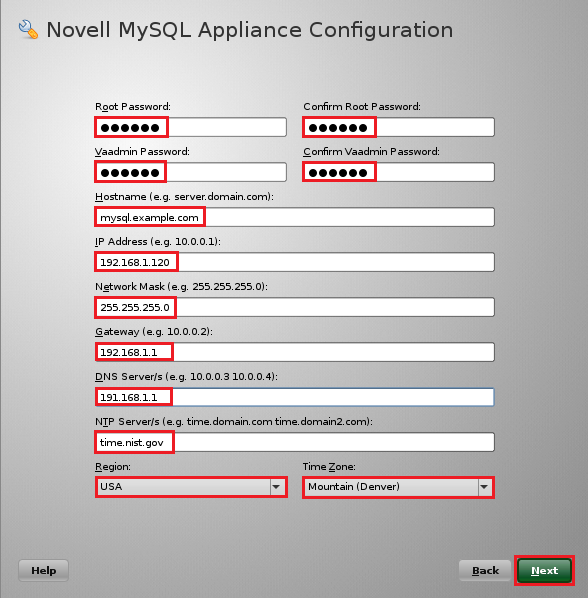
Specify the passwords, network settings, and time settings.
-
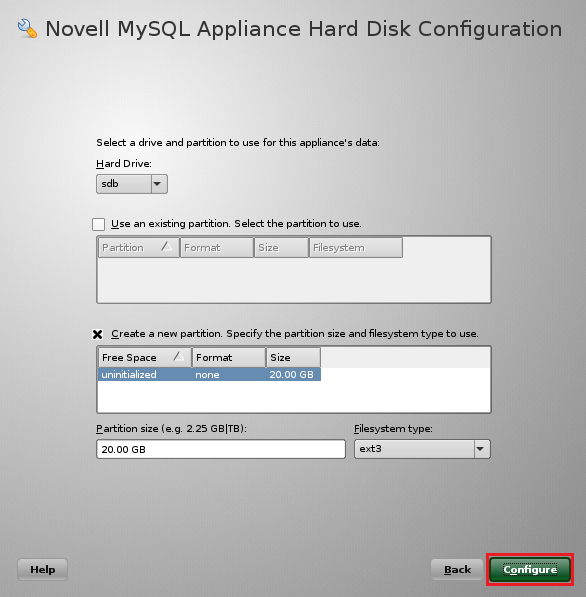
Select the Hard Disk option by clicking , then specify the second hard disk you added in Step 1.c as the data storage location for /vastorage by clicking .
-
When the terminal prompt screen appears, the appliance is ready to configure.
-
5.5.2 Deploying the MySQL Appliance
Figure 5-4 illustrates that MySQL is configured to recognize the Filr appliances and allow them to connect before they are set up and deployed.
Figure 5-6 Deploying MySQL

-
Launch the phpMyAdmin configuration utility and change the default password as documented in
Configuring the MySQL Database Appliance
in the Novell Filr 1.0.1 Installation and Configuration Guide.-
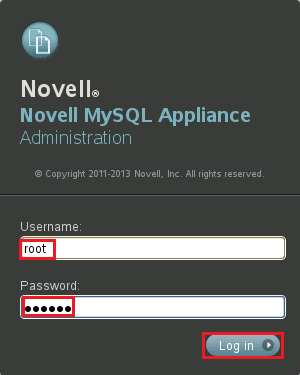
Using a browser, access the Appliance Administration Utility on the MySQL appliance by entering the following URL:
https://IP_Address:9443
Where IP_Address is the IP address of the MySQL appliance.

-
Log in as the root user using the password that you set in Step 2.b.
-
Click the button to launch the phpMyAdmin utility.
-
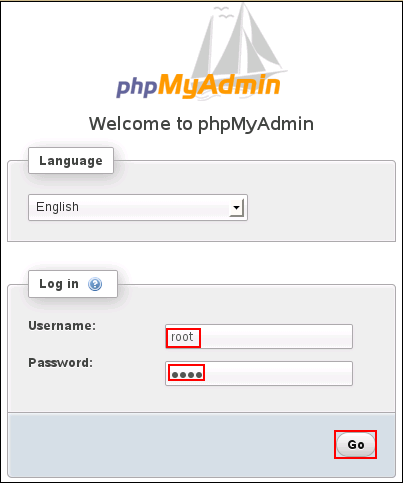
Login as root with password root.
-
Under , click .

-
Type and retype (confirm) a new password for the phpMyAdmin root user, then click .
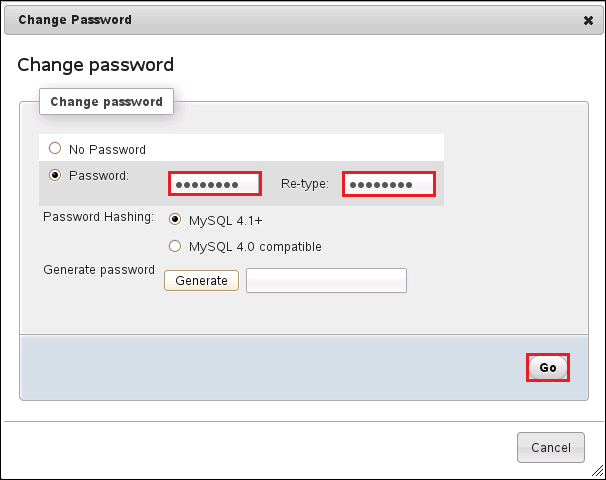
-
-
Add a new filr database and database-specific administrator for all of the Filr appliances that are members of the Filr cluster.
-
Click the tab, then click .

-
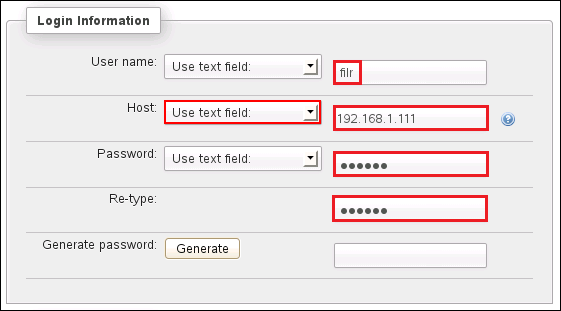
In the Login Information section, do the following:
-
Type filr in the field.
HINT:You can specify any name for the user and associated database. If you specify a different name, then when you set up the Filr appliances, you will need to use that name instead of filr.
-
Select for the field.
-
In the field, type the IP address for the first Filr appliance that is in the Filr cluster.
-
Type and re-type (confirm) a password for the new filr user, then scroll down.
IMPORTANT:You will need this password when you configure the Filr appliances.
-
-
In the , select .
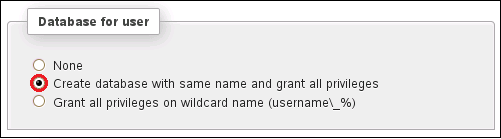
-
At the bottom right corner of the dialog, click .

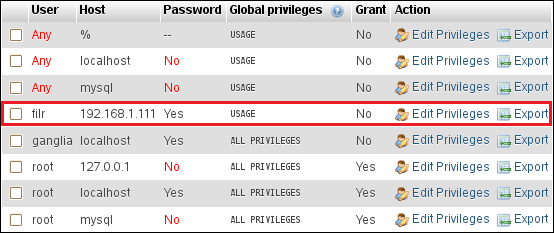
The filr user entries are added and the corresponding database is created.
-
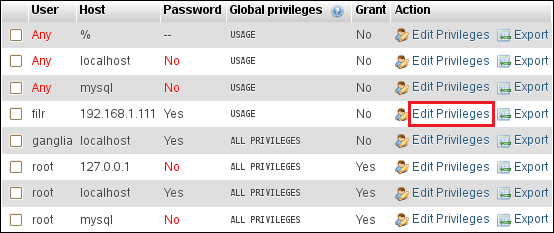
Each Filr appliance in a Filr cluster must have its IP address listed as a host.
Add another appliance to the Filr cluster by clicking the link for the user.
-
Include the next Filr appliance by changing the IP address and then clicking , as shown in the following screen.
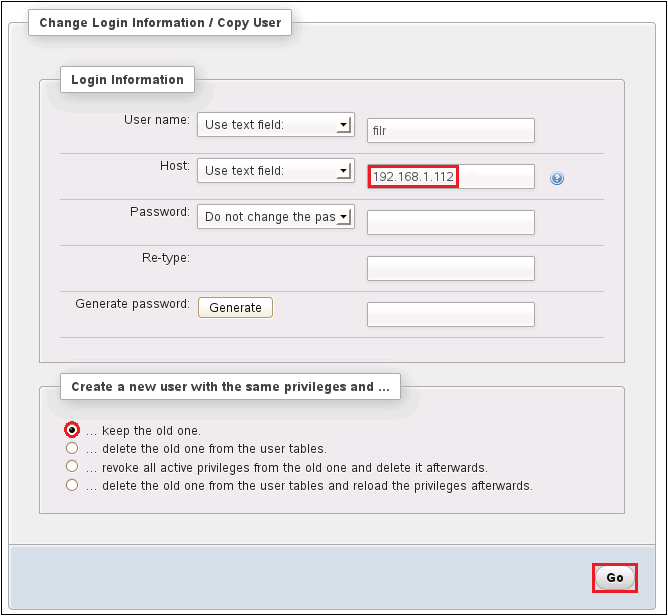
For more information, see
Configuring the MySQL Database Appliance
in the Novell Filr 1.0.1 Installation and Configuration Guide.
-