4.6 Installing the VM Management Console
The VM Management Console is installed separately from ZENworks Orchestrator on your Linux or Windows administration machines.
The VM Management Console is an Eclipse-based rich client environment designed to allow you to use the VM Builder, VM Warehouse, and ZENworks Orchestrator Monitoring.
For information on setting up VM Management after installing the ZENworks VM Management console, see VM Management Setup and Tutorial
in the Novell ZENworks Orchestrator 1.3 Virtual Machine Management Guide.
4.6.1 Installation Minimum Requirements
The following table contains a list of operating system, hardware requirements, and install file paths for the VM Management console. The installation file is found in the ISO in the indicated folder.
Table 4-3 Installation Constraints
NOTE:When you install the Xen kernel, make sure you install the kernel-xenpae to ensure that Xen VMs can be used on any 32-bit or 64-bit operating system.
4.6.2 Installing the VM Management Console in a Linux Environment
After installing the ZENworks Orchestrator Server, you need to run the InstallAnywhere* script contained on the CD in the /i386/SLE10 directory to install the VM Management console. You can do this on the Orchestrator Server, or on another Linux device.
For sources of the installation software, see VM Management Installation Sources
in the Novell ZENworks Orchestrator 1.3 Virtual Machine Management Guide.
To install the console:
-
Open a terminal and log in as root.
-
Find the nvmminst file on the DVD in the SLE10 directory.
-
Mount the SLE10 directory to a temporary mount point.
-
From the SLE10 directory, enter ./nvmminst to launch the installer.
-
Click as necessary to proceed past the introduction and license agreement pages.
-
Choose your VM Management installation directory.

You can only install to the default location shown above if you are authenticated as root.
-
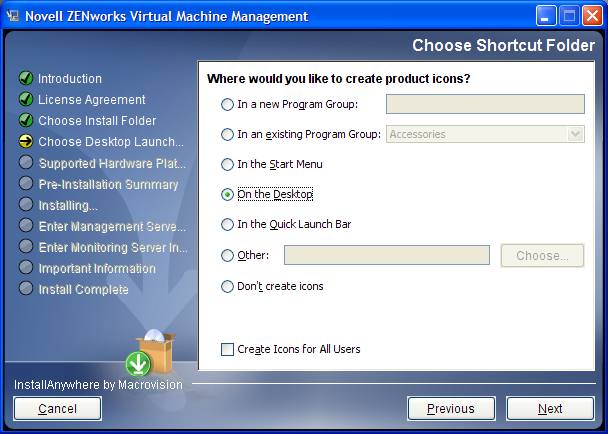
Click to continue to the Choose Desktop Launcher Folder page:

-
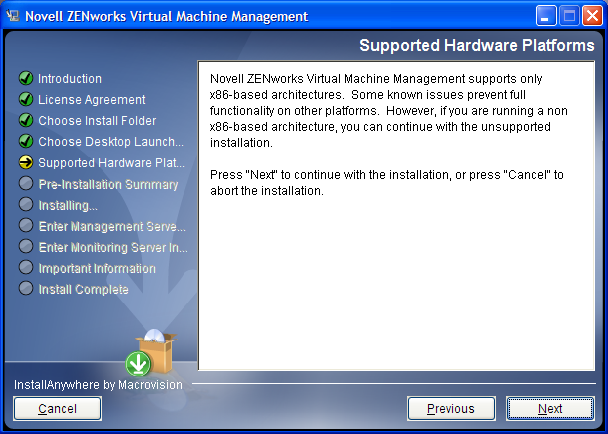
Select where to install a launcher icon, then click to continue to the Supported Hardware Platforms page:

-
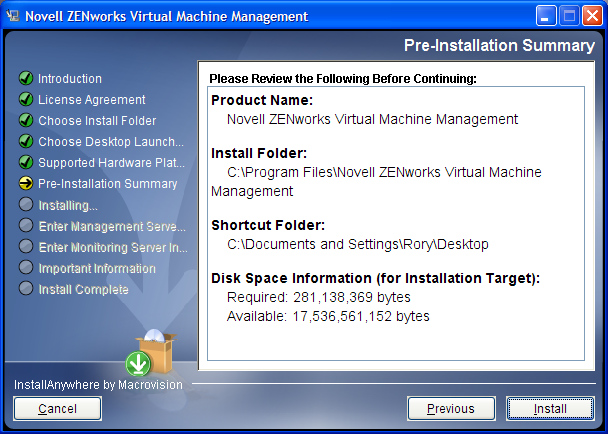
If your target machine is supported, click to continue to the Pre-Installation Summary page:
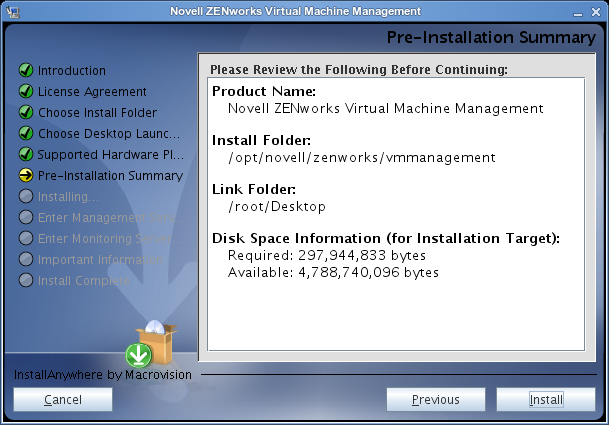
-
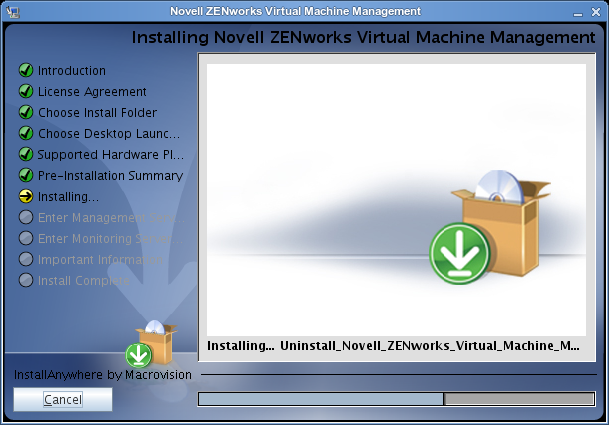
Verify the information, then click to begin the installation.
-
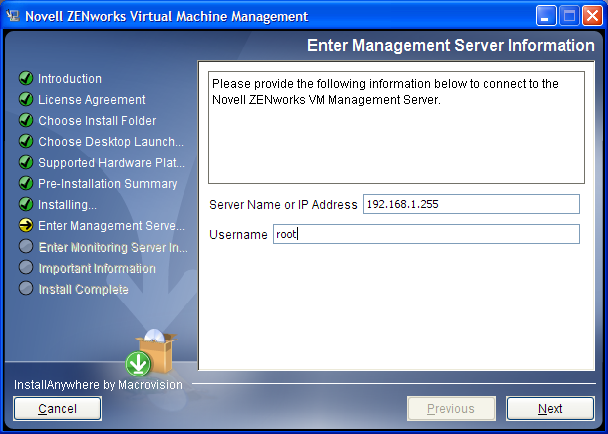
When the Enter Management Server Information page is displayed, specify the URL or name of the server and your username for the VM Management Server you wish to connect to, then enter root for the login name.
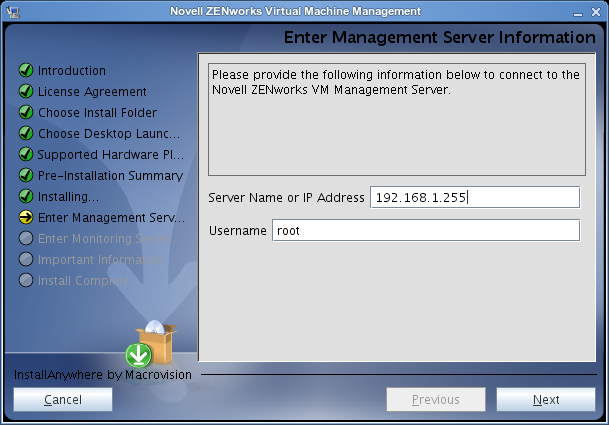
This is the identity of the VM Warehouse/Builder Server. If you installed it to a different server than the Orchestrator Server, be sure to provide the correct server ID. For example, the VM Warehouse/Builder Server’s IP address, not the Orchestrator Server’s IP address.
The root login is required because this connects to the CIM service, which communicates with the ZENworks Orchestrator Server.
-
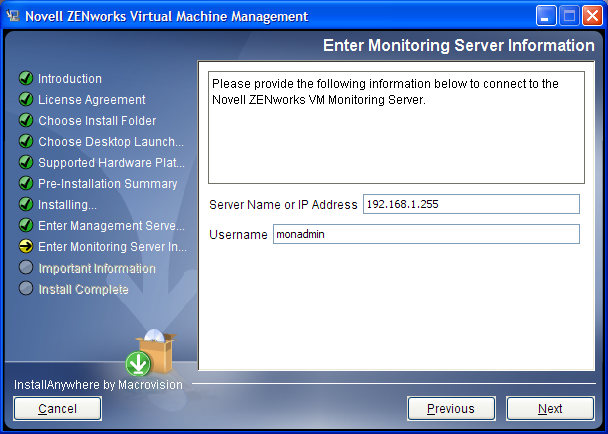
Click to display the Enter Monitoring Server Information page:
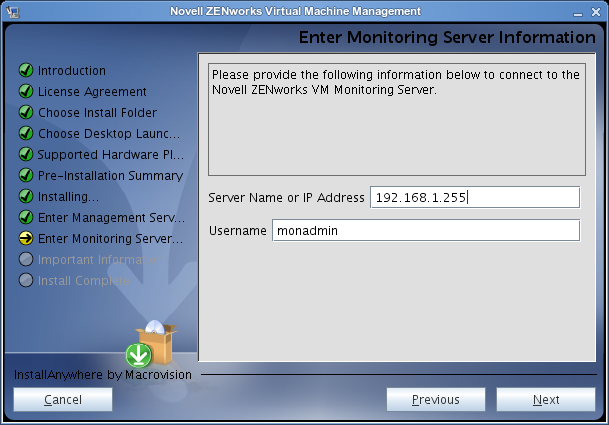
IMPORTANT:This page is displayed very quickly, is very similar to the Enter Management Server Information page, and populates the same field information that you entered in the previous page. Be sure to change the field before clicking again. Also, if the Monitoring Server is different from the VM Warehouse/Builder Server, be sure to make that server change.
Provide the URL or name of the server for the Monitoring Server you wish to connect to, then enter the Monitoring Server login name that you created when installing the Monitoring Server pattern.
This might be different than your Orchestrator Server or VM Warehouse/Builder Server.
-
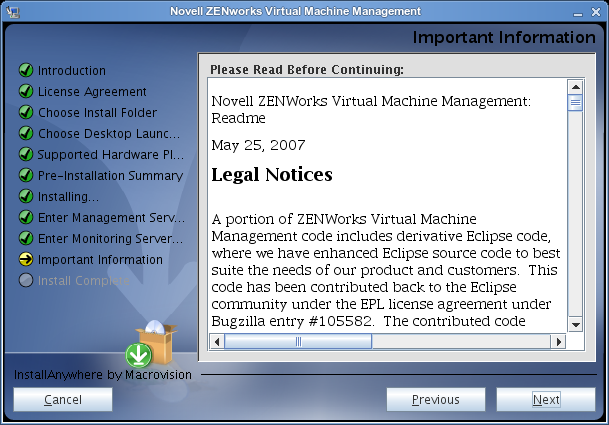
Click to display the Important Information page:
-
Click to display the Install Complete page:

-
Click to finish the installation.
4.6.3 Installing the VM Management Console on a Windows Operating System
You can install and run the VM Management console on a Windows Server 2003 or Windows XP machine and build VMs using the VM Builder, as well as manage the VM Warehouse and monitor your managed nodes. A Windows machine cannot be the Orchestrator Server.
For sources of the installation software, see VM Management Installation Sources
in the Novell ZENworks Orchestrator 1.3 Virtual Machine Management Guide.
NOTE:These installation steps apply only to Windows Server 2003 and Windows XP.
-
Copy the nvmminst.exe file from the \Windows2003 or \Windows XP folder (depending on which operating system you are using) to a location on your target Windows machine.
-
Double-click the nvmminst.exe file to start the installation program.
-
Click on the introduction page.
-
Read and agree to abide by the terms of the license agreement, then click to display the Choose Install Folder page:

-
Select your installation folder, then click to display the Choose Desktop Launcher Folder page:
-
Select a shortcut folder and any other options and groupings you want for the control of this console, then click to display the Supported Hardware Platforms page:
-
Click to display the Pre-Installation Summary page:
-
Verify the information, then click to being the installation.

-
When the Enter Management Server Information page is displayed, specify the VM Management Server URL, then enter root for the login name.
This is the identity of the VM Warehouse/Builder Server. If you installed it to a different server than the Orchestrator Server, be sure to provide the correct server ID. For example, the VM Warehouse/Builder Server’s IP address, not the Orchestrator Server’s IP address.
The root login is required because this connects to the CIM service, which communicates with the ZENworks Orchestrator Server.
-
Click to display the Enter Monitoring Server Information page:
Specify the VM Management Monitoring Server URL and the Monitoring Server login name that you created when installing the Monitoring Server pattern.
This might be different than your Orchestrator Server or VM Warehouse/Builder Server.
-
Click to display the Important Information page:

-
Click to display the Install Complete page:

-
Click to finish the installation.