5.8 Manually Creating Multiple Storage Resource Reports
Novell File Reporter allows you to create “multi-scope reports,” which are reports generated from two or more scans. The first type of multi-scope report is a Comparison Report that uses two scans of the same storage resource to compare two points in time. The other is an aggregate of two or more scans from different storage resources to give you a broad report, such as for all volumes on a server, or all volumes across the network.
5.8.1 Creating a Comparison Report
-
Launch NFRAdmin.
-
Click .
-
From the Scans region of NFRAdmin, select one of the two scans that you want to compare for the same storage resource, browse down to the level of the file system that you want to include in the report, and then click .
-
Select the second of the two scans to compare, browse down to the level of the file system that you want to include in the report, and then click .
-
From the menu in the Report Aggregation region, select .
-
If you want detail provided on the owners, directories, and files, leave the associated check boxes selected; otherwise, deselect the details you do not want included.
-
Click .
The comparison data appears in a table like the one below.
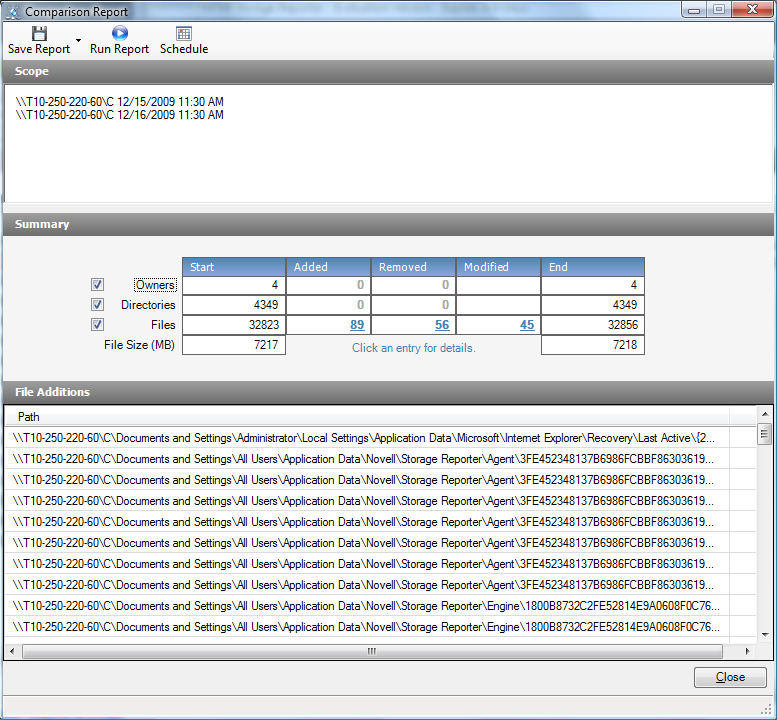
-
To view detailed data of added, removed, or modified files, click the entry numbers.
-
(Optional) Save the report.
For an explanation of report saving options see Section 5.5, Saving Reports.
5.8.2 Creating an Aggregate Report of Scans from Different Storage Resources
-
Launch NFRAdmin.
-
Click .
-
From the Scan region of NFRAdmin, select one of the scans you want to compare, browse down to the level of the file system that you want to include in the report, and click .
-
Select another scan you wish to compare, browse down to the level of the file system that you want to include in the report, and click .
-
Repeat Step 4 for all of the scans you want to include.
-
From the menu, select the report type you want to generate.
-
In the report dialog box that appears, specify any applicable additional criteria in the Additional Criteria region.
-
Click and in the Filter Settings dialog box that appears, then specify your filter parameters or open a saved filter through .
-
Click to close the Filter Settings dialog box.
-
Do one of the following:
-
Click > .
-
Click > .
The report is generated and presented.
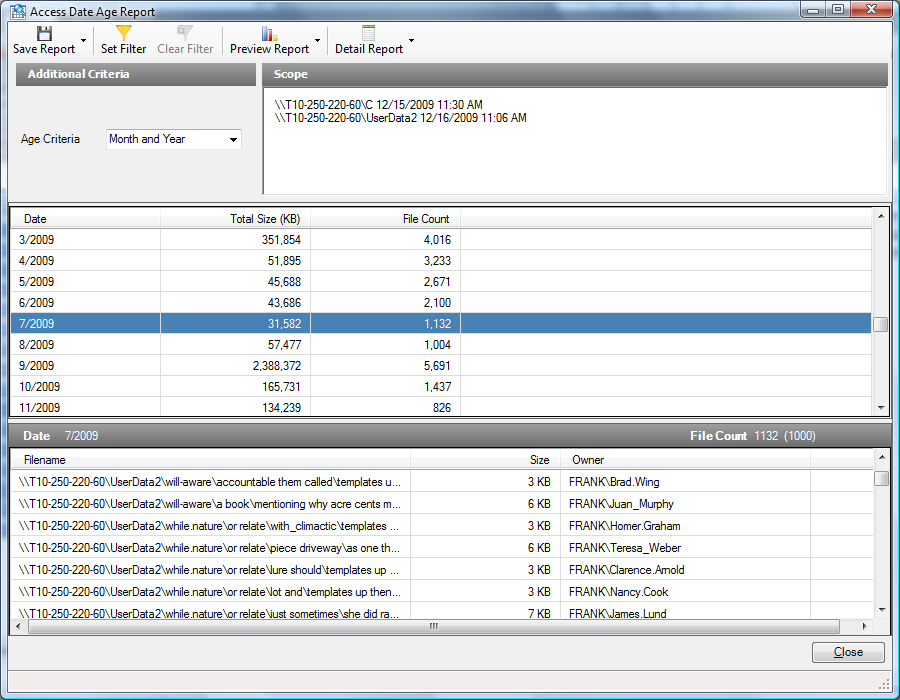
You can change the presentation order of a particular column by clicking the column heading.
If you chose to present the report in Detail in Step 10, you can double-click one of the entries in the upper pane to see more detailed information on the selected item in the lower pane.
-
-
(Optional) Save the report.
For an explanation of report saving options see Section 5.5, Saving Reports.