4.7 Performing Optional Configuration Tasks
4.7.1 Creating a Trusted Application on Windows
For background information about GroupWise trusted applications, see Trusted Applications
in System
in the GroupWise 7 Administration Guide. When you set up a trusted application, you must register GroupWise Mobile Server as aGroupWise trusted application. When GroupWise Mobile Server has been registered, a trusted application key is assigned to GroupWise Mobile Server for accessing GroupWise.
-
From your Windows server, map a drive to the primary domain directory in your GroupWise system.
-
On the GroupWise Mobile Server machine, open a command window.
-
Change to the following directory:
C:\Program Files\Intellisync Mobile Suite\PIM
-
Enter the following command to register GroupWise Mobile Server as a GroupWise trusted application and generate the trusted application key:
GWTrustedApp.exe “path_to_primary_domain”
A message displays, stating that trusted application was successfully registered. It also displays your trusted application key.
-
Copy the key to the Windows clipboard.
-
In the Admin Console, click to connect the console to GroupWise Mobile Server.
-
Expand > > .
-
Right-click , then click .
-
Select , then paste the trusted application key into the field.
-
Click , then specify a valid GroupWise username and password of a user on the POA.
-
Click .
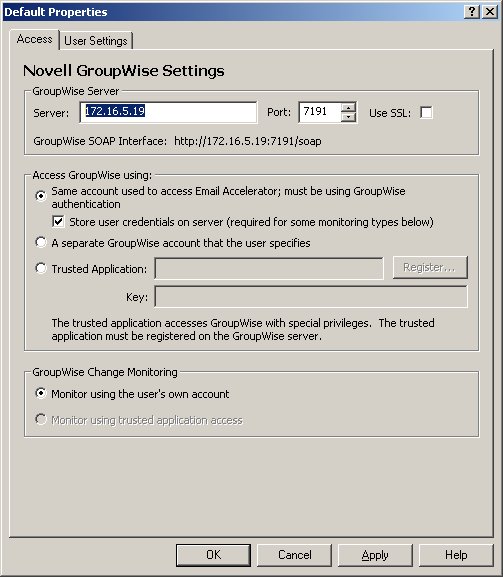
By default, the key allows GroupWise Mobile Server to connect to any POA in your GroupWise system. For higher security, you can configure the trusted application to allow connections to only one POA and to use SSL if necessary. This higher level of security is obtained by configuring the trusted application in ConsoleOne.
-
In ConsoleOne, configure GroupWise Mobile Server as a GroupWise trusted application, as described in
Editing a Trusted Application
inSystem
in the GroupWise 7 Administration Guide. -
To apply the settings, reboot the GroupWise Mobile Server machine.
4.7.2 Accessing the WebAdmin Console from Your Web Browser
By default, you can access the WebAdmin Console only from the Admin Console. If you want to be able to access the WebAdmin Console directly from your Web browser, you must create an administrative user for this purpose.
-
Access the WebAdmin Console from the Admin Console.
-
Click to connect the console to GroupWise Mobile Server.
-
Click the WebAdmin object, then click .

-
-
In the WebAdmin Console, click .

By default, the Admin Console uses the sysadmin user to connect to the WebAdmin console.
-
To create your own administrative account, click .
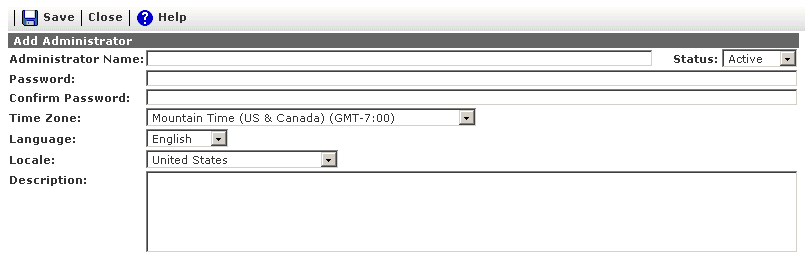
-
Specify the administrative username and password, change other settings as needed, then click .
The new administrative user is added to the list. You can now use this username and password to access the WebAdmin Console directly from your Web browser.
4.7.3 Reconfiguring the Secure Gateway to Use a Different Port Number
The default HTTP ports for the Secure Gateway are port 80 for non-secure connections and port 443 for secure SSL connections. You might not want to open port 80 or port 443 to your demilitarized zone (DMZ).Therefore, you might want to change the port for the Secure Gateway from the default port to another port.
-
On the Secure Gateway machine,
-
Use a text editor to edit the securegateway.properties file.
By default, the securegateway.properties file is located in the following directory:
C:\Program Files\Secure Gateway\CommSvr\conf
-
Locate the #HttpPort=80 line, remove the comment character (#), and replace 80 with the port you want the Secure Gateway to listen on.
or
If you are using an SSL connection, locate the #HttpSSLPort=443 line, remove the comment character (#), and replace 443 with the port you want the Secure Gateway to listen on.
-
Save the securegateway.properties file.
-
-
On the GroupWise Mobile Server machine, start the Admin Console.
-
Update the Secure Gateway port information.
-
Right-click the Intellisync Mobile Suite object, then click .
-
Click the tab.
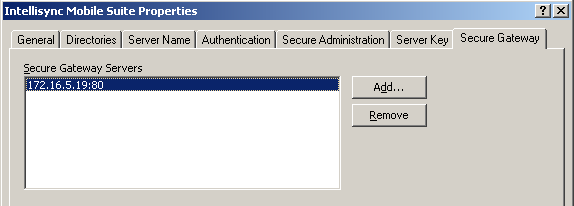
-
If a Secure Gateway server is already listed, select it, then click .
-
Click .

-
Specify the IP address or DNS hostname and port number, then click ; for example:
http://www.corporate.net:8888
https://www.corporate.net:4433
-
Click to save the updated list of Secure Gateway servers.
-
-
Update the Web server and sync server information:
-
Click the tab.
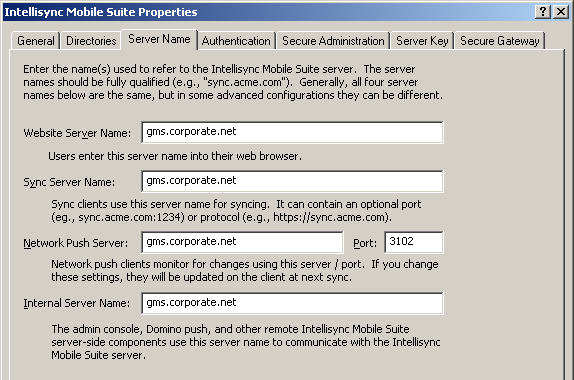
-
In the field, add the new port number to the existing DNS hostname with a colon (:) between them.
-
In the field, add the new port number to the existing DNS hostname with a colon (:) between them.
-
Click to save the changes.
-
-
Restart the GroupWise Mobile Server machine.
-
Restart the Secure Gateway machine.
-
Notify existing mobile device users to add the port number to the server that their devices use for synchronization.
For instructions, see the device-specific User Guides at the GroupWise Mobility Documentation Web site.
4.7.4 Configuring SMTP Relay for SMS Push
Before configuring the Push feature, you must configure the GroupWise Internet Agent as a relay host, as described in Section 2.5, Configuring the Internet Agent to Support SMS Push.
To configure the Push feature:
-
In the Admin Console, expand.
-
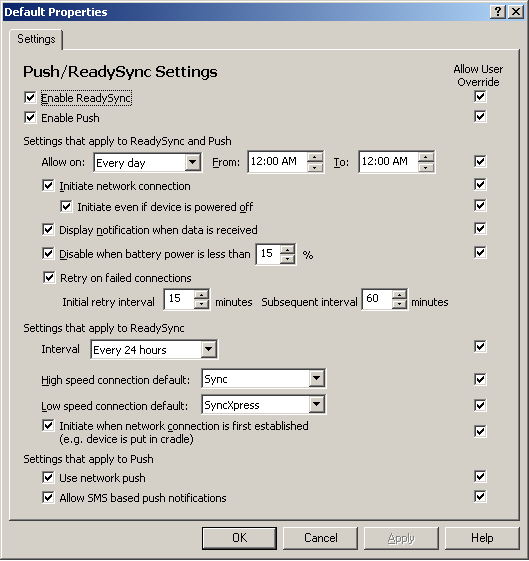
To enable/disable Push, and to configure synchronization settings:
-
Expand .
-
Right-click , then click .
-
Click for information about the Push/ReadySync settings.
-
Set the Push/ReadySync settings as needed for your mobile users.
-
Click to save the Push/ReadySync settings.
-
-
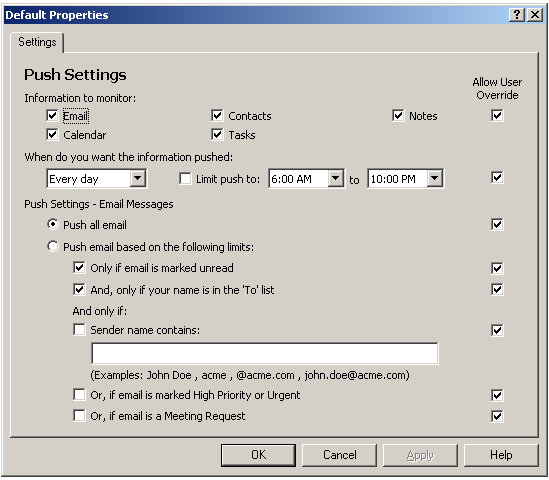
To configure the types of items that are pushed to mobile devices:
-
Expand .
-
Right-click , then click .
-
-
Click for information about the Push settings.
-
Set the Push settings as needed for your mobile users.
-
Click to save the Push settings.