5.0 Installing the Exchange Migration Utility
If you are performing a small system migration, install the Migration Utility on one Windows workstation. If you are performing a large system migration, install the Migration Utility on multiple Windows workstations (system worksheet item 2).
IMPORTANT:Do not install and run the Migration Utility on Exchange servers.
-
At a machine that meets the system requirements listed in Section 2.0, Exchange Migration Utility System Requirements, make sure that Outlook is already installed.
The GroupWise® client should not be installed. If it is, the Exchange Migration Utility Setup program removes it.
-
Make sure that you have administrator rights to the Exchange server that you want to migrate (server worksheet item 1).
IMPORTANT:The workstation where you run the Migration Utility must have a username and password identical to the one on the Exchange server. Otherwise, you cannot access the Exchange server with the necessary rights.
-
From the Novell® Downloads Web site, download the GroupWise Migration Utility for Microsoft Exchange (gw700exmig.exe) into a temporary directory.
-
Run gw700exmig.exe to extract the Migration Utility files into a convenient directory.
-
Run setup.exe, then click to install the Migration Utility.
-
Click to accept the license agreement.
-
Click to select the setup type.
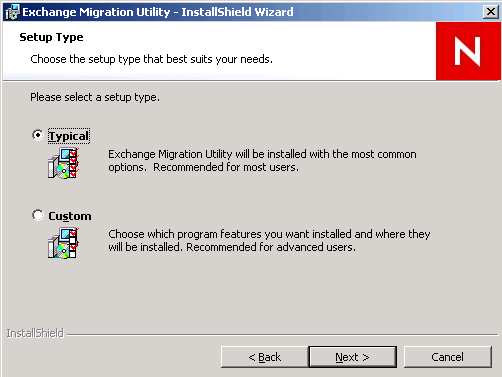
Typical: Installs the Migration Utility in English in the c:\novell\exchange migration utility directory.
Custom: Lets you select the installation directory. The utility is currently available in English only.
-
To accept the default of , click .
or
Change the installation directory:
-
Click , then click .
-
Click .
-
Browse to and select the desired installation directory, then click .
-
Click .
-
-
Click to install the Exchange Migration Utility.
-
When the software has been installed, click .
-
Repeat Step 6 through Step 11 for each workstation where you want to run the Migration Utility.
As an alternative, you could map a drive from other workstations to a central installation of the Migration Utility. However, the Migration Utility runs significantly faster when installed locally.
-
Continue with Migrating Your Exchange System to GroupWise 7.