4.3 Connection Profiles
Connection profiles contain a unique configuration of the parameters used for making a successful VPN connection. Each profile in XML format is saved as a .prf file. VPN client provides a Profile Manager to help you with the connection profiles.
The Profile Manager helps you create, edit, or delete profiles. While editing profiles, you cannot change the profile names.
NOTE:You cannot create profiles using CLI. You must use the Profile Manager to create and modify profiles.
4.3.1 Creating a Profile for Connecting to the Standard IPsec Gateway
-
Open the VPN client for Linux dialog.
GNOME: Click .
KDE: Click the main menu > .
-
In the drop-down list, select .
-
Click to create a profile.
-
In the field, specify a name for the profile.
-
Select from the .drop-down list.
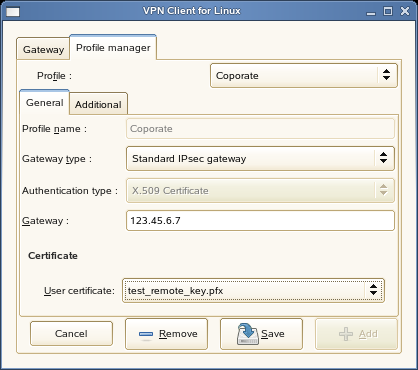
HINT:If you have not copied the user certificate in .pfx format, the error No .pfx files appears. For details, refer to Copying the User Certificate.
-
Specify the following details:
-
Gateway: Specify the gateway IP address or gateway name.
NOTE:
Gateway
refers to your Novell BorderManager 3.9 VPN server. -
User certificate: Select the user certificate.
-
-
Click the tab to configure the exchange mode, DH group, PFS group, network, and mask.
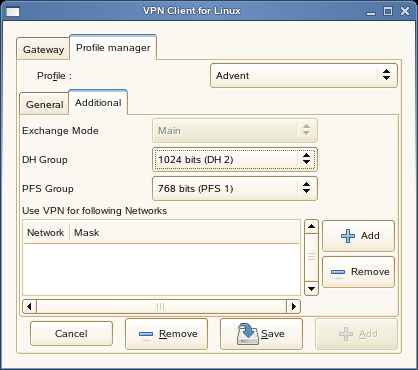
IMPORTANT:Ensure that the VPN client configuration matches the configuration on the gateway to which you are connecting. If you are connecting to a standard Novell BorderManager 3.9 server, the preceding image shows the correct values.
-
Click to save the profile.
-
Click to return to the VPN client dialog.
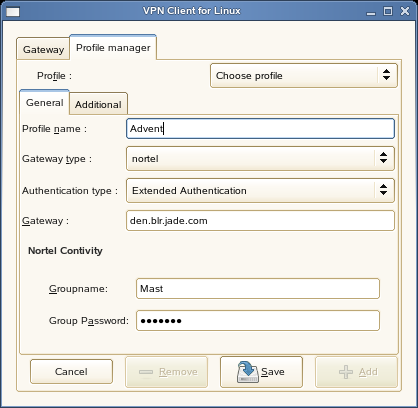
4.3.2 Creating a Profile for Connecting to the Nortel Contivity Server
-
Open the VPN client for Linux dialog.
GNOME: Click .
KDE: Click the main menu > .
-
In the drop-down list, select .
-
Click to create a profile.
-
In the field, specify a name for the profile.
-
Select from the .drop-down list.
-
Specify the following details:
-
Gateway: Specify the gateway IP address or gateway name.
-
Groupname: Specify the user group name.
-
Group Password: Specify the group password.
-
-
Click the tab to configure the exchange mode, DH group, PFS group, network, and mask.
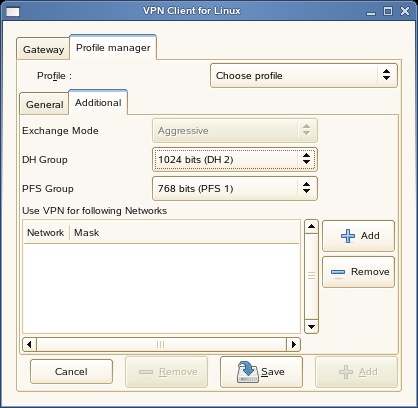
IMPORTANT:Ensure that the VPN client configuration matches the configuration on the gateway you are connecting to.
-
Click to save the profile.
-
Click to return to the VPN client dialog.
4.3.3 Editing a Profile
-
Open the VPN client for Linux dialog.
GNOME: Click .
KDE: Click the main menu > .
-
In the drop-down list, select .
-
Click , then select the name of the profile you want to edit.
You can edit all the parameters except the profile name.
4.3.4 Deleting a Profile
-
Open the VPN client for Linux dialog.
GNOME: Click .
KDE: Click the main menu > .
-
In the drop-down list, select .
-
Click , then select the name of the profile you want to delete.
-
Click .