8.2 Securing Your Meeting Room
The host can secure a meeting by requiring attendees to wait in an area called the “lobby” until the host decides that the attendees can enter the meeting.
8.2.1 Securing All Meetings
When the host enables the lobby in the Preferences dialog box, it is enabled for all meetings that he or she schedules.
-
Log in to your Novell Conferencing account.
For information on how to log in, see Section 1.3, Logging In.
-
In the dashboard, click .
-
In the Preferences dialog box, click the tab.
-
In the tab page, under the section, the option displays the current setting of the feature. Make sure that ON is displayed.
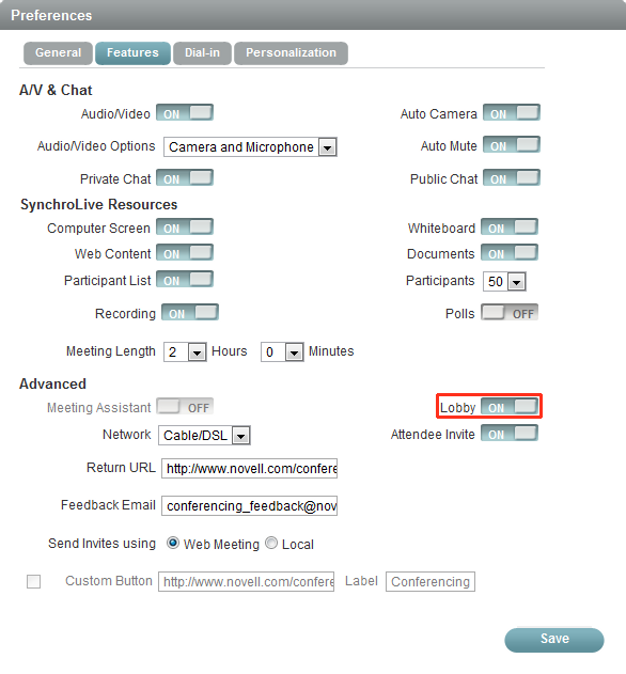
The option is a toggle switch that lets you restrict or allow access to the meeting room. If the switch displays ON, it means that your attendees must wait in the lobby until you allow them to enter the meeting room. If an attendee wants to join the meeting, you see a notification in the meeting console. See Section 8.3, Allowing Attendees to Join the Meeting from the Waiting Area Lobby for instructions on how to admit attendees to the meeting.
8.2.2 Securing a Single Meeting
The host can restrict attendees to the lobby after a meeting has started.
-
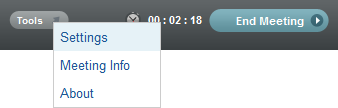
In a meeting that is in progress, click .
-
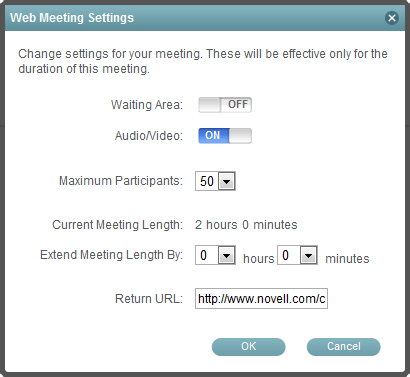
Click next to .
-
Click .