5.5 Generating Reports
-
Select the report template and click
 .
.
The Generate Report dialog box is displayed.
Figure 5-9 Generate Report Dialog Box

-
Select a delivery types for the report. By default, the report is delivered to the Report Explorer. Other delivery options include:
-
Sending it by e-mail
-
Saving it to a network file
-
Uploading it to an FTP server
-
-
Configure delivery options:
-
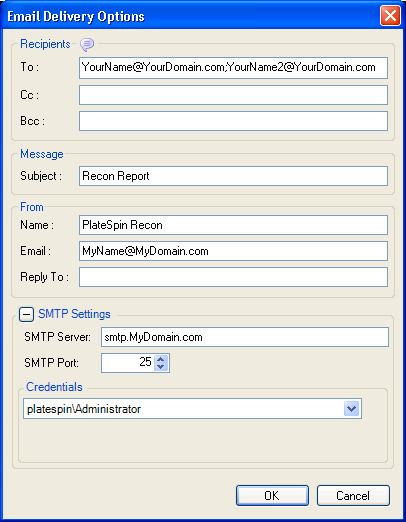
For the Email delivery option, click . The Email Delivery Options dialog box is displayed.
-
Provide the requested information. Only one recipient is required in the field, although if you enter more than one, you need to separate the addresses with a semicolon. The and fields can be left blank. Any default values supplied for the and can be changed. The address is mandatory, but the address can be left blank. The and are mandatory. are only optional if they are not required for your SMTP server, which is unlikely.
-
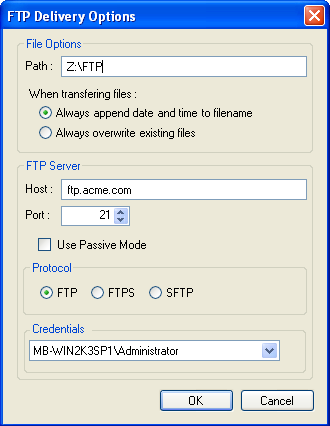
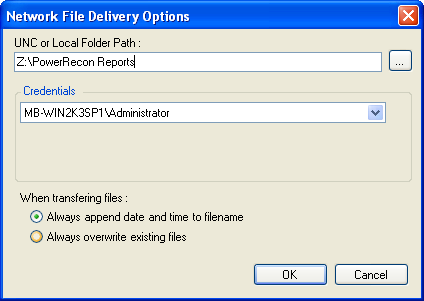
For the and delivery types, use the adjacent option buttons to open dialog boxes and specify an FTP path or UNC/local folder path. Choose to have later recurrences overwrite the report saved at that location, or append the date and time to the specified filename so that previous reports are preserved.
-
For delivery options other than Report Explorer, the default format for the report is . Additionally, there are several other available delivery formats.
-
-
If desired, select the option to compress the report in a ZIP file. Optionally, the file can be password-protected.
-
You can also set options in the area to specify whether to generate the report immediately, at a later time, or at a recurring interval. For information about scheduling options, see Section 8.2, Scheduling and Recurrence.
-
Click .
When the report is generated, it is delivered using the delivery types specified. If this includes Report Explorer, the report is cached for quick viewing at any time. An item is added to the Report Explorer beneath the report template used to generate the report, named with the date and time the report was generated.
To view a report, double-click the generated instance. The report is displayed in the Document Viewer. For information, see Section 5.5, Generating Reports. To delete a report, right-click the report and select on the menu.