2.7 Create Your Initial Workspaces
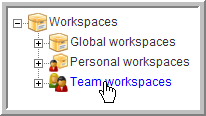
There are three types of workspaces in Novell Teaming: Global Workspaces (company-wide), Personal Workspaces (individual), and Team Workspaces (smaller teams). After a new workspace is created, every sub-workspace and subfolder inherits its access rights from the parent workspace by default. The workspace or folder administrator can deselect this inherit option for any individual sub-workspace and subfolder on the page for the individual workspace or folder.
Planning the initial content for your site is an important step to help your users learn and use the site. Without some content, users are lost. However, too much content (especially empty containers and a complex structure) might cause users to have trouble mapping to the real work they need to do. Before end users access the installation, the Global Workspace should have enough content to engage them, but not to overwhelm them. Also, a workspace hierarchy and set of dedicated applications are best developed in parallel with users using the product and providing feedback about what best serves their needs.
The best approach is to plan out a tight minimal set of content in the Global Workspace to provide the end users with a functional site that they can quickly navigate and start using.
2.7.1 Creating Teams
The team creation process can be simplified with some initial planning:
-
Although, by default, anyone can create a team (unless you edit the default access rights; see Editing Default Team Workspace Access Rights) the process is much easier if a site administrator creates group names for teams before team creation occurs.
-
Thinking through how you want to architect group names is a useful initial task.
-
Access control is greatly simplified and enhanced by utilizing well-planned group names for your site.
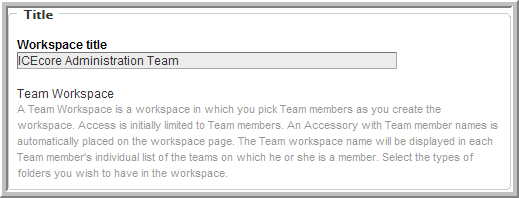
2.7.2 Creating an Administration Team Workspace
NOTE:You should create an group first to simplify the process for editing your administration access rights. You can then add this group to the administration team and set the access rights for this group. In the future, you can add or delete users from this administration group and not worry about editing the administration team’s access rights for individual members, because they are assigned to the group. For the following procedure assume that the admin group now exists.
-
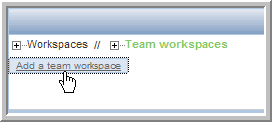
On your Home Page, click .
-
Click .
-
Type a for the new workspace.
-
Select the team members. Make sure you add the admin group, which we will also use for setting access rights so that you only need to control membership to this group to control administrative access rights and administration workspace membership.
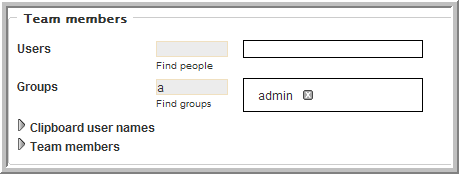
See the Online Help or the for details on selecting users.
-
Select all the initial you want to create in this workspace.
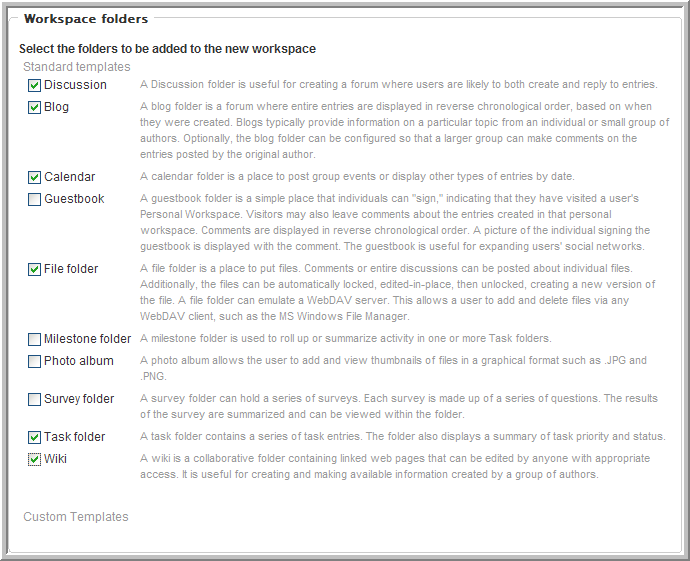
-
Click .
2.7.3 Setting the Administration Team Access Rights
-
In the workspace, select the menu item.
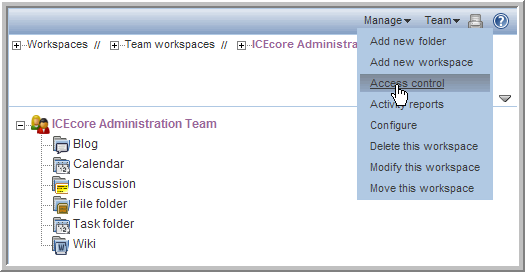
-
In the Access Rights table, click .

-
Start typing admin, then select from the drop-down list.
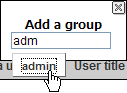
-
For the group, select the , , and roles.

-
Click .
-
Click .
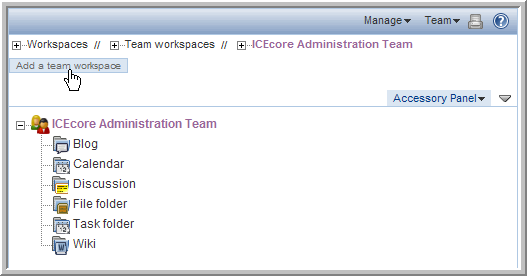
2.7.4 Using the Root Team Workspace
You can set any workspace to be a “root” team workspace, which allows anyone with the correct access rights to add workspaces under the root workspace. A root team workspace has thebutton available to anyone with the appropriate access rights.
An administrator can set a workspace to be a root team workspace temporarily, while the sub-workspaces your company needs to set up are added, or set it to permanently be a root team workspace so that users can always create additional workspaces under the root team workspace. How you configure a specific area depends on what the workspaces are used for and how much control you want the users to have over the layout of the site.
To configure a Workspace to be a Root Team Workspace:
-
In the workspace, select the menu item.
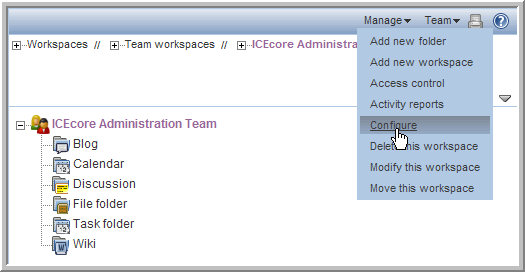
-
Select the option, then click .
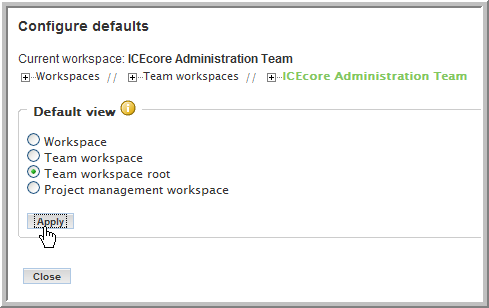
For a regular workspace, select the default view. If you want to track project tasks and milestones based on task completion, select theview. For a team workspace, select the view to display the button. If your team workspace is organizational in nature and not intended to have team workspaces as its sub-workspaces, select the view, which omits the button.
-
Click .
Thebutton is now available in the workspace.
NOTE:Because only members (administrators) of the admin group have access to this workspace, you can make it a permanent, so any administrator can create sub-workspaces.