6.0 The Profile Designer
You use the to edit the business card that appears on every user’s workspace. The following procedure shows you how to edit the business cards layout to tailor it for your specific company.
-
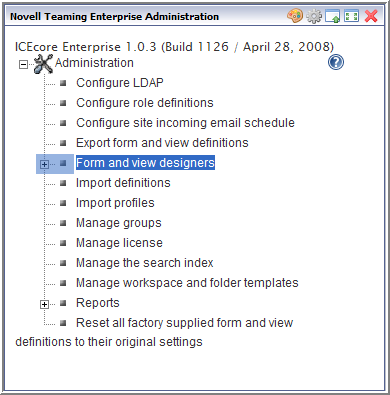
From the portlet on the initial Liferay portal window, click the plus sign (+) to the left of to expand this section and view the available designers. To add the portlet to the Liferay portal window, See Adding the Teaming Administration Portlet to Your Home Page.
-
Click .
-
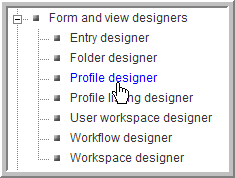
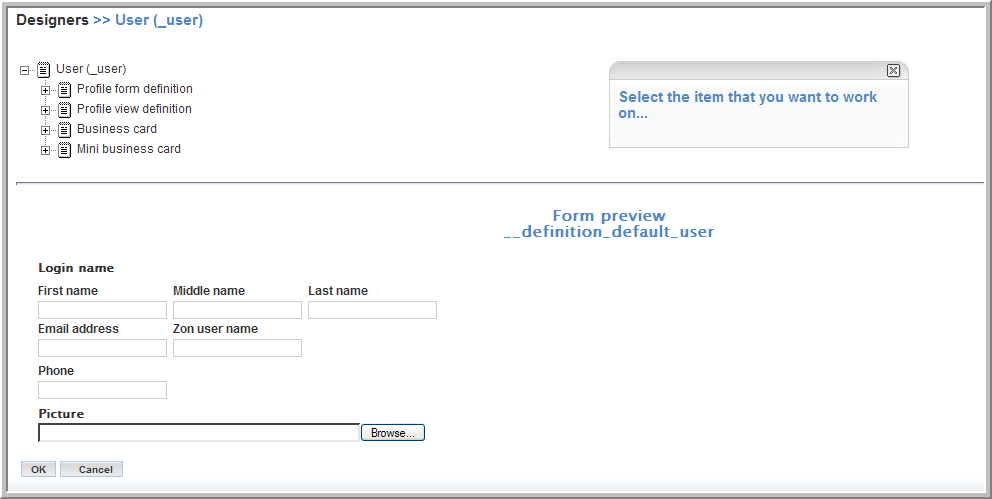
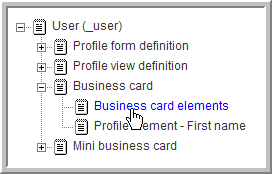
Expand and click .
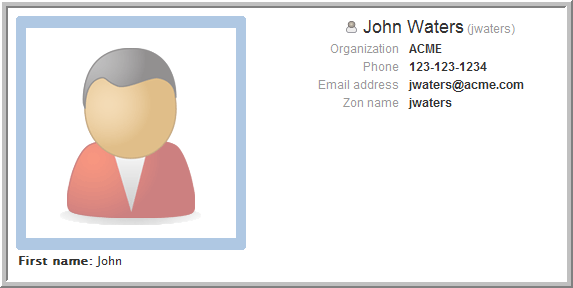
You see the following for the user business card.
-
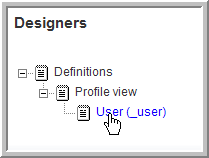
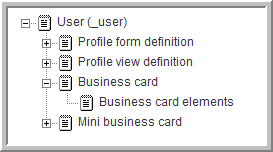
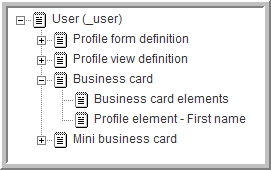
To edit the layout of the business card, expand .
Any element you add to appears below the picture on the business card. Any element you add to the appears to the right of the picture on the business card.
-
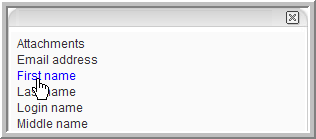
Add the user’s first name below the picture:
-
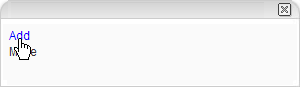
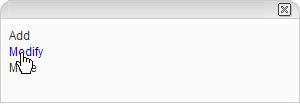
Click .
-
Click .
The following elements are available:
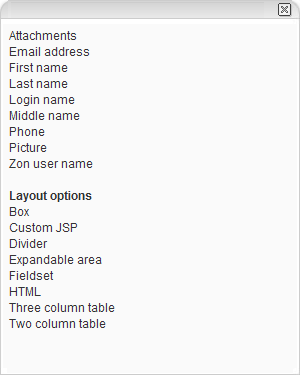
The upper section has elements for the business card; some are already included in the . The Layout options allow you to add custom elements (including additional containers). See Creating a Custom Form for an Entry.
-
Click .
-
Click in the dialog that appears.
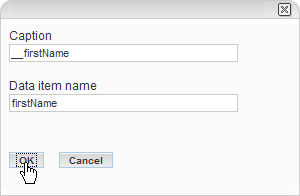
appears below the business card.
-
-
Edit :
-
Click .
You can perform the same steps to add a new element below the , which would appear to the right of the picture on the business card, or you can edit the to select or deselect the elements that are already in the .
-
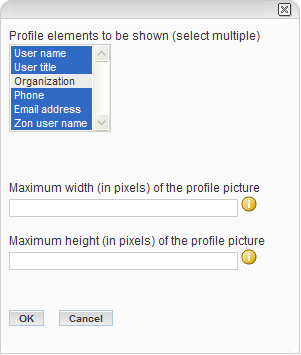
Click .
The dialog for appears.
-
Select the profile elements you want to appear to the right of the user’s picture on the business card (use the Shift or Ctrl keys to select multiple elements).
For this example, select all elements.
The Maximum width and Maximum height fields allow you to limit the size of the users’ pictures on their business cards. The graphic is scaled to fit within the maximum width and height that you specify, without distorting the picture (the aspect ratio is maintained).
-
Click .
You might also need to add the element in the so that users can specify their organizations when they modify their profiles. This is true for any new elements you add to the business card (you need to add the new elements to the so that users can input values when they modify their profiles).
-
-
Go to a user’s workspace and view the changes. In this example, the element has been given a value for the user.