2.2 Modifying Your Personal Workspace
As the next step involved with learning to use Novell Teaming, you can create a comfortable working space in your personal workspace.
Your personal workspace is your Novell Teaming homepage. Like any workspace, such as your desk at work, or your wood shop or kitchen at home, it can be helpful to brighten, organize, or personalize your environment. It is also helpful to provide a safe space for people to visit you in your workspace (for example, a waiting or viewing area). You can apply similar approaches to your online workspace in Novell Teaming.
By default, other people are allowed to visit your workspace, but only you can participate in it. Participation means that you can create new entries in your folders, and visiting means that people can read your entries and can comment on them.
This section contains the following subsections:
2.2.1 Adding Basic Information
As the first step, it can be helpful to provide some introductory text for visitors to your personal workspace.
To modify your personal workspace:
-
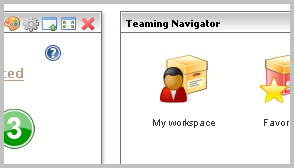
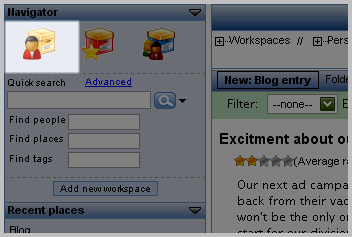
On the portal page, click in the navigator portlet:
-
Click > , located toward the upper right corner of the page:
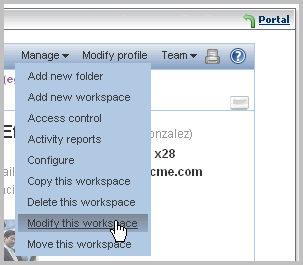
Novell Teaming displays a form that allows you to add a personal description to your workspace:
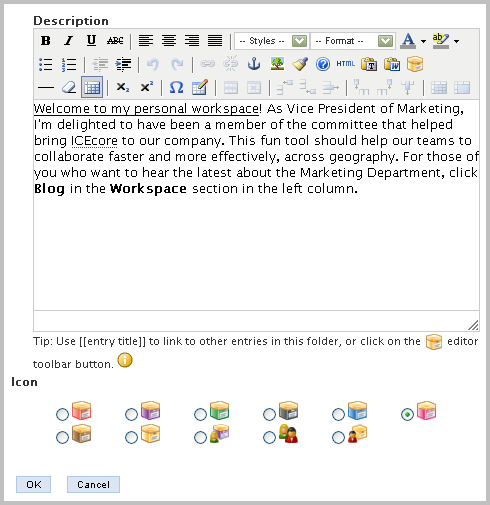
Consider using the editor in the section to compose a welcome message for people visiting your page. This is an HTML editor; you can use the tool bar at the top to format your message with bold text, color, pictures, tables, and so on. You can also use the section to select a different icon for display in the workspace tree next to the link for your personal workspace.
-
Click .
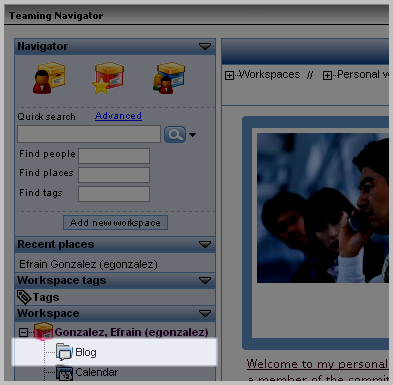
Novell Teaming displays the personal workspace page again, including the new descriptive text:
Figure 2-1 The Modified Personal-Workspace Page

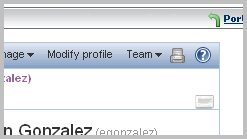
While viewing a personal workspace page, you can collapse the contact information so that it is easier to see more of the content. To collapse the contact information, click the icon in the upper right corner of the workspace page.
2.2.2 Editing Contact Information and Add Pictures
Although your Novell Teaming site administrator probably specified some of your contact information, it is a good idea to check it, modify it, and make sure that it is complete. For example, the presence feature requires that you specify your Novell Conferencing username correctly on your personal workspace.
Also, uploading pictures can help visitors to identify you, and it can provide decoration and amusement.
To modify your contact information and upload pictures:
-
Click :
Novell Teaming displays a form that allows you to alter contact information and to upload pictures.
-
Alter any contact information that is missing or incorrect.
-
Click the button to upload a picture:
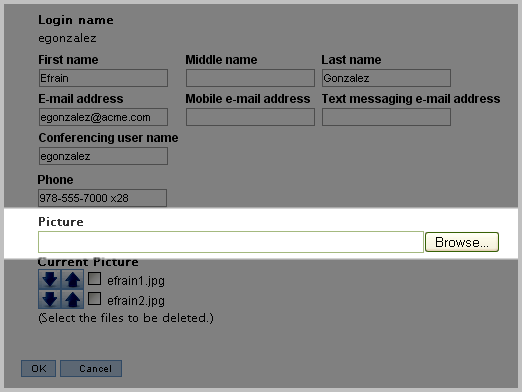
Novell Teaming places the filename of the picture in the section of the page.
-
Repeat Step 3 until you upload all the pictures you want into your personal workspace.
-
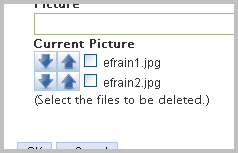
Next to the filenames of uploaded pictures, click the up-arrow or down-arrow to position the picture where you want it in the list:
The first picture in the list becomes the primary picture in your personal workspace.
To delete a picture from your personal workspace, select the check box next to the filename, and Novell Teaming removes it after you submit the form.
-
When you are finished, click to submit the form.
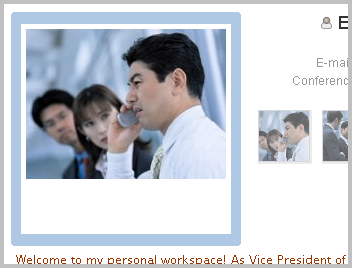
Novell Teaming displays the first picture in your list as the main picture in your personal workspace, and displays all other pictures as thumbnails (smaller versions) below the contact information:
Figure 2-2 Primary Picture and Thumbnail Pictures
Tips for Uploading Images
-
You can add as many pictures as you like, but you must add them one by one.
-
When viewing any personal workspace, mouse over the thumbnail pictures located just below the contact information, and Novell Teaming displays each picture in the larger frame to the left of the contact information.
-
Click any of the pictures in the personal workspace, and Novell Teaming displays a full-size version of that picture.
2.2.3 Add a Blog Entry
Blogs are a new and popular communications tool available on the Internet. Blog folders display journal entries chronologically (starting with the most recent, and ending with the oldest). The blog folder in your personal workspace is for your journal entries.
From a teamwork perspective, a blog can present your newest ideas to your teammates in a timely, informal way. Comments that teammates make about your journal entry can help you to further develop your ideas. Blogs provide a way to collaborate informally before the work must become more structured.
To add an entry to your blog:
-
View your personal workspace page.
-
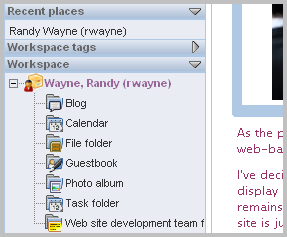
In the section of the tools sidebar, click the title of your blog folder (, by default):
-
Click :
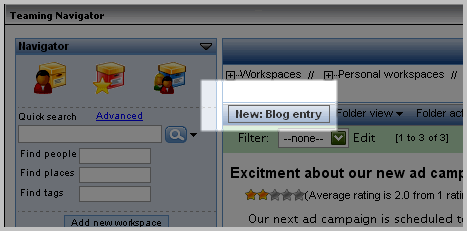
Novell Teaming displays a form.
-
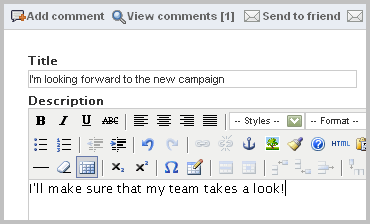
Provide a title, and type your journal entry in the section of the form.
-
If you choose, you can click to upload a picture or supporting document in the section of the form.
-
Click .
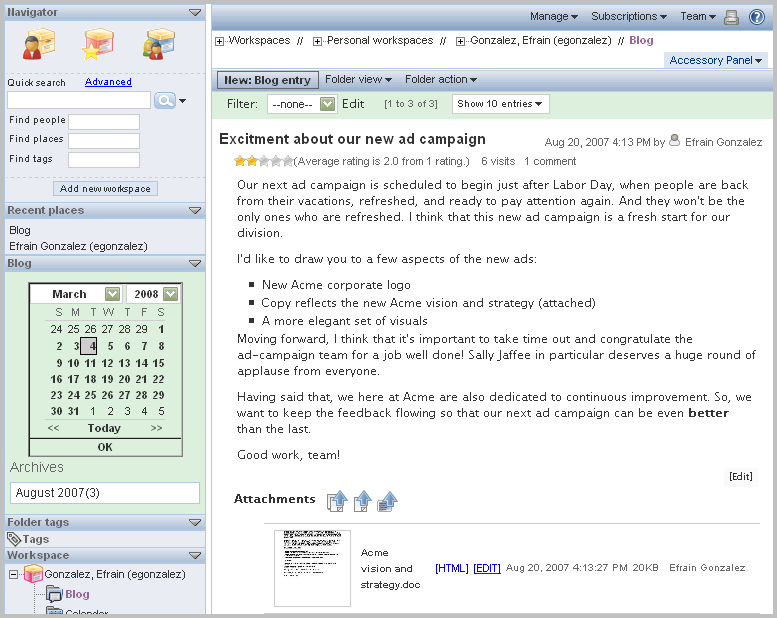
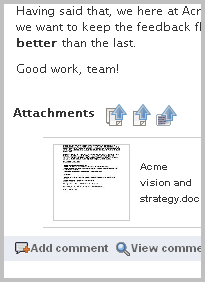
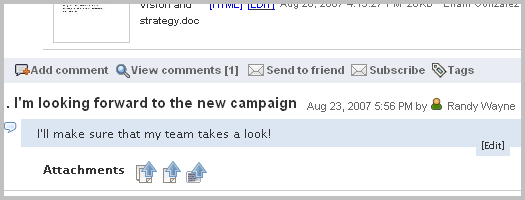
This is an example of a blog entry as it appears on the folder page:
Figure 2-3 Completed Blog Entry
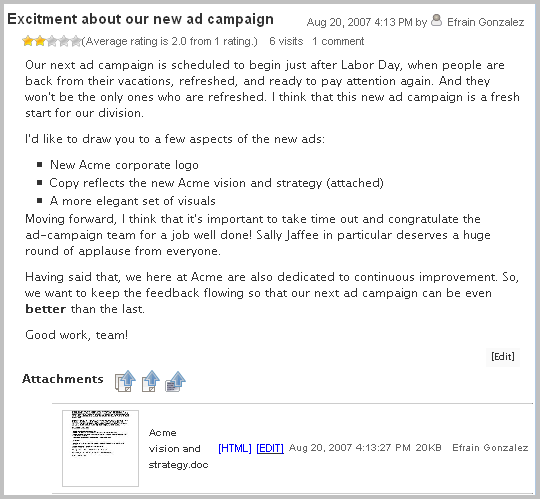
This is the content of the entry:
Figure 2-4 Content of the Completed Blog Entry
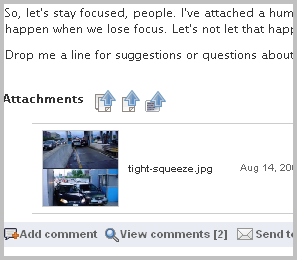
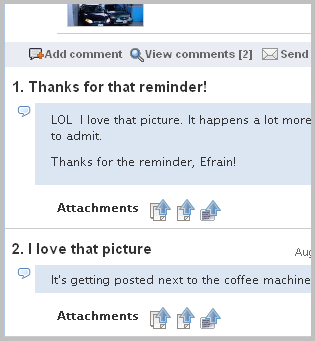
Later, you can check the tool and its counter, located at the bottom of your blog (this entry has 2 comments):
Figure 2-5 The View Comments Link at the Bottom of the Blog Entry
Click to see them (and click it again to hide them):
Figure 2-6 Displayed Comments for a Blog Entry
Tips for Writing Blog Entries
-
Attach pictures or supporting documents to make your journal entries more interesting.
-
For pictures available on the Internet, you can use the HTML editor to place the picture right into your entry.
-
Invite others to comment by asking for specific kinds of feedback.
2.2.4 Collaborate with Others
After doing the tasks described in the previous sections, you have completed the minimum number of tasks recommended to get started using your personal workspace. Developing a vibrant, purposeful collaboration space requires striking a balance between having something for people to do when they first arrive in a space (read your introduction, view your pictures, note your contact information, and read and comment on your blog entries), and allowing the participation of your teammates to guide you in developing additional content.
This section provides ideas for further activity involving personal workspaces. Consider these points over time, as you become more accustomed to working with Novell Teaming.
This section contains the following subsections:
Commenting on a Blog Entry
While you are waiting for teammates to comment on your initial blog entry, you can add a comment to someone else’s blog entry:
-
Sign in and view the portal page.
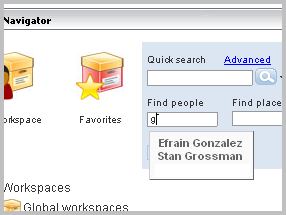
-
In the text box, type a few letters of a teammate’s first or last name, and click the linked name of the person whose blog you want to view:
-
In the section of the tools sidebar, click the title of the person’s blog (, by default):
-
At the bottom of a blog entry, click the link:
Novell Teaming displays a form just below the link.
-
Provide text for your comment:
-
Toward the bottom of the comment form, click .
Novell Teaming adds your comment to the blog entry:
Figure 2-7 A Comment Added to a Blog Entry
Collaborating in a Folder
You can use your personal workspace to learn Novell Teaming collaborative features before taking the next step of creating a team workspace. One way to do this is to create a folder and invite others to participate with you as teammates in the new folder. (For information about creating a team workspace, see Section 2.3, Creating a Team Workspace.)
To create a team-oriented folder in your personal workspace:
-
Click the icon in the Navigator tools to view your personal workspace:
-
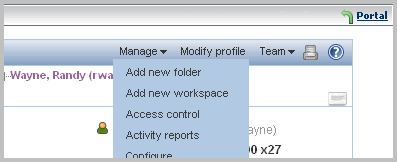
Click > :
Novell Teaming displays a form that allows you to create a new folder.
-
Provide a title for your folder and select a type of folder (our example uses ).
-
Click .
The new folder now appears at the bottom of the section of the tools sidebar:
-
Click the link for your newly created folder.
-
(Optional) Add new entries.
-
In the management menu bar, click > :
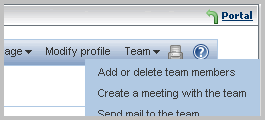
Novell Teaming displays a form telling you that the folder is not inheriting team settings and provides you with tools for specifying your teammates. Inheritance is helpful, because it makes many product features work automatically; if you want this folder for private use, then applying inheritance would be wise. In this example, however, you want to specify your teammates.
-
Type a few letters of either the first or last names of teammates, and click their linked names:
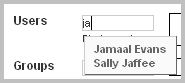
Repeat this step as often as you need to add all of your teammates.
-
Click .
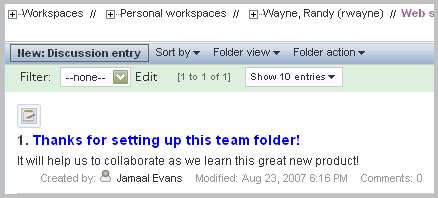
Novell Teaming now allows teammates to participate in your newly created folder, instead of just being able to visit, as they do in other folders in your personal workspace. This means that teammates can take a more active role in the development of information in the folder. Following our example, when Randy Wayne returns to the in his personal workspace, a teammate (Jamaal Evans) might have authored an entry:
Figure 2-8 An Entry Added to Your Folder by a Teammate
You can use team-oriented folders in your personal workspace until you feel more comfortable with the product features. Then, you can create a team workspace.