7.10 Synchronizing Files between Vibe and Your Local Directory (Coming Soon)
When you install the Vibe application on your workstation, folders are automatically created in your personal file system for each group where you are a member. When you add files to one of these folders, the file is automatically synchronized to the tab for the corresponding group in Vibe. Conversely, when you add files to a group within Vibe, the files are synchronized to the corresponding folders on your workstation.
For information on how to add files to a group in Vibe, see Section 7.4, Uploading a File.
7.10.1 Installing Vibe on Your Workstation
To synchronize files between Vibe and your local directory, you must first install the Vibe application on your workstation.
-
Download and run the NovellVibe-version.msi file.
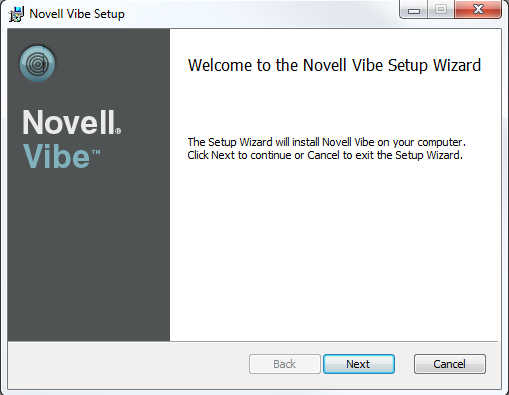
-
Click .
-
Ensure that is selected, then click to accept the license agreement.
-
Click to accept the default installation location.
or
Click , navigate to the desired installation location, click , then click .
-
Click to install the Novell Vibe application.
-
Click to complete the installation.
The icon
 is added to your notification area.
7.10.2 Managing Vibe Files From Your Personal Workstation
Viewing Vibe Folders on Your Workstation
To access Vibe folders on your personal workstation:
-
In the notification area on your personal workstation, double-click the icon
.
The Vibe directory is launched, which contains folders that represent each group for which you are a member in Vibe.
Adding, Deleting, and Moving Vibe Files on Your Workstation
You can manage Vibe files from your personal workstation in the same way that you manage any other files in your personal file system. You can add files, delete files, move files, and more.
-
In the notification area on your personal workstation, double-click the icon
.
The Vibe directory is launched, which contains folders that represent each group for which you are a member in Vibe. Open a folder to view the files that are associated with the group.
-
Add, delete, and move files as you would any files on your personal file system. Changes that you make are reflected on the Vibe site.
7.10.3 Specifying the Local Directory Where You Want to Synchronize Vibe Files
You can change the location of where Vibe files are displayed on your local directory if you are not satisfied with the default location, if you are running low on disk space, and so forth.
Before you change the location of Vibe files on your workstation, be aware of the following:
-
You cannot change the location while a sync is in process.
-
It can take a few minutes for the folders to be moved to a new location.
-
If files are locked, the move fails.
To change the location of Vibe files on your workstation:
-
In the notification area on your personal workstation, right-click the icon
.
-
Click .
The Novell Vibe Preferences dialog box is displayed.
-
In the section, click .
-
Specify the new location, then click .
7.10.4 Features That Are Coming Soon
The following features will soon be available in the Novell Vibe desktop application:
-
Subfolder support
-
Auto-update
-
The ability to choose the folders you want to synchronize
-
Mac and Linux support