4.2 Installing
4.2.1 Installing Designer If Eclipse Is Not Already Installed
Because Designer runs in an Eclipse environment, Designer installs Eclipse on your workstation.
Downloading the Files
-
Download the correct .iso image or .zip file for your system.
Downloads are available at the following locations:
-
If you downloaded a .iso image, burn that image file to an Identity Manager CD or DVD.
Installing on Windows
-
From the designer_install directory, run install.exe.
The \nt directory also contains an install.exe file. However, that file is for the Metadirectory system. Use the install.exe file found in the designer_install directory.
-
Select a language to use during the installation, then click .
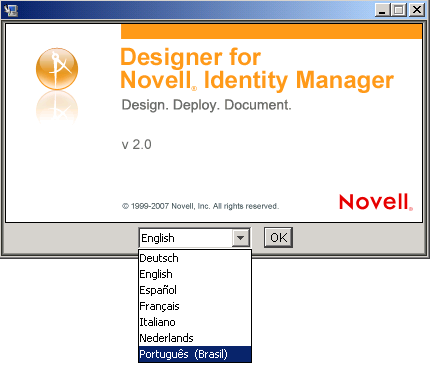
The default language is English. You can select a different language from the drop-down list.
The languages displayed in the language-selection dialog box are filtered, based on the default system locale. If the default system locale is English (or another Latin-based character set), only languages that use the Latin character set are displayed.
If the default system locale is set to Japanese (or any double byte-locale), only the double-byte locales, such as Chinese, Korean, and Japanese, are displayed in the list. The exception to this is English, which is always in the list, regardless of the default system locale.
-
Review the Introduction, accept the license agreement, select a location for the Designer files, then select shortcuts to Designer.
-
Select a language for the Designer user interface.
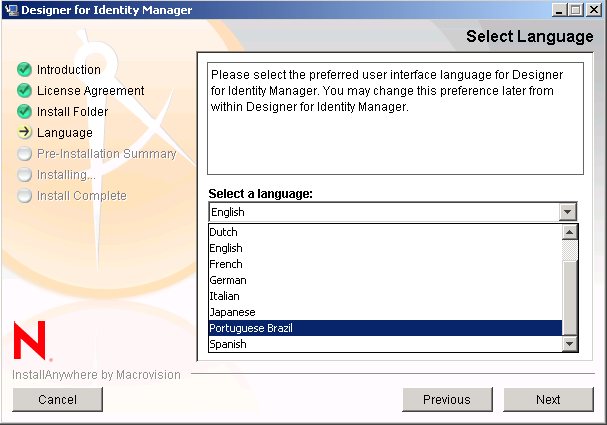
The default is the language that you selected to use for the installation. You can select a different language from the drop-down list.
After installation, you can change the language. See Section 24.3.7, Changing the Language Setting.
-
Review the summary of choices, then install Designer.
-
Review known issues in the Readme, then complete the installation.
-
To run Designer, click the icon on the desktop.
Installing on Linux
Installing eDirectory™ base components and NICI requires root privileges. The install program prompts you for the root password so that you can install these components.
To install on Linux:
-
From the Identity Manager CD or .zip file, run /linux/designer/install.bin.
The /linux directory also contains an install.bin file. However, that file is for the Metadirectory system. Use the install.bin file found in the designer directory.
-
To run Designer, click the icon on the desktop.
4.2.2 Installing Designer If Eclipse Is Already Installed on Your System
NOTE:Because of the interaction between Designer and third-party Eclipse plug-ins, Novell does not support installing Designer into an existing Eclipse installation.
For additional information, see the CoolSolutions Web site.
-
Make sure that the stand-alone Designer is not installed on the system.
-
Download a platform-specific file from the eclipse.org Web site:
-
Unzip into the directory of your choice.
-
From the Designer 2.0/features directory, unzip the following four files, keeping the directory structure:
-
com.novell.designer.idm.enhancements.fanoutdriver_1.0.1.zip
-
designer-plugins.zip
-
prov-plugins.zip
-
xml-editor.zip
This step creates a separate eclipse directory with a features and plugins subdirectory.
-
-
Copy the contents of the Designer features and plugins subdirectories into the main Eclipse features and plugins subdirectories.