1.3 Using the iManager SDK
To test and debug your plug-ins, you need access to a server running iManager. The SDK provides a Tomcat* servlet container and locally executed version of iManager, known as iManager Workstation, configured at sdk_home/tomcat/webapps/nps.
The following sections discuss how to use the SDK:
1.3.1 Prerequisites
There are some tasks you need to complete before launching the iManager SDK on a workstation that will run the developer version of iManager. Although the tasks are the same, they are performed differently depending on the operating system you are using:
Linux
Do the following to start iManager on Linux:
Set the JAVA_HOME Environment Variable: Before starting iManager, make sure that a JAVA_HOME environment variable is set to the installation directory of the JDK. Use the echo command to display the value of JAVA_HOME:
echo $JAVA_HOME
If you need to set JAVA_HOME, use the export command to specify the location of the JDK on your system. For example:
export JAVA_HOME=/usr/java/jdk1.5.0
Set Up NICI: You must install NICI before you can run iManager. Use the rpm command to determine whether NICI is installed:
rpm -q nici
If NICI is installed, the rpm command displays the package version. If it is not installed, rpm displays the message package nici not installed.
To install NICI on Linux, use the rpm command as the root user:
rpm -Uvh SDK_HOME/NICI/nici.i386.rpm
Windows
Do the following to start iManager on Windows:
Set the JAVA_HOME Environment Variable: Before starting iManager, make sure that a JAVA_HOME environment variable is set to the installation directory of the JDK. Check the value of JAVA_HOME in > > . If necessary, set JAVA_HOME to the location of the JDK on your system. For example:
JAVA_HOME=C:\Program Files\Java\jdk1.5.0_11
Set Up NICI: You must install NICI before you can run iManager. If you do not have NICI installed, the NICI installation file is launched automatically the first time you start iManager.
1.3.2 Starting iManager
To start iManager Workstation, use the script file located in SDK_HOME\imgrsdk:
Linux: ./startSDK.sh
Windows: startSDK.bat
This loads the Tomcat servlet container and launches iManager Workstation.
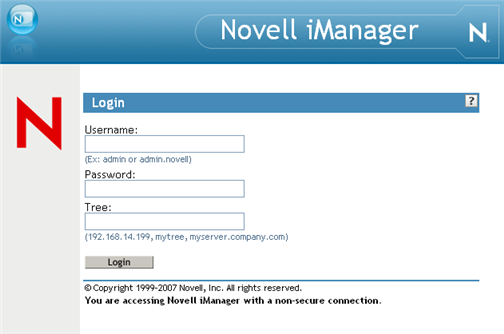
The first thing you see is a login page where you enter a user name, password, and tree. In the tree field, enter the name of the tree or the IP address of a server in the tree that you want to manage.
NOTE:If you don’t specify context as part of the username (for example, admin.waltham.novell), iManager performs a contextless lookup to locate the specified user.
Figure 1-1 The iManager Login page.
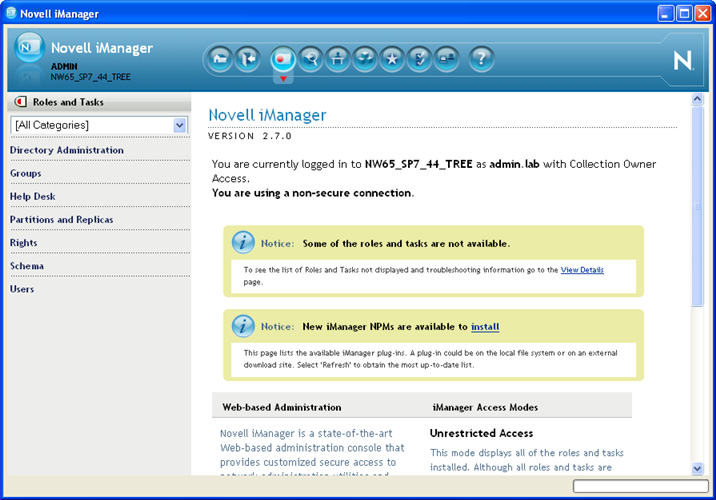
After you log in, you see the iManager main page. The pane at the top of the page is the banner area. The pane on the lower left side of the main page is the navigation area. It contains a list of all of the roles and tasks available to you. The pane on the lower right side of the page is the content area. It contains information and instructions, and, when a task is selected, it contains the user interface for the task.
Figure 1-2 The iManager main page.
For information about navigating the iManager interface, see the iManager 2.7 Administration Guide.
NOTE:Closing iManager automatically unloads Tomcat as part of the shutdown process. No further action is necessary.
1.3.3 Setting Up Role-Based Services
Before you can use a task that requires Role-Based Services (RBS), such as the Plug-In Studio (see Using the Plug-In Studio), you must configure RBS. For more information about RBS, see Section 2.3, Role-Based Services.
You can develop and test plug-ins without setting up RBS by using the Unrestricted Access connection mode. However, this lets users view all roles and tasks even if they do not have rights to use them.
You must set up RBS if you want to use the Plug-In Studio. For more information about connection modes, see Section 2.5, Connection Modes.
To configure RBS:
-
Create a new Collection.
-
From the Configure view, select > to open the RBS Configuration page in the Content frame.
-
In the RBS Configuration page, select > .
-
In the Create Collection page, specify a name and a container for the new collection, then click .
-
-
Install RBS modules into the new collection.
Each RBS module contains roles and tasks that you can assign to users. The RBS Configuration page lists the number of modules available for the collection you just created.
-
In the Not-Installed column, select the number next to the collection you just created.
-
In the Collection page, select and any other modules you want to install, then click .
WARNING:Only select modules with versions 2.7.0 or later. Older modules might install but they will not work correctly with the SDK.
-
When the module installation completes, click .
-
-
Assign users to roles.
Before users can perform tasks, they must be assigned to the appropriate role. Each role object has a list of members to which you can assign objects in order to grant users access to the tasks associated with the role.
-
In the RBS Configuration page, select the collection you created in Step 1.
-
In the Collection page, select a role to which you want to add users, then click > .
-
In the field, specify the objects that you want to assign to the role.
Click the button search for the objects you want to add to the member list. Supported objects include users, groups, organizations, organizational units, and domains.
-
In the field, specify the directory container in which the specified objects can perform the tasks associated with the role. Click the button to search for the container you want to specify as the member scope.
-
Click to add the designated objects to the member list.
-
Click to save your changes, then click to return to the Collection page.
-
After adding members to a role, you should be able to log in as a role member and see the role and its associated tasks in the iManager navigation frame.