6.1 Small Deployment: Deploying and Configuring
6.1.1 Deploying Filr
IMPORTANT:The instructions in this section assume that Filr is being deployed on a VMware server.
If you are deploying Filr on Hyper-V, follow the instructions in Hyper-V Configuration
in the Novell Filr 1.0.1 Installation and Configuration Guide to the point that you power on the appliance. Then resume these instructions at Step 5.
If you are deploying Filr on Xen, follow the instructions in Xen Configuration
in the Novell Filr 1.0.1 Installation and Configuration Guide to the point that you power on the appliance. Then resume these instructions at Step 5.
-
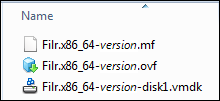
On a workstation with the vSphere client installed, extract the Filr.x86_64-version.ovf.zip file that you downloaded in Section 3.0, Downloading Filr Software until you have a folder containing three files with .mf, .ovf, and .vmdk extensions.
-
Using the vSphere client, attach to your VMware ESX server, then click > .

-
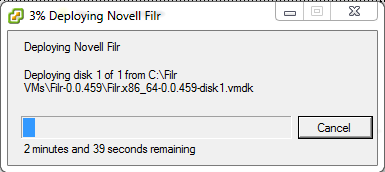
Browse to and open the Filr .ovf file, then proceed through the various dialogs as you normally would until the virtual machine is deployed.
-
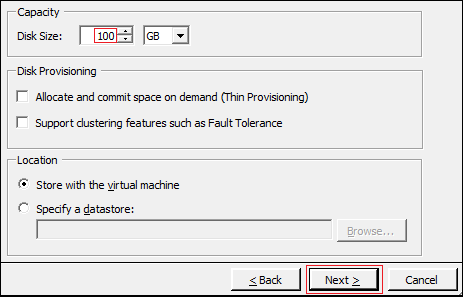
Edit the virtual machine settings and add a 100 GB hard disk.
-
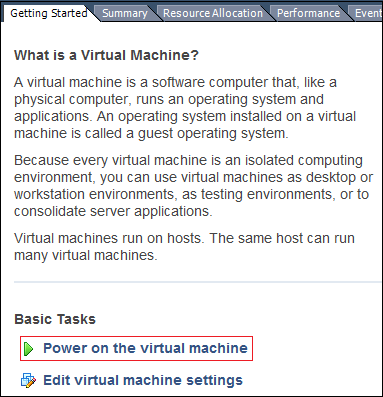
After the hard disk has been added, click .
-
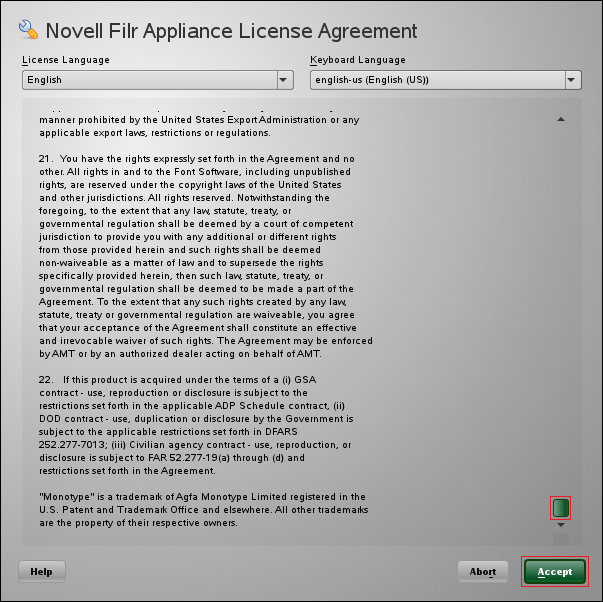
After the appliance starts, accept the license agreement.
-
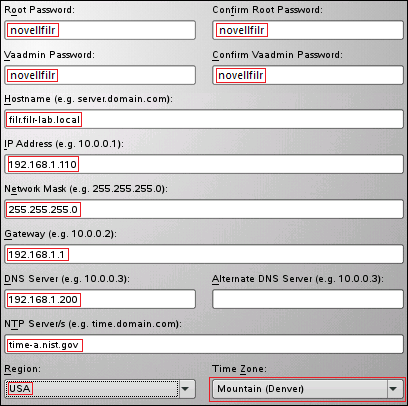
Complete the initial configuration settings, substituting the IP address and other settings that you identified in Section 2.0, Hands-on System Requirements for the Filr appliance on your network.
IMPORTANT:Ensure that the settings match the settings of your Windows environment.
For example, the following screen shows the IP addresses and the other information that was used for the Filr appliance that was deployed in a private network when this guide was developed.
-
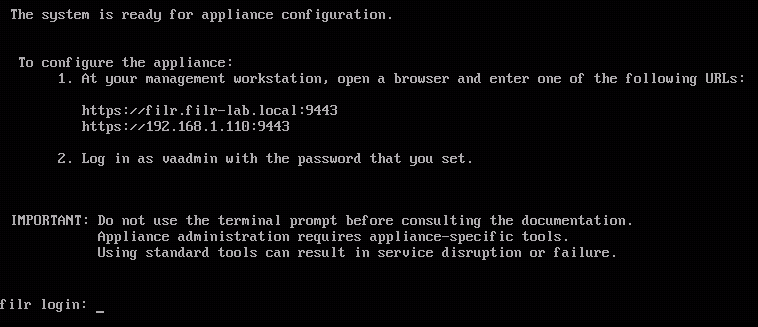
Proceed through the screens, accepting the defaults, until the configuration process completes.
-
Continue with Configuring the Filr Appliance.
6.1.2 Configuring the Filr Appliance
-
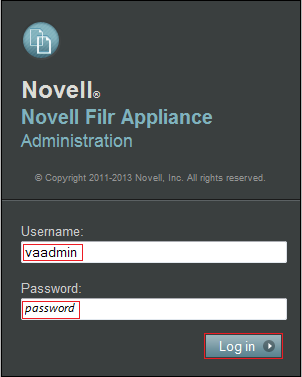
In your management browser, enter the following URL: https://Filr-appliance-IP-address:9443.
-
Click through the security warnings and accept the certificate if needed.
-
Log in with Username: vaadmin and the password you set in Step 7.
-
Click the icon.

-
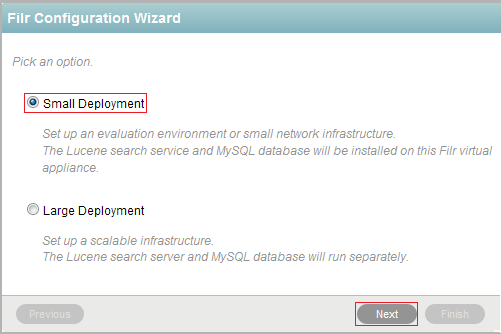
Ensure that is selected, then click .
-
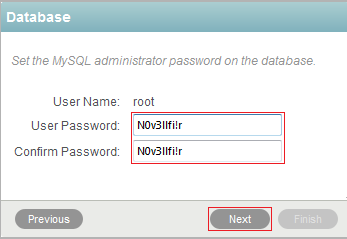
Specify and confirm N0v3llfi!r as the root password.
-
Click .
-
Skip to Section 7.0, Securing LDAP Communications between Filr and Active Directory.