12.5 Getting Quotas from an Old Secondary Volume to a New Primary Volume
One scenario for setting up a DST volume is to use an empty volume as the primary and an existing volume that contains data as the secondary, as is described in Section 1.3.2, Empty Volume as Primary with an Existing Volume as Secondary. As users open and save files from the merged view of the DST volume pair, active data is pulled forward to the primary volume.
Table 12-3 shows an example of a new/old volume scenario where trustees, directory quotas, and user quotas are set on the secondary NSS volume. There is no automatic way to synchronize the setting from the secondary volume to the primary volume. The ncpcon quotas command does not synchronize quotas settings from secondary to primary. You can copy the trustees database manually from the old volume to the new volume before you set up the shadow relationship. You can manually configure directory quotas and user quotas on the primary volume.
Table 12-3 Initial Settings on the Old and New NSS Volumes for the DST Volume Pair
|
Volume Description |
New NSS Volume |
Old NSS Volume |
|---|---|---|
|
Volume name |
NEWVOL1 |
OLDVOL1 |
|
Contains data |
No |
Yes |
|
Trustees defined |
No |
Yes |
|
User Space Restrictions attribute |
Enabled |
Enabled |
|
User quotas |
None |
Yes, for multiple users |
|
Directory Quotas attribute |
Enabled |
Enabled |
|
Directory quotas |
None |
Yes, for multiple directories |
If you have many directory quotas or user quotas set on the old volume, the manual process to set them up on the new volume can be daunting. You can use a two-phase setup of the DST volume pair to get quotas from the old volume (such as OLDVOL1) to the new volume (such as NEWVOL1):
-
Phase 1: Temporarily set up a DST shadow volume pair with the old volume as primary and the new volume as secondary. Do not allow users to access the merged view of the volume. The ._NETWARE/.trustee_database.xml file is automatically copied from the primary volume to the secondary volume when you create the DST volume pair relationship. Use the ncpcon quotas command to synchronize the directory and user quotas to the new volume. The command creates the directory file tree structure as needed to set the quotas on the new secondary volume. Remove the DST shadow relationship between the two volumes.
-
Phase 2: Create the DST volume pair with the new volume as primary and the old volume as secondary. Allow users to access the merged view of the volume.
Use the following procedure to get trustees and quotas settings from an old volume to a new volume that you want to use as the primary volume of a DST shadow volume pair. These instructions use OLDVOL1 and NEWVOL1 for the volume names. Modify the commands as needed to use the actual volume names on your system.
-
Log in to the server as the root user, then open a terminal console.
-
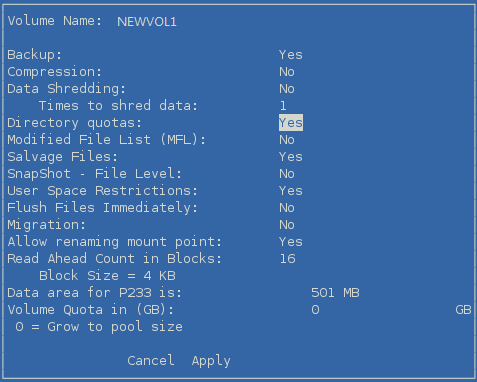
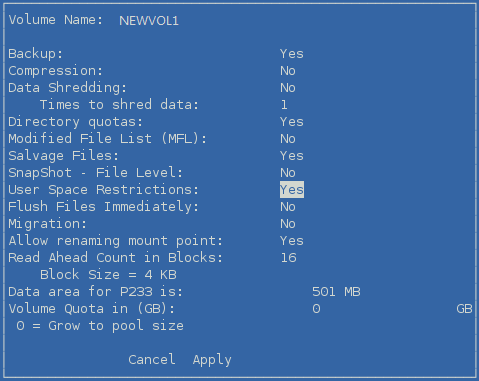
Verify that quotas attributes are enabled for the new volume NEWVOL1.
The following procedure uses NSSMU. You can alternatively use the Storage plug-in in Novell iManager.
-
At the command prompt, launch NSSMU:
nssmu
-
In the NSSMU Main menu, select , then press Enter.
-
In the list, select the new NSS volume NEWVOL1, then press Enter to open its Properties page.
-
Ensure that the attribute is enabled on the new NSS volume NEWVOL1.
If is set to , press the Down-arrow to select its value, then press y to change the setting to .
-
Ensure that the attribute is enabled on the new NSS volume NEWVOL1.
If is set to , press the Down-arrow to select the value, then press y to change the setting to .
-
Press the Down-arrow to select , then press Enter to save your changes.
-
Press Esc twice to exit NSSMU.
-
-
(Optional) Launch OES Remote Manager and log in as the root user, then enable the REPLICATE_PRIMARY_TREE_TO_SHADOW global policy that allows the file tree structure to be replicated automatically from the primary to the secondary when the DST pair is created.
This setting affects all DST volume pairs on the server. If you want to fully replicate the file tree structure only for this scenario, you can replicate the structure later in Step 13.
For information about setting the global policy, see Section 7.1, Replicating Branches of the Primary File Tree in the Secondary File Tree.
-
Create a DST volume with the old volume OLDVOL1 as the primary volume and the new volume NEWVOL1 as the secondary volume.
For information, see Section 10.2, Creating a DST Shadow Volume with NSS Volumes.
When you create the shadow volume pair, the .trustee_database.xml file should automatically be copied from the primary volume (/media/nss/OLDVOL1/._NETWARE/.trustee_database.xml) to the secondary volume (/media/nss/NEWVOL1/._NETWARE/.trustee_database.xml).
-
As the root user, open the /media/nss/NEWVOL1/._NETWARE/.trustee_database.xml file in a text editor, visually verify that it now contains trustees information from the old volume, then close the file.
-
Synchronize the directory quotas from the primary OLDVOL1 to the secondary NEWVOL1. At the command prompt, enter
ncpcon quotas sync all OLDVOL1 d
If the REPLICATE_PRIMARY_TREE_TO_SHADOW global policy is disabled (0, the default), the directory structure on the primary OLDVOL1 was not automatically replicated to the secondary NEWVOL1 when you defined the DST volume pair. In this case, the ncpcon quotas command creates the directory structure as needed on the secondary NEWVOL1 to match the directories that have quotas already set on the primary OLDVOL1, and synchronizes the directory quotas for them.
If the REPLICATE_PRIMARY_TREE_TO_SHADOW global policy is enabled (1), the directory structure on the primary OLDVOL1 was automatically replicated to the secondary NEWVOL1when you defined the DST volume pair. In this case, the ncpcon quotas command synchronizes the directory quotas to the matching directories on the new volume.
-
View the directory quotas to verify that quotas were written to the secondary NEWVOL1. At the command prompt, enter
ncpcon quotas view OLDVOL1 d c
-
Synchronize the user quotas from the primary OLDVOL1 to the secondary NEWVOL1. At the command prompt, enter
ncpcon quotas sync all OLDVOL1 u
-
View the user quotas to verify that quotas were written to the secondary NEWVOL1. At the command prompt, enter
ncpcon quotas view OLDVOL1 u c
-
Remove the DST shadow relationship between the two volumes.
For information, see Section 10.12, Removing the Shadow Relationship for a Non-Clustered DST Shadow Volume.
-
Verify that the trustees database file on the new volume contains trustee information.
In the unlikely event that the file is empty, you must manually copy the trustees database file from the old volume to the new volume as described in Manually Copying the Trustees Database to the New Volume.
-
Create a DST volume with the new volume as the primary and the old volume as the secondary.
From the previous configuration, the new volume has the following settings from the old volume:
-
Trustees settings
-
The replicated file tree structure (according to the conditions discussed in Step 6)
-
The directory quotas settings
-
The user quotas settings
As users open and save files from the merged view, the active files are relocated to the new primary volume, which is the desired behavior of this scenario. All of the trustees settings are enforced based on the settings on the primary. All of the directory quotas are enforced independently by the NSS file system on the primary volume and the secondary volume. All of the user quotas are enforced independently by the NSS file system on the primary volume and the secondary volume.
From this point forward, you can follow the normal approved methods of setting trustees and quotas from the merged view. You can use the ncpcon quotas command to synchronize directory quotas settings and user quotas settings from the primary volume to the secondary volume.
-
-
(Optional) If the file tree structure was not fully replicated (that is, the REPLICATE_PRIMARY_TREE_TO_SHADOW global policy was disabled during the temporary configuration), you can fully replicate the old file tree structure to the new volume by enumerating the directory as described in Section 10.4, Replicating the Secondary File Tree Structure to the Primary Volume.