2.2 Understanding the Novell Client Install Manager (nciman.exe)
The Novell Client Install Manager (nciman.exe) lets you generate a properties file, used by the Client install utility (setup.exe or acu.exe), to configures the Novell Client Property Page settings during installation. You can create different properties files for different groups of workstations and specify their use by indicating the name of the desired file at the command line. For more information, see Creating the Novell Client Properties File.
The Novell Client Install Manager is located in C:\Novell\Novell Client for Windows\Admin (created when you unzipped the Novell Client for Windows download file).
The Novell Client Properties file must be copied to the root directory of the Client build (C:\Novell\Novell Client for Windows-2008) before installation. NovellClientProperties.txt is the default filename, but you can save a properties file with any name you want.
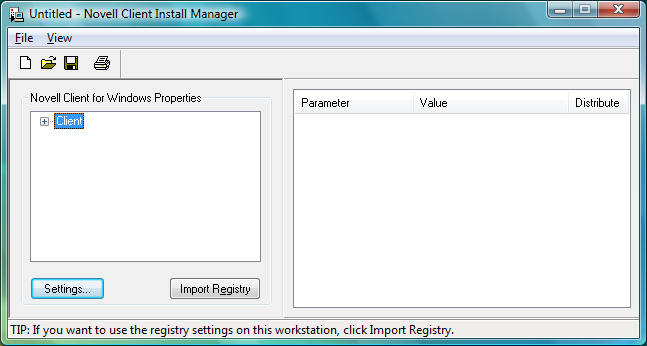
Figure 2-4 Novell Client Install Manager
2.2.1 Creating the Novell Client Properties File
The Novell Client installation (setup.exe and acu.exe) applies a properties file generated by the Novell Client Install Manager in order to configure Novell Client settings during installation.
You can import the settings from a workstation that has been previously configured and save them to a properties file. After you set up the workstation, click in the Novell Client Install Manager to import the settings.
If you are installing the client with the default settings, you do not need to create or modify the configuration file. Skip this process and proceed to Section 4.0, Setting Client Properties.
-
Start the Novell Client Install Manager (nciman.exe), located in the C:\Novell\Novell Client for Windows-2008\Admin folder.
-
Double-click to open the Novell Client for Windows Properties dialog box

-
Modify the Client properties as needed.
For example, if your network uses LDAP, you can enable LDAP Contextless Login.
For more information on the Client properties, see Section 4.0, Setting Client Properties.
-
Click , then specify a name for the Novell Client properties file.
You can use any filename (for example, workstation_properties.txt).
-
Copy this file to the root directory of the Client build (C:\Novell\Novell Client for Windows-2008).