2.2 Upgrading the ZENworks Orchestrator Agents and Clients
It is likely that you have installed ZENworks Orchestrator Agents and Orchestrator Clients on machines other than where the Orchestrator Server components were installed. This section includes information that helps you to walk through the upgrade of those agents and clients.
-
Section 2.2.1, Checking the Current Version of the Orchestrator Agent
-
Section 2.2.2, Backing Up the Orchestrator Agent Prior to Upgrading
-
Section 2.2.3, Using the Product ISO to Upgrade Agents and Clients on a SLES 10 SP1 Machine
-
Section 2.2.4, Checking the Upgraded Version of the Orchestrator Agent
NOTE:To perform a mass upgrade of ZENworks Orchestrator Agents we recommend that you use a reputable application software distribution method to upgrade to the newer versions that ship with ZENworks Orchestrator 1.3. For example, you can use ZENworks Linux Management to distribute new agents and clients to Linux servers.
For more information, see Section 2.5, Running the Upgrade Configuration on an Enterprise Scale.
2.2.1 Checking the Current Version of the Orchestrator Agent
Before you upgrade the ZENworks Orchestrator Agent packages from an earlier version to the current version you should check which packages of the older Orchestrator version need to be upgraded and which non-Novell packages are included in the product packages.
To do this, change to the directory where the current version of the Orchestrator .iso was extracted, then run the following command:
rpm -qa | grep 'novell-zen'
We recommend that you record the results of this command so that you can compare it with the results of a similar task following the upgrade (see
2.2.2 Backing Up the Orchestrator Agent Prior to Upgrading
As with the installation of any software, it is always a wise precaution to back up a working copy of ZENworks Orchestrator 1.2 before you install the newer version, such as 1.3. To back up the old version, copy the /var/opt/novell/zenworks/zos/agent directory. Of course, because ZENworks Orchestrator jobs are nearly always running, the only guaranteed “safe” way to make this copy is to stop the server before you make the backup. Even so, if the server is not too busy, making a backup when it is running is usually acceptable.
If you want to restore the older version of ZENworks Orchestrator, stop the Orchestrator Server, copy the /var/opt/novell/zenworks/zos/agent backup directory into its original location, and restart the Orchestrator Server.
2.2.3 Using the Product ISO to Upgrade Agents and Clients on a SLES 10 SP1 Machine
Before starting the upgrade process of the ZENworks Orchestrator Agent, make sure that all running jobs are complete. If the jobs have not completed on their own, the upgrade processes forcibly cancels them, which is the normal behavior when the server is shut down. The effect on the jobs is that they are abruptly terminated abruptly before they have finished. The specific consequence of this termination depends on the job that is terminated.
This section includes information about upgrading the agent packages on the product ISO. The contents of the section include:
There are two methods for upgrading ZENworks Orchestrator Server Packages. If you want to use a graphical user interface (GUI) see Upgrading ZENworks Orchestrator Agent Packages Using YaST. If you want to use the command line to upgrade the packages, see Upgrading ZENworks Orchestrator Server Packages Using the rug Command.
Upgrading ZENworks Orchestrator Agent Packages Using YaST
Use the following procedure if you want to use YaST, a graphical user interface, to upgrade the ZENworks Orchestrator packages. If you want to use the command line to upgrade, see Upgrading ZENworks Orchestrator Agent Packages Using the rug Command.
-
Download the appropriate ZENworks Orchestrator 1.3 ISO (32-bit or 64-bit), then prepare it for installation:
-
(Optional) Burn a DVD of the ISO image and load it into the DVD drive of the target machine.
-
(Optional) Copy the ISO image to the local file system. For more information, see Adding a Local Mount Point As An Installation Source in YaST.
-
(Optional) Mount the ISO image file on the machine where ZENworks Orchestrator is to be installed (the “target” machine). For details, see Adding a Local Directory As An Installation Source in YaST.
-
(Optional) If you are installing the ISO image to a large network, extract the product files from the ISO image to a web server / ftp server that can be accessed by the target machine without the need for authentication or anonymous login. For details, see Adding an ISO or Web URL As An Installation Source in YaST.
-
-
Upgrade ZENworks Orchestrator agent software packages:
-
Log in to the target SLES server as root, then open YaST2.
-
In YaST2, open the drop-down menu, then select to display the install patterns available on the ZENworks Orchestrator installation media.
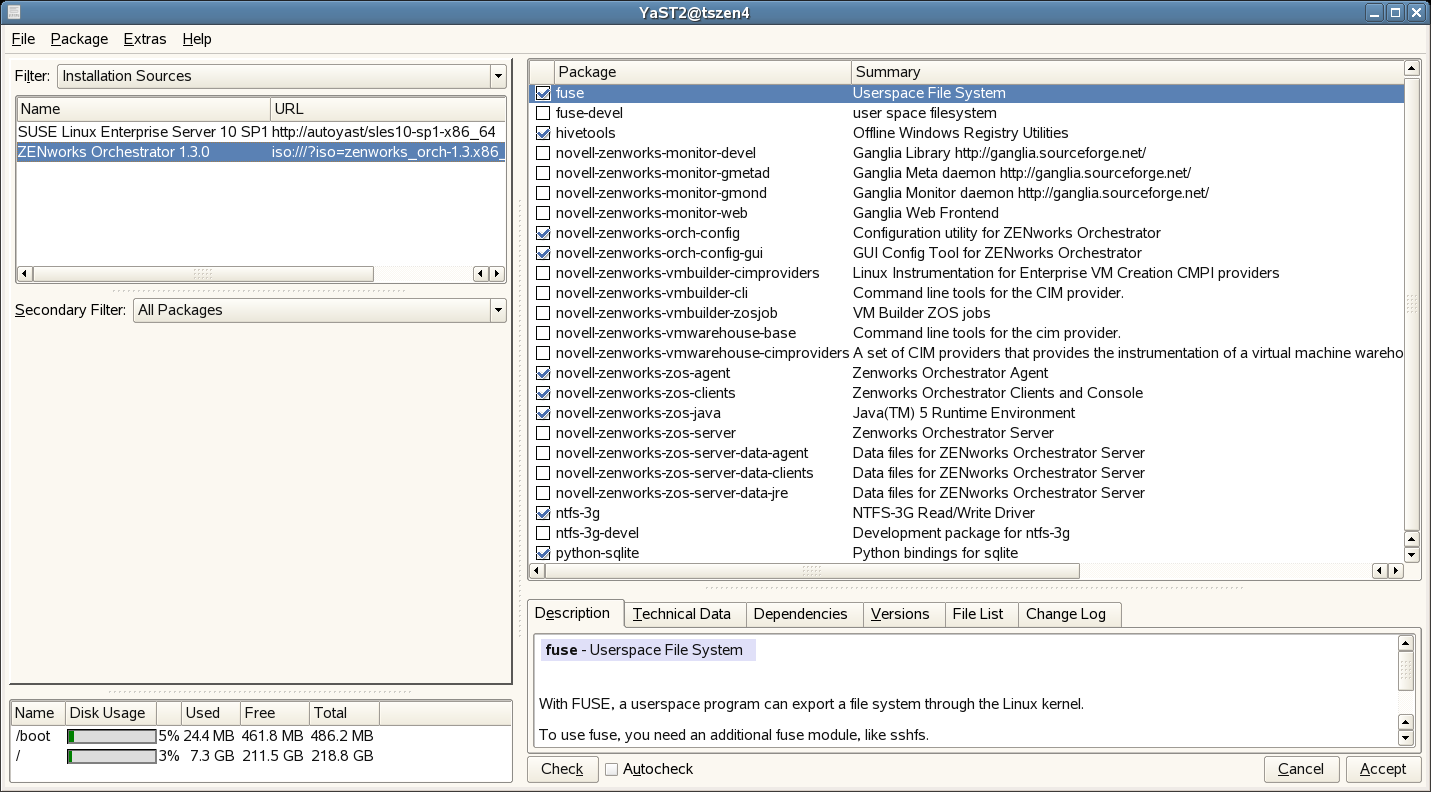
Component packages already installed to the server are checked.
-
Right-click on any of the installed package names, click > .
-
Click to install the upgraded packages.
After the server RPMs are upgraded, the program runs a script that does the following:
-
Stops job activity on the existing agent
-
Backs up the existing agent data to a retrievable format
-
Upgrades the RPMs for the selected ZENworks Orchestrator patterns
WARNING:The preceding steps have been tested and validated in YaST. Using other methods to update packages in YaST have not proven successful.
-
-
Run the configuration program on the machine where the agents or clients are installed. You have two options for running the script:
-
Run the Orchestrator product configuration script. If you use this method, continue with the steps in Running the Product Configuration Script to Upgrade Agents and Clients.
-
Run the GUI Configuration Wizard. If you use this method, skip to the steps in Running the GUI Configuration Wizard to Upgrade Agents and Clients.
-
-
Upgrading ZENworks Orchestrator Agent Packages Using the rug Command
Use the following procedure if you want to use YaST, a graphical user interface, to upgrade the ZENworks Orchestrator packages. If you want to use the GUI Configuration Wizard to upgrade, see Upgrading ZENworks Orchestrator Agent Packages Using YaST.
-
Download the appropriate ZENworks Orchestrator 1.3 ISO (32-bit or 64-bit), then prepare it for installation:
-
(Optional) Burn a DVD of the ISO image, mount the DVD, then extract the contents of the .iso folder to the local file system of the server.
-
(Optional) Extract the contents of the .iso folder to the local file system of the server.
-
-
At the command line, change to the directory where the Orchestrator .iso folder was extracted, then run the commands to upgrade ZENworks Orchestrator:
-
Run the following command:
rug sa -t zypp "http://<ip_address_of_local_server>/<directory_location_of_iso_files>" zos_repo
NOTE:If you have chosen not to extract the files and you want to use the .iso image to upgrade, use the following command in this step:
rug sa -t zypp "iso:///?iso=$ISO_FILE_NAME&url=dir:///$PATH_TO_ISO/" zos_repo
For example, for the ISO located at /root/Desktop/zenworks_orch-1.3.x86_64.iso, you could use this command:
rug sa -t zypp "iso:///?iso=zenworks_orch-1.3.x86_64.iso&url=dir:///root/Desktop/" zos_repo
NOTE:If you are using an ftp server, extract the contents of the .iso to a folder (see Step 1, above), use the following command:
"ftp://<ip_address_of_local _server>/<directory_location_of_iso_files>" zos_repo
-
Run the following command:
rug sub zos_repo
-
Run the following command:
rug up -y
-
-
Configure the ZENworks Orchestrator Agent. You can use one of two information gathering methods to perform the configuration:
-
Run the Orchestrator product configuration script. If you use this method, continue with the steps in Running the Product Configuration Script to Upgrade Agents and Clients.
-
Run the GUI Configuration Wizard. If you use this method, skip to the steps in Running the GUI Configuration Wizard to Upgrade Agents and Clients.
-
2.2.4 Checking the Upgraded Version of the Orchestrator Agent
After you upgrade the ZENworks Orchestrator packages to version 1.3, you should check the upgraded software packages to confirm that all of the earlier versions of the product components are now updated and which of the non-Novell packages have been updated.
To do this, change to the directory where the current version of the Orchestrator .iso was extracted, then run the following command:
rpm -qa | grep 'novell-zen'
Compare the results of this command with the results you had with the check you performed before the upgrade (see Section 2.2.1, Checking the Current Version of the Orchestrator Agent). If some of the components have not been upgraded from the earlier version, the incompatibility between the components could cause unexpected behavior.
2.2.5 Configuring the Upgraded Agent Packages
You can use one of two information gathering methods to configure upgraded ZENworks Orchestrator packages:
Running the Product Configuration Script to Upgrade Agents and Clients
If you decided to use the product configuration script to upgrade ZENworks Orchestrator Agents and Clients referred to Step 2.e,
-
Make sure you are logged in as root to run the configuration script.
-
Run the script, as follows:
/opt/novell/zenworks/orch/bin/config
When the script runs, the following information is initially displayed:
Welcome to Novell ZENworks Orchestrator.

This program will configure Novell ZENworks Orchestrator 1.3
Select whether this is a new install or an upgrade

i) install
u) upgrade
- - - - - -

Selection [install]:
-
Enter u to select the option to upgrade ZENworks Orchestrator.
The following information is displayed:
Select products to upgrade # selected Item 1) no ZENworks Monitoring Service (not installed) 2) no ZENworks Orchestrator Server (not installed) 3) yes ZENworks Orchestrator Agent 4) no ZENworks Orchestrator VM Builder (not installed) 5) no ZENworks Orchestrator VM Warehouse (not installed) Select from the following: 1 - 5) toggle selection status a) all n) none f) finished making selections q) quit -- exit the program Selection [finish]: -
Toggle the items in the list that you want to upgrade to yes.
-
Enter f to finish the selection and begin the configuration.
-
Enter y or n to view or bypass a summary information screen of the configuration you have completed. If you chose to view the summary, you can proceed with the upgrade (by entering yes) or abort the upgrade (by entering no).
Running the GUI Configuration Wizard to Upgrade Agents and Clients
If you decided to upgrade ZENworks Orchestrator Agents and Clients using the GUI Configuration Wizard referred to in Step 2.e,
-
Run the script for the ZENworks Orchestrator Configuration Wizard as follows:
/opt/novell/zenworks/orch/bin/guiconfig
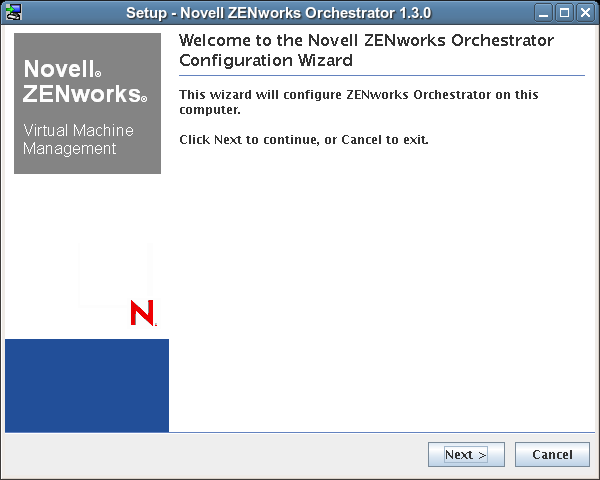
The GUI Configuration Wizard launches.
IMPORTANT:If you only have a keyboard to navigate through the pages of the GUI Configuration Wizard, use the Tab key to shift the focus to a control you want to use (for example, a button), then press the spacebar to activate that control.
-
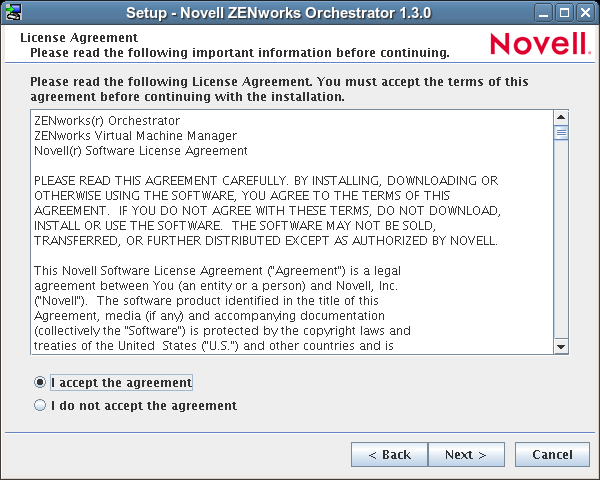
Click to display the license agreement.
-
Accept the agreement, then click to display the ZENworks Orchestrator Configuration Selection page.
-
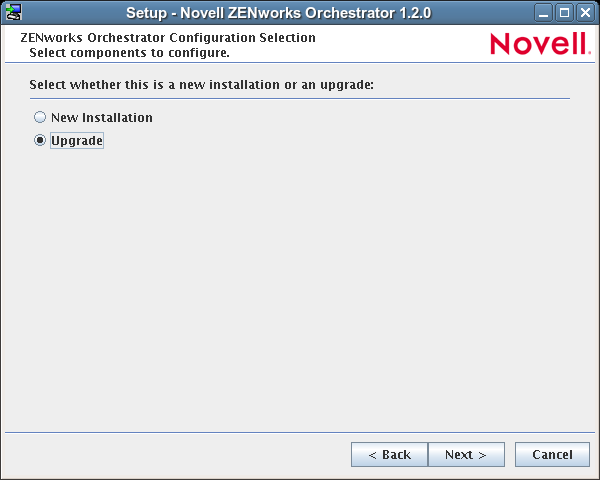
Select , then click to display the ZENworks Orchestrator components page.
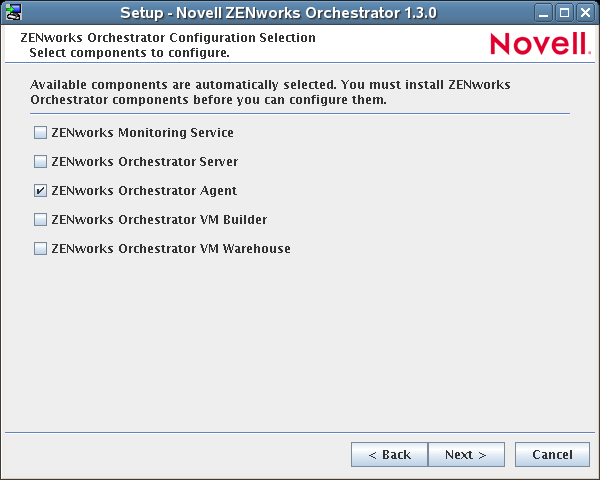
This page lists the components that are available for configuration (already installed). By default, all previously installed components are selected for configuration.
-
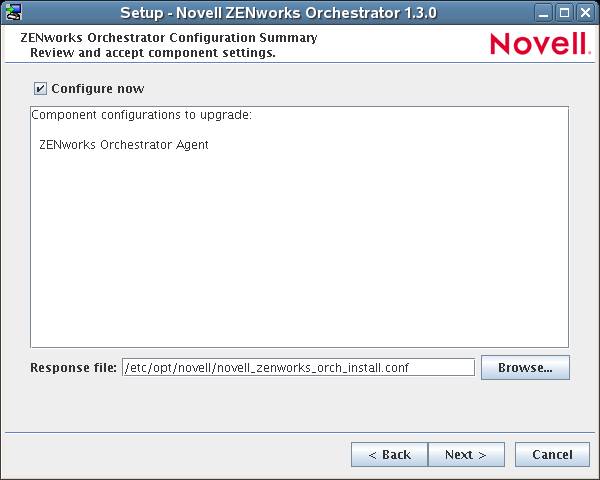
Select all the agent components you want to upgrade, then click to display the Configuration Summary page of the configuration wizard.
-
Commit the configuration.
-
(Optional) Click to apply the configuration settings.
-
Deselect the Configure now check box so that the wizard can write the configuration file to /etc/opt/novell/novell_zenworks_orch_install.conf without starting Orchestrator or applying the configuration settings.
NOTE:You can use this .conf file to start the Orchestrator Agent and apply the settings either manually or with an installation script. Use the following command to run the configuration:
/opt/novell/zenworks/orch/bin/config -rs
-
-
Click to display a message asking whether you want to overwrite the .conf response file.
-
To upgrade, you need to overwrite the existing file. Click to overwrite the file and display the configuration page.
-
Click to dismiss the configuration wizard.
-
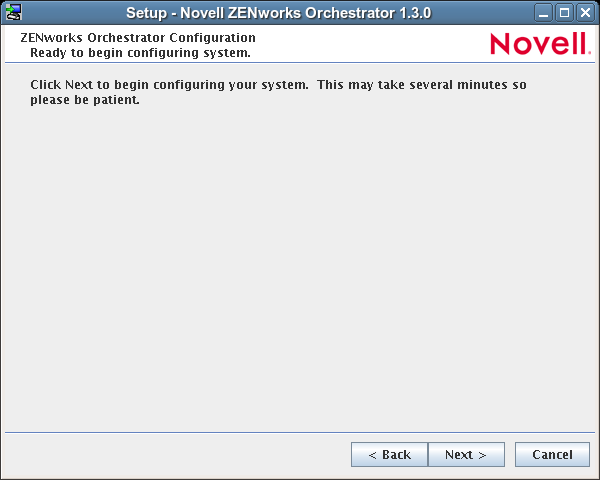
Click to begin the upgrade configuration for the ZENworks Orchestrator Service.
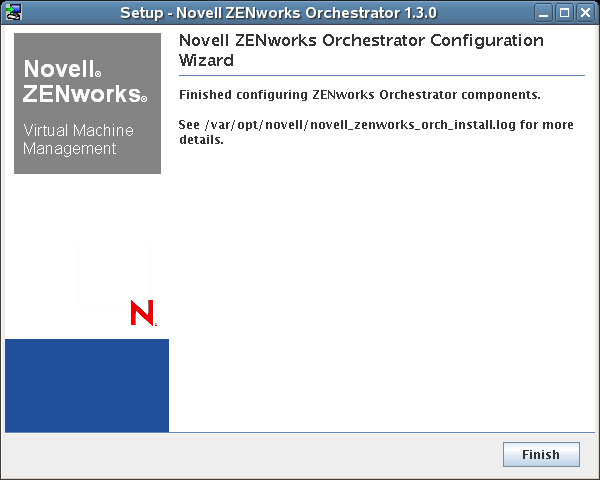
When the configuration is complete, the Finish page of the configuration wizard is displayed.
2.2.6 Using the ISO to Upgrade the Orchestrator Agent and Clients on Red Hat Enterprise Linux 4 Machines
Use the following procedure if you want to use the Add-on method to install just the Orchestrator Agent and the ZENworks Monitoring Agent to a Redhat Enterprise Linux (RHEL) 4 machine.
-
Shut down the Orchestrator Console on the machine where you intend to install the new console.
-
Download the appropriate ZENworks Orchestrator Server ISO (32-bit or 64-bit) to an accessible network location.
-
Mount the Orchestrator ISO as a loopback device as in the following example:
mount -o loop zenworks_orch-1.2.x86_64.iso /mnt
This mounts the ISO in the /mnt folder.
-
Navigate to the directory path where the RHEL 4 packages reside. For example:
cd /mnt/RHEL4
There are four packages in the /RHEL4 directory:
- novell-zenworks-monitor-gmond
- novell-zenworks-orch-config
- novell-zenworks-zos-agent
- novell-zenworks-zos-java
-
Use the rpm command to install the packages:
rpm -Uvh *.rpm
If you encounter an issue regarding missing dependencies, you can use the up2date command to download and install those. For example, if you were missing libcaplso or libcap.so.1, you would run the following:
up2date --solvedeps=libcp.so,libcap.so.1
-
(Optional) Increase the heap size that the JVM handles to enable the console to manage a large number of objects.
-
Open the zoc bash shell script at /opt/novell/zenworks/zos/server/bin.
-
Inside the script, find the following line where the JVM parameters are defined:
JVMARGS="-Xmx256m -Xms256m -Xmn64m -XX:NewSize=64m -XX:MaxNewSize=64m"
The -Xmx argument specifies the maximum heap size for the JVM*. Increasing the heap size prevents a JVM out of memory condition.
-
Change the value in the -Xmx argument from 256 MB to 512 MB.
-
Save the script.
-
NOTE:Upgraded agent and client software does not require you to execute the configuration script on RHEL 5 machines.
2.2.7 Using the ISO to Upgrade the Orchestrator Agent on Red Hat Enterprise Linux 5 Machines
Use the following procedure if you want to use the Add-on method to upgrade the Orchestrator Console to a Red Hat Enterprise Linux (RHEL) 5 machine.
-
Shut down the Orchestrator Console on the machine where you intend to install the new console.
-
Download the appropriate ZENworks Orchestrator Server ISO (32-bit or 64-bit) to an accessible network location.
-
Mount the Orchestrator ISO as a loopback device as in the following example:
mount -o loop zenworks_orch-1.1.x86_64.iso /mnt
This mounts the ISO in the /mnt folder.
-
Navigate to the directory path where the RHEL 5 packages reside. For example:
cd /mnt/RHEL5
There are four packages in the /RHEL5 directory:
- novell-zenworks-monitor-gmond
- novell-zenworks-orch-config
- novell-zenworks-zos-agent
- novell-zenworks-zos-java
-
Use the rpm command to install the packages:
rpm -Uvh *.rpm
If you encounter an issue regarding missing dependencies, you can use the up2date command to download and install those. For example, if you were missing libcaplso or libcap.so.1, you would run the following:
up2date --solvedeps=libcp.so,libcap.so.1
-
(Optional) Increase the heap size that the JVM handles to enable the console to manage a large number of objects.
-
Open the zoc bash shell script at /opt/novell/zenworks/zos/server/bin.
-
Inside the script, find the following line where the JVM parameters are defined:
JVMARGS="-Xmx256m -Xms256m -Xmn64m -XX:NewSize=64m -XX:MaxNewSize=64m"
The -Xmx argument specifies the maximum heap size for the JVM. Increasing the heap size prevents a JVM out of memory condition.
-
Change the value in the -Xmx argument from 256MB to 512MB.
-
Save the script.
-
NOTE:Upgraded agent and client software does not require you to execute the configuration script on RHEL 5 machines.
2.2.8 Using the ISO to Upgrade the Orchestrator Agent or the Orchestrator Clients on Windows Machines
The ZENworks Orchestrator Agent and the Orchestrator Clients (including the console) are supported on Windows* 2003 and Windows XP. To upgrade, we recommend that you use the methods native to the OS to uninstall an older agent or client from the machine, then install the new 1.3 release of the Orchestrator Agent or Orchestrator Clients.
Use the following steps to download the Orchestrator component you want to install:
-
Download the appropriate ZENworks Orchestrator Server ISO (32-bit or 64-bit) to an accessible network location.
-
Create a DVD from the ISO or use a tool that will mount the ISO.
-
Navigate to the directory path where the Windows packages (Windows 2003 or Windows XP) reside.
-
Double-click the appropriate file (.exe) to launch an installation and configuration wizard for the console.